

Target IP: 10.10.153.77
Reconnaissance
First, let's start with a port scan to see which services are running.
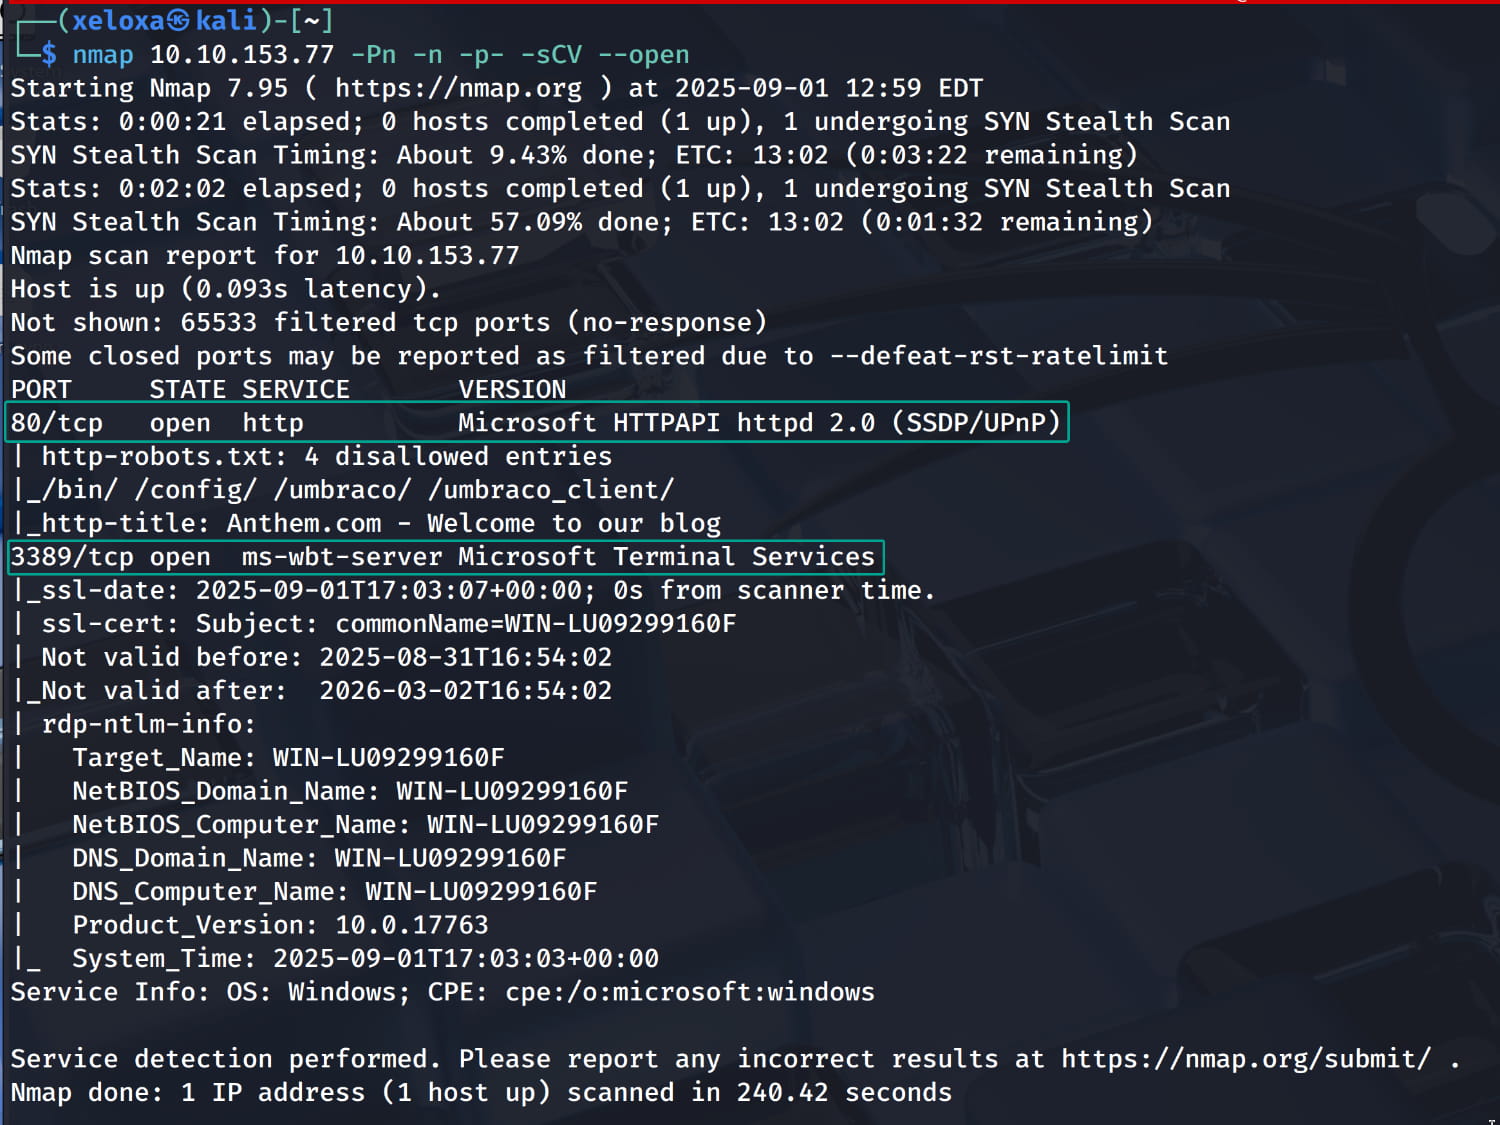
We have a web server running. Let's check it out.

When we manually browse the site, we gather the following information:
- Jane Doe
- JD@anthem.com
- A poem about the administrator

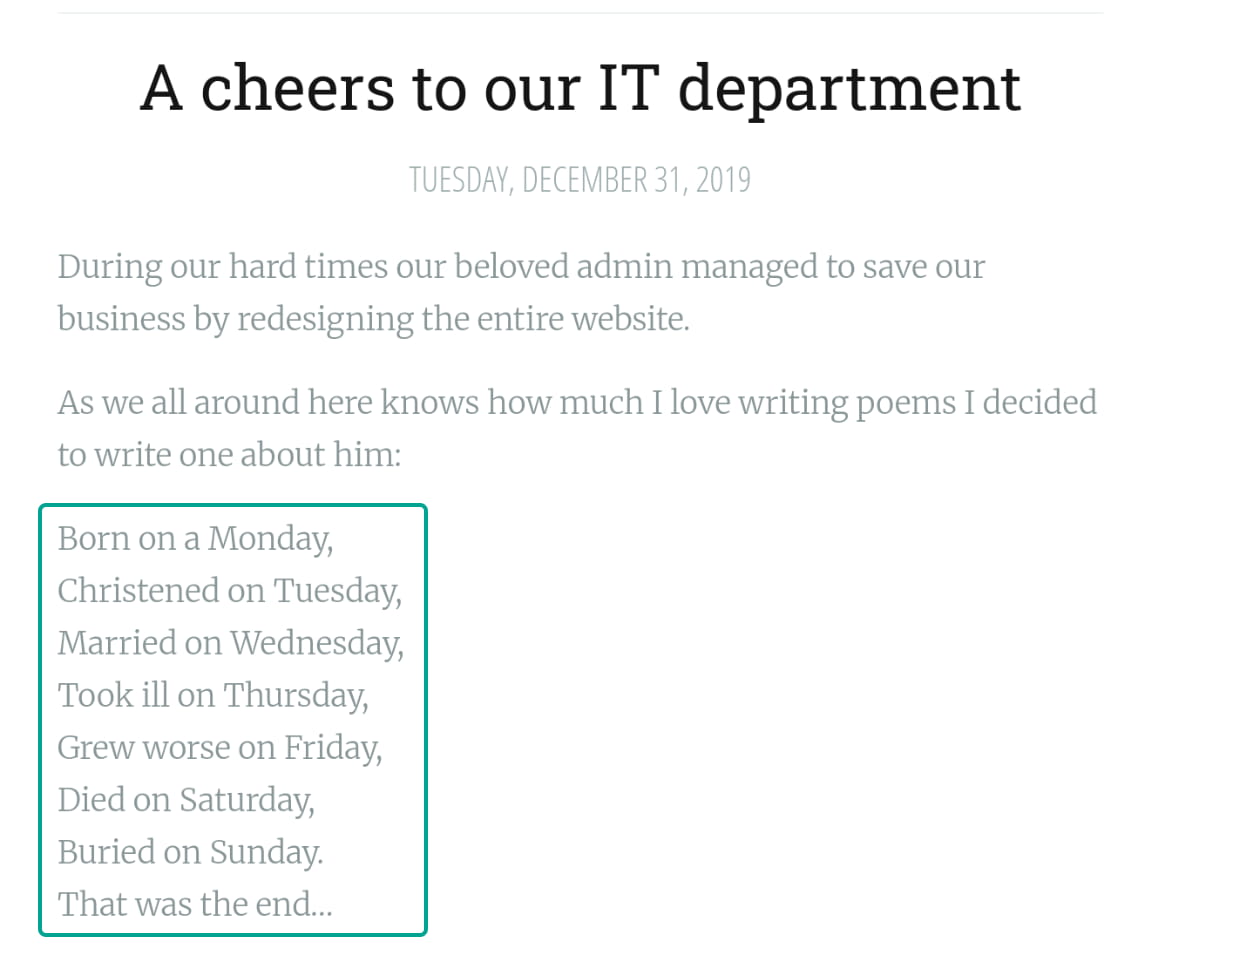
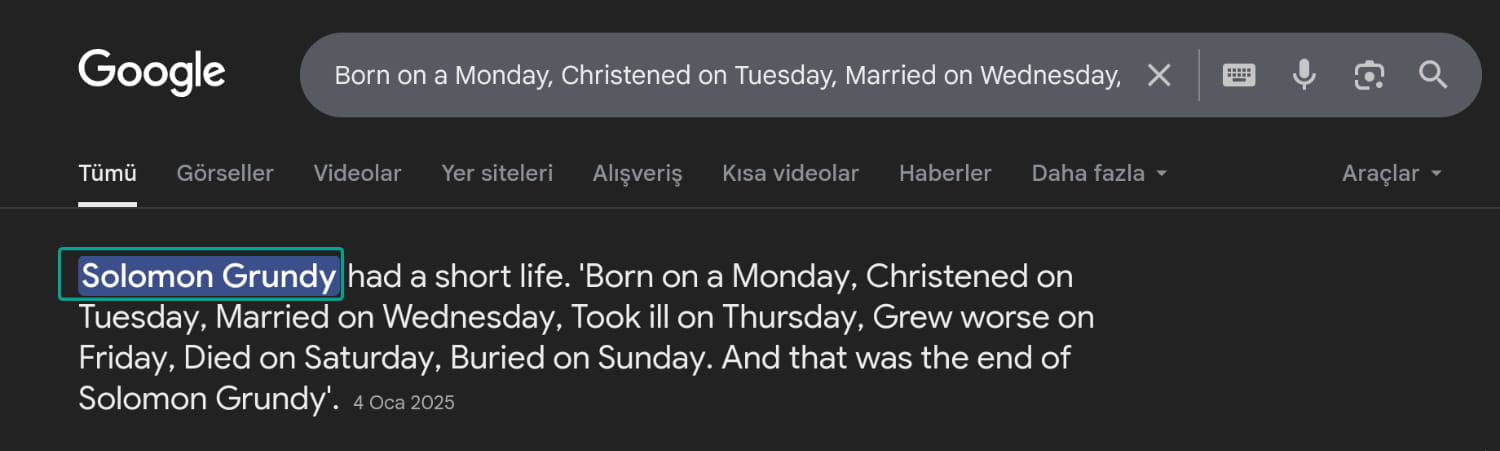
There's a poem about the administrator. Researching this poem leads us to the name Solomon Grundy.
We don't have any more information at the moment. Let's check the site's robots.txt file for any hidden directories.
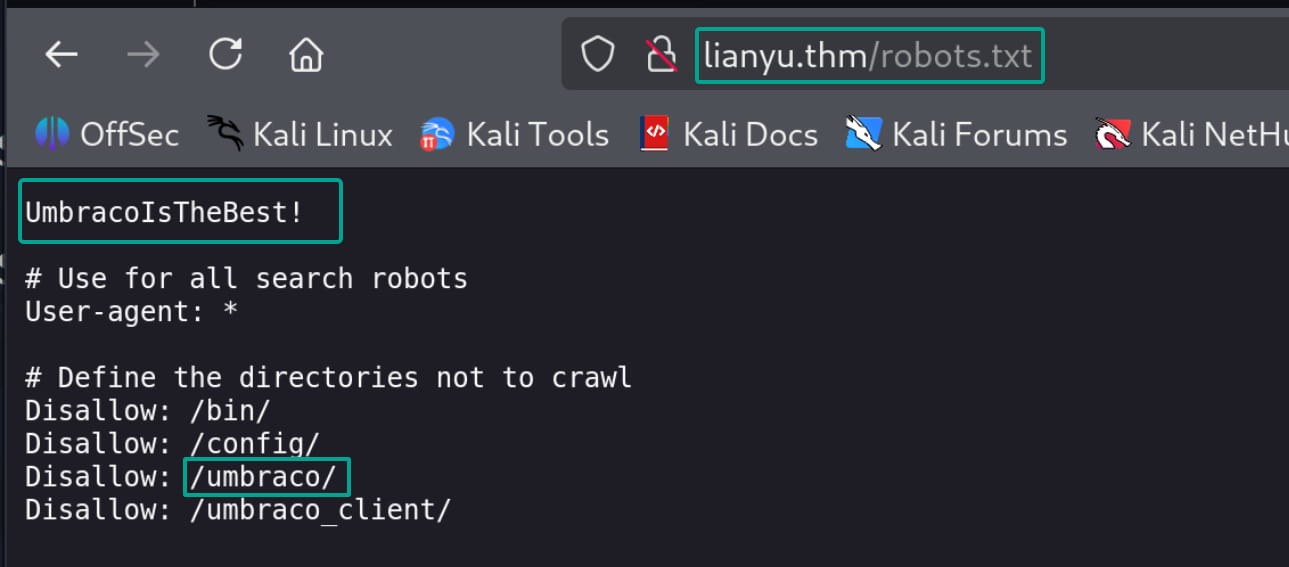
From here, we find the important phrase UmbracoIsTheBest! and the /umbraco directory. When we navigate to this directory, we find a login form.
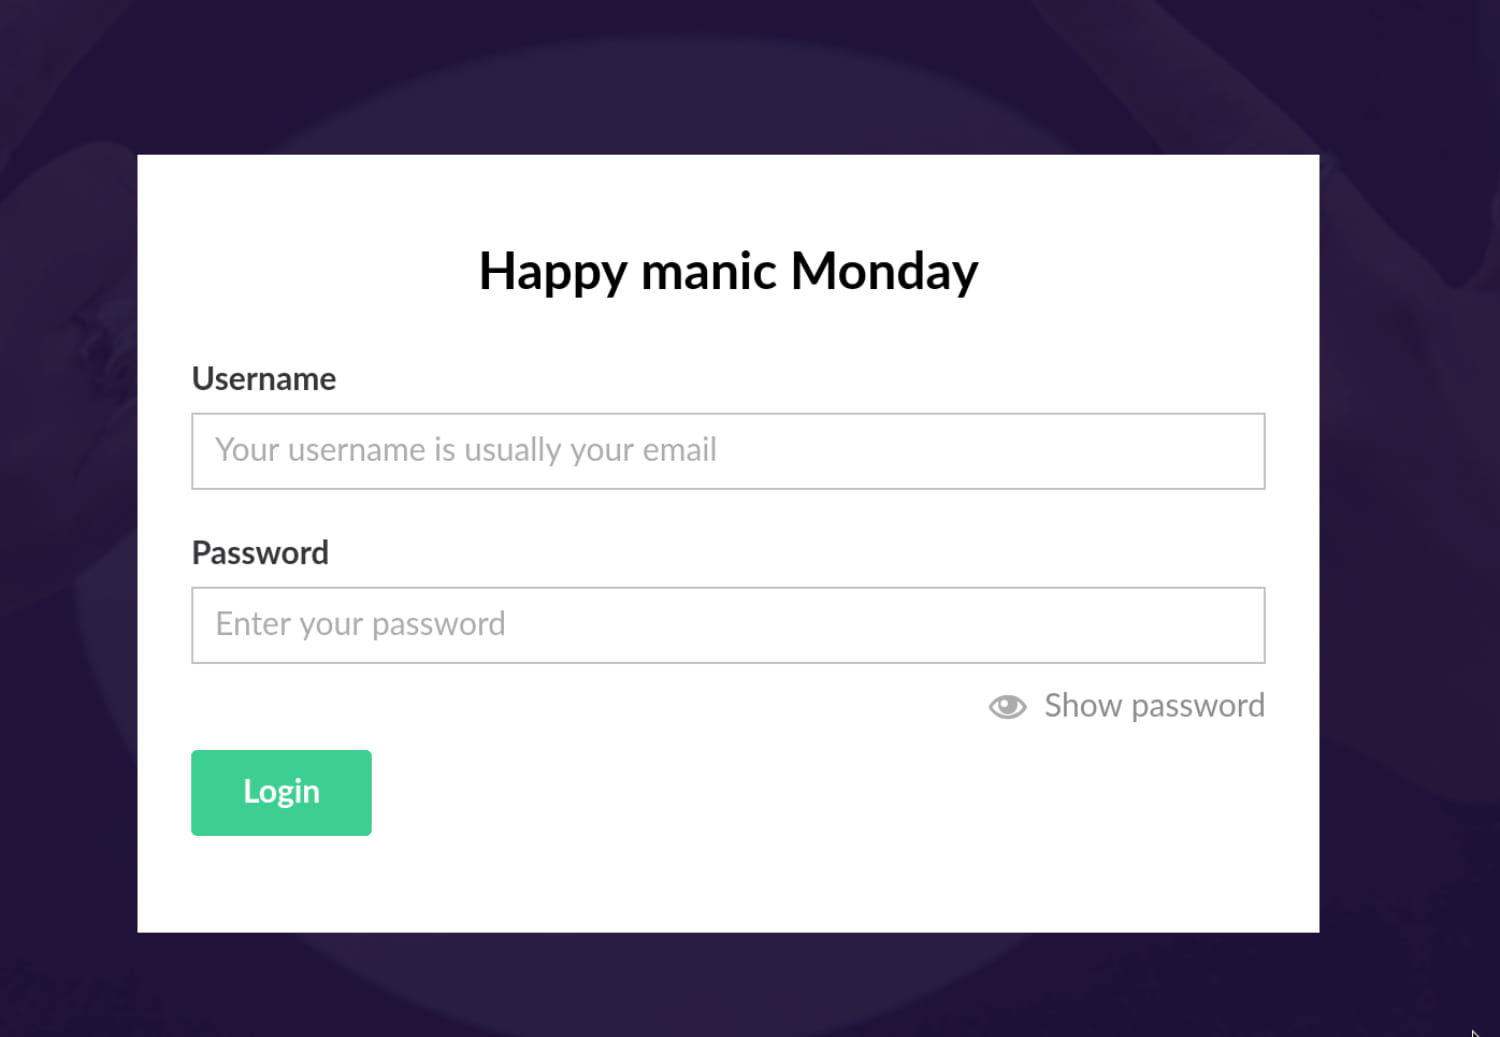
Now, let's try to log in using the information we have. A few combinations come to mind:
JD@anthem.com:UmbracoIsTheBest!- If we format Solomon Grundy similarly =
SG@anthem.com:UmbracoIsTheBest!(We don't have any other potential passwords).
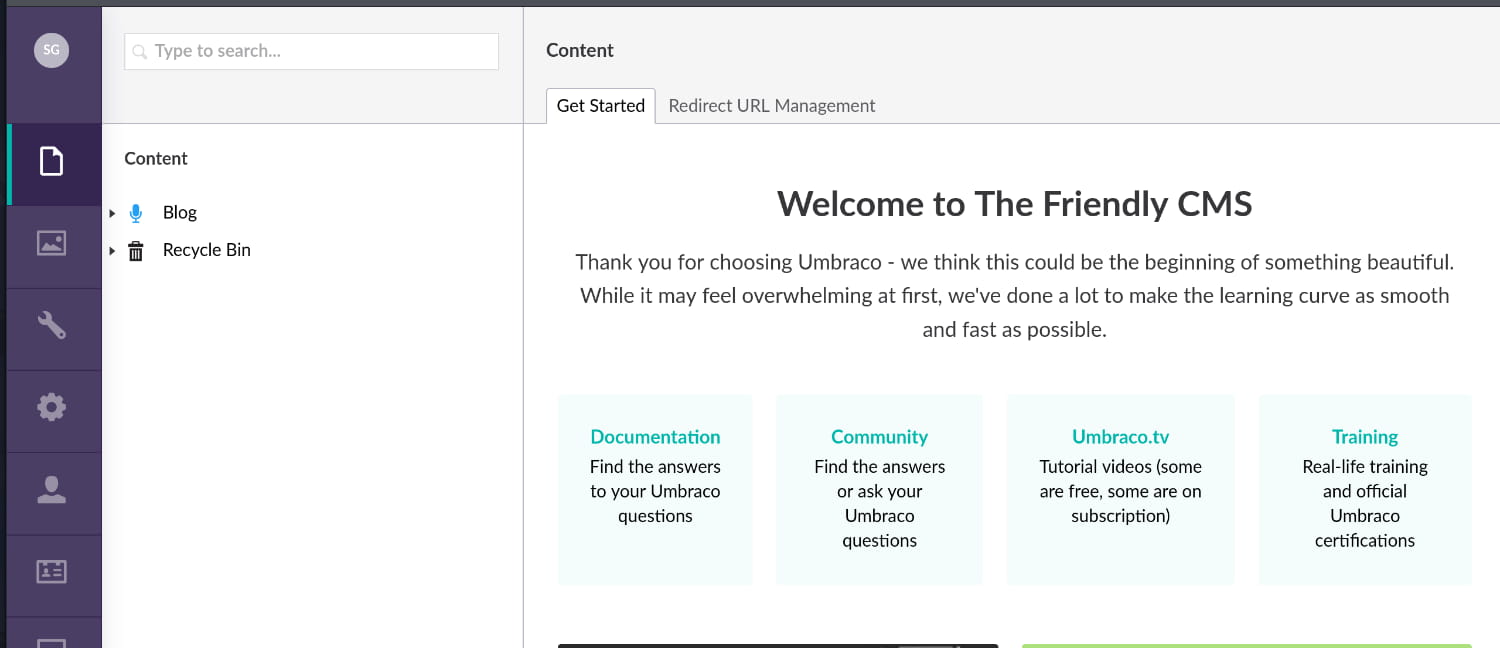
When we try these credentials, the pair SG@anthem.com:UmbracoIsTheBest! successfully logs us into the CMS administration page.
I tried to upload a reverse shell to get a shell from this page, but I was unsuccessful. We need another way.
We know that an RDP service is running on port 3389. Let's try to connect to RDP with the information we have.
Initial Access
After some trial and error, we were able to log in with the username SG and the password UmbracoIsTheBest!.

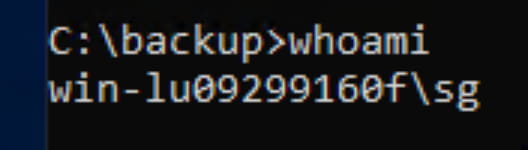
We now have access to a Windows machine. However, when we run the whoami command in cmd, we see that we are a low-privileged user: win-lu09299160f\sg.
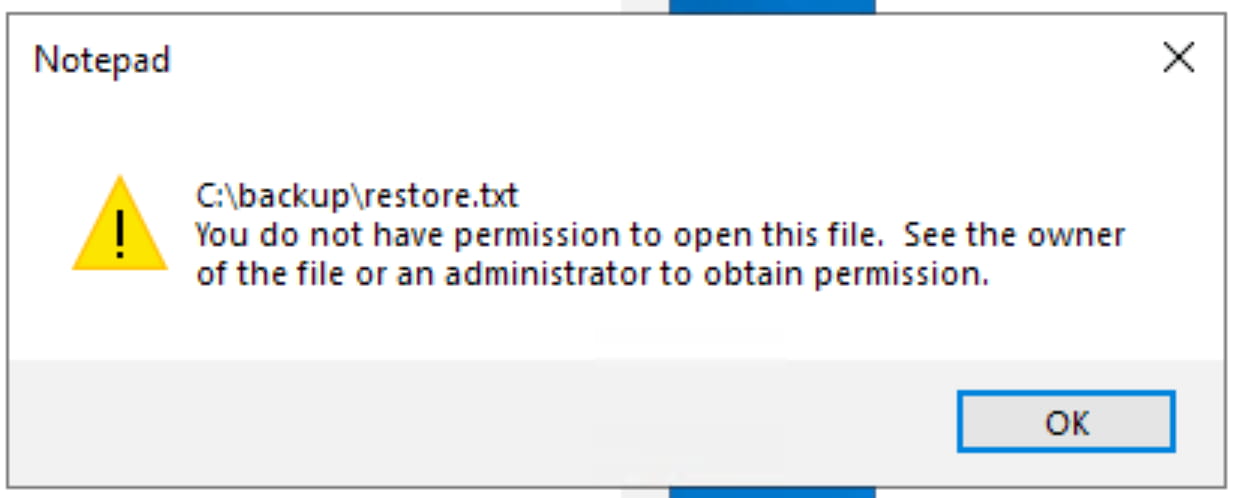
Let's perform a simple scan on the system. Press WIN + R and type recent. This will open a list of recently accessed files. The backup folder catches our attention. Inside, we find a file named restore.txt. However, when we try to open it, we get a permission denied error.
Privilege Escalation
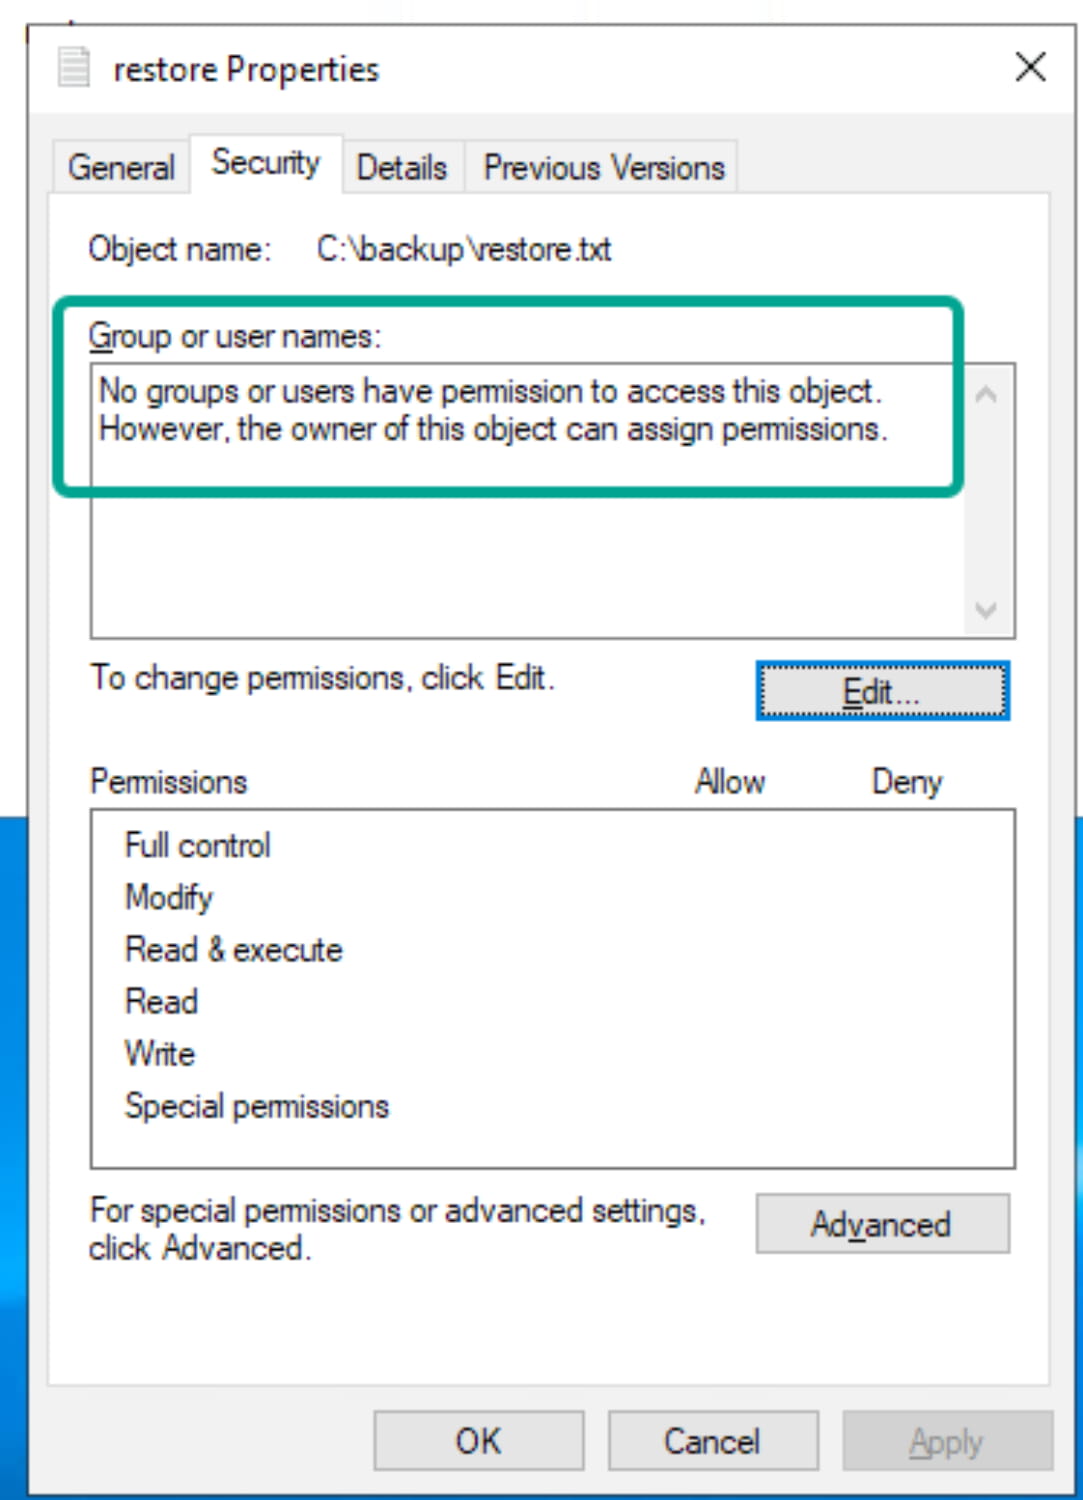
If we right-click the file, go to Properties, and do a quick analysis, we see that we are already the owner of the file.

This means we can grant ourselves the necessary permissions. To do this, go to the Security tab in the file's Properties.
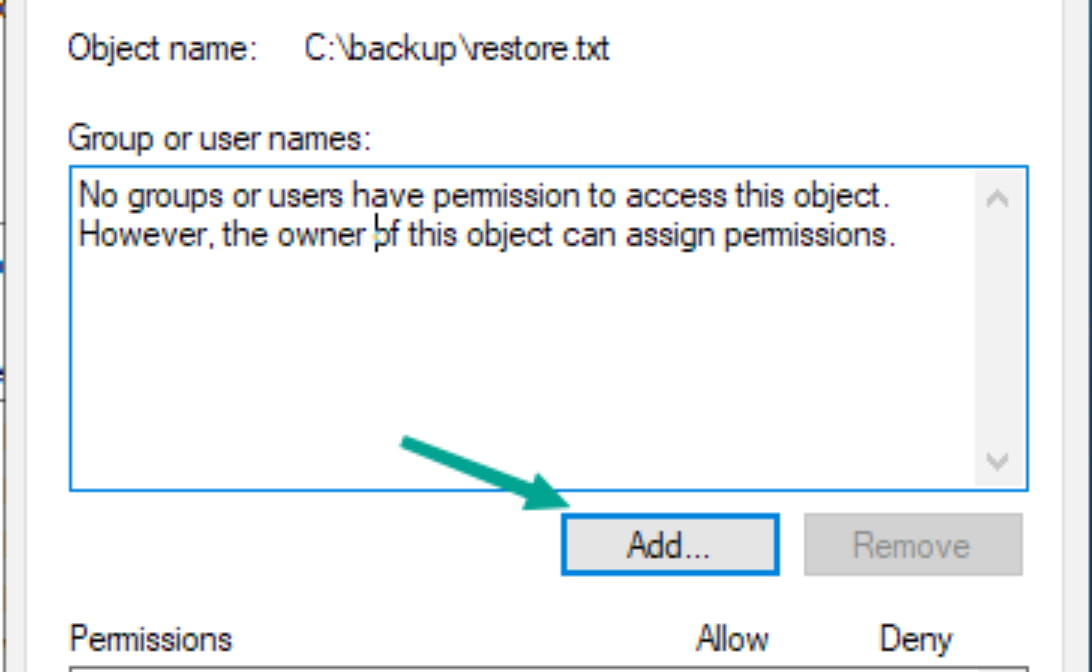
Click on Edit, then click on Add.
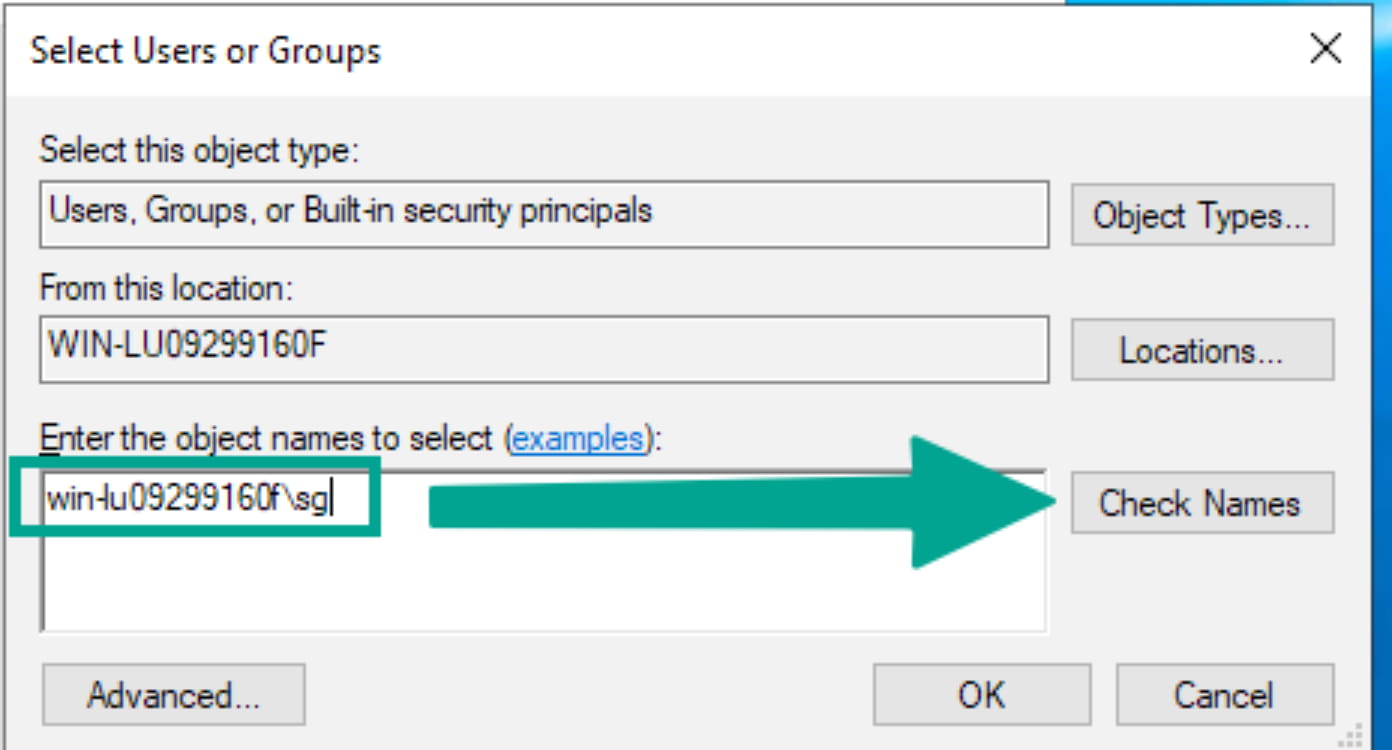
Enter your username, check it, and add it.
Now, give the user you just added (yourself) full control.
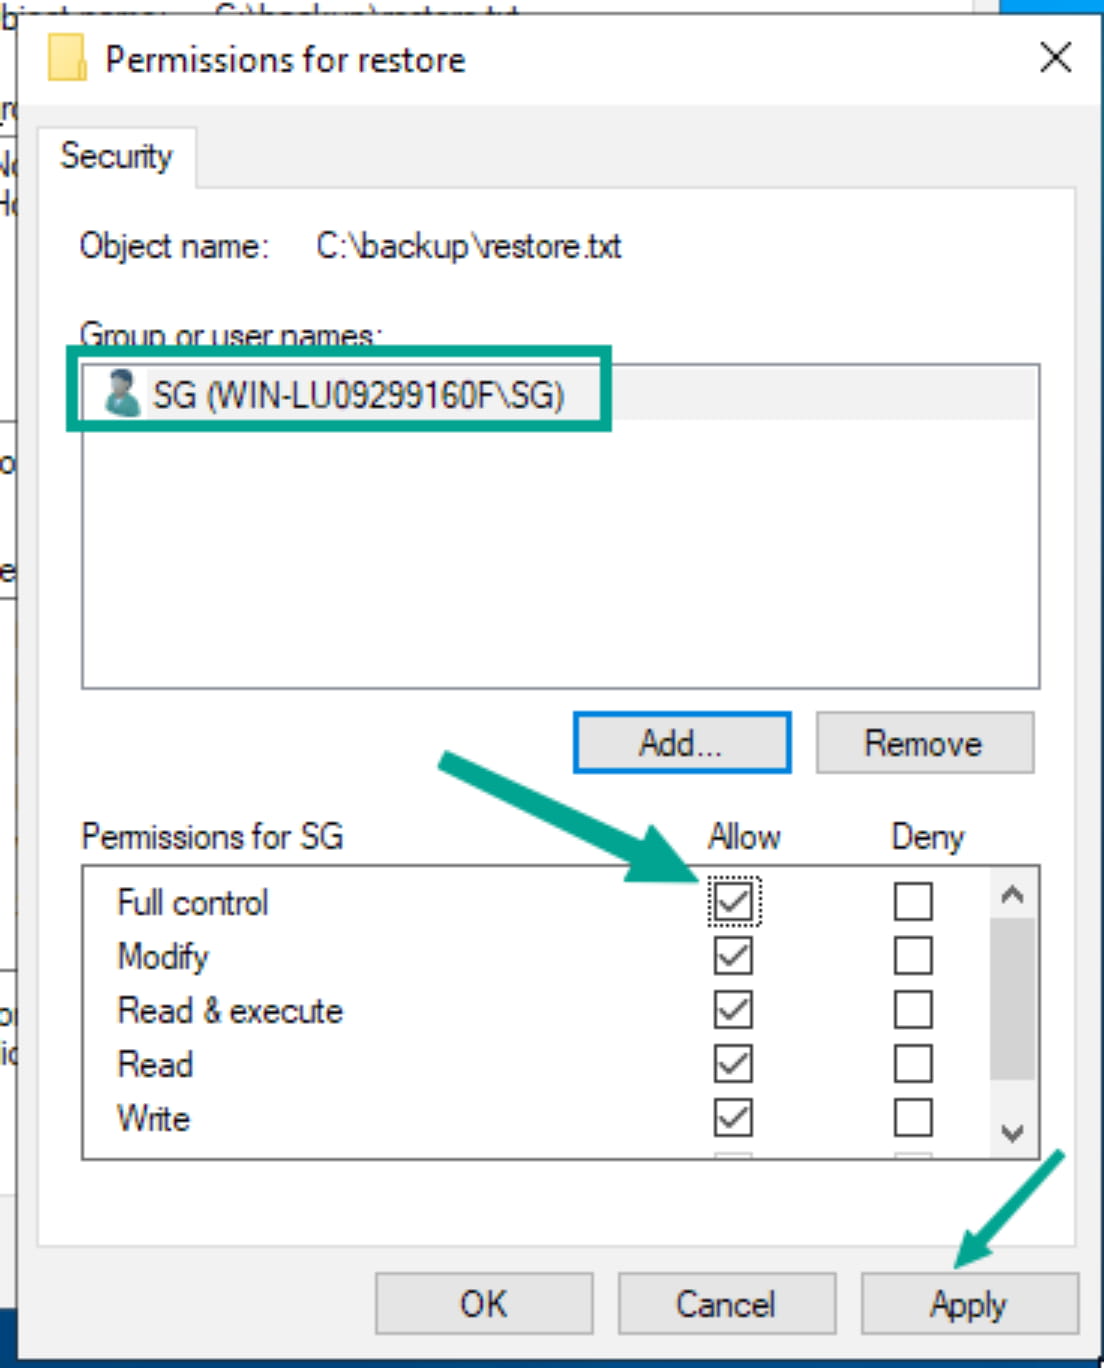
Now we can read the file.
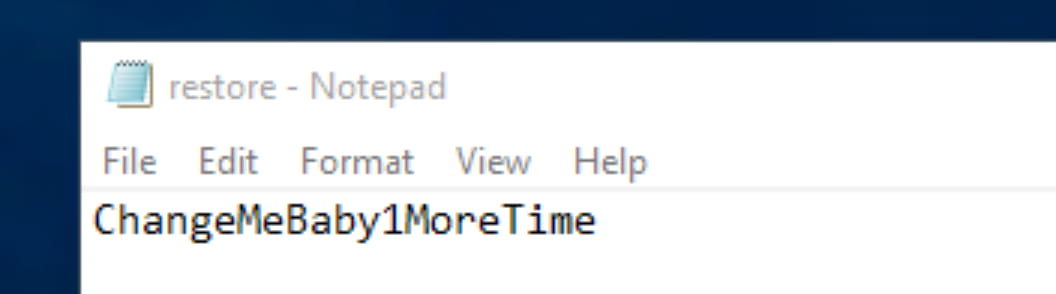
We find the password ChangeMeBaby1MoreTime. This is likely the password for the Administrator account. Let's disconnect our current RDP session and reconnect as Administrator.
$xfreerdp3 /v:lianyu.thm /u:Administrator /p:ChangeMeBaby1MoreTimeAnd we are root...
Comments